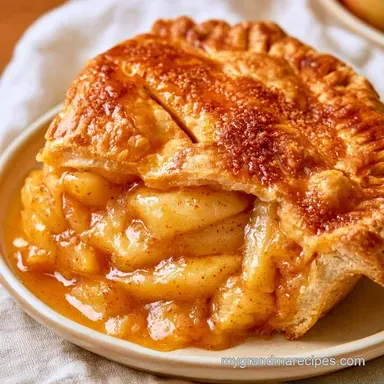
Golden Apple Pie with Canned Apple Pie

- Time: 10 minutes prep + 45 minutes in oven
- Highlights: A deep mahogany, crisp crust and bubbling fruit filling
- Best for: Spontaneous family visits or relaxing Sunday meals
The aroma of toasted pastry and warm cinnamon instantly makes any house feel welcoming. I recall one chilly autumn night when my cousins arrived unexpectedly, leaving me with an empty oven.
While I didn't have the time to peel a dozen Granny Smith apples, I did have a few cans of filling in the cupboard and a frozen crust ready to go.
It seemed like a shortcut, but once the pie emerged from the oven, no one minded. All they wanted was a slice. Give this easy, tasty recipe for Apple Pie with Canned Apple Pie Filling a try. It delivers that rich, cozy fruit taste and a flaky, shattering crust that hits the spot for anyone craving a traditional treat.
The secret isn't the fruit itself, but the way you enhance it. By incorporating a few pinches of seasoning and some acidity, you remove that metallic "tinny" quality from the canned filling. This dependable trick preserves the essence of a beloved family favorite while saving you time.
Why These Tricks Work
- Citrus Brightening: A bit of lemon juice cuts through the heavy syrup of canned fruit. This mimics the natural tartness you'd get from fresh apples.
- Sugar Crunch: Coarse sugar doesn't just look pretty. It creates a crystalline texture on top that contrasts with the soft interior.
- Steam Release: Poking vents stops the top crust from lifting or becoming soggy from trapped moisture.
| Method | Prep Time | Texture | Best For |
|---|---|---|---|
| Fast (Canned) | 10 mins | Consistent & Jammy | Busy nights |
| Classic (Fresh) | 60 mins | Chunky & Variable | Slow weekends |
Quick Recipe Specs
Right then, let's get the numbers out of the way. This recipe is designed for a standard 9 inch pie dish.
The active work is minimal, mostly just mixing and sealing. Since we're using a high heat of 425°F, the crust sets quickly, which helps prevent the dreaded "soggy bottom" that often plagues shortcut pies. According to USDA FoodData Central, the caloric density of apple fillings can vary, but this version stays classic.
Gathering Your Essentials
I've found that using a small bowl for the egg wash helps keep the counter clean. Don't bother with low-fat substitutes here, as the fat in the crust is what makes it flaky.
- 1 box (14.1 oz) refrigerated frozen pie crusts Why this? Saves time while remaining flaky
- 2 cans (20 oz each) apple pie filling Why this? Provides a consistent, sweet base
- 1 tsp ground cinnamon Why this? Adds that classic autumn warmth
- 1/4 tsp ground nutmeg Why this? Gives a subtle, old-fashioned depth
- 1 tbsp fresh lemon juice Why this? Balances the sweetness with acidity
- 1 large egg, beaten Why this? Creates a glossy, brown finish
- 1 tbsp coarse sugar or turbinado sugar Why this? Adds a professional looking crunch
For substitutes, if you don't have nutmeg, a pinch of allspice works well. If you're out of coarse sugar, brown sugar provides a similar deep flavor, though it'll melt more into the crust.
Tools You Will Need
No specialized equipment is required for this recipe. A basic mixing bowl and a spatula are all you need.
- 9 inch pie dish
- Large mixing bowl
- Silicone spatula or large spoon
- Pastry brush (or the back of a spoon)
- Sharp knife for venting
Chef Note: If you lack a pie dish, a cast iron skillet is a great alternative for a more rustic, "deep dish" style feel.
Step by step Instructions
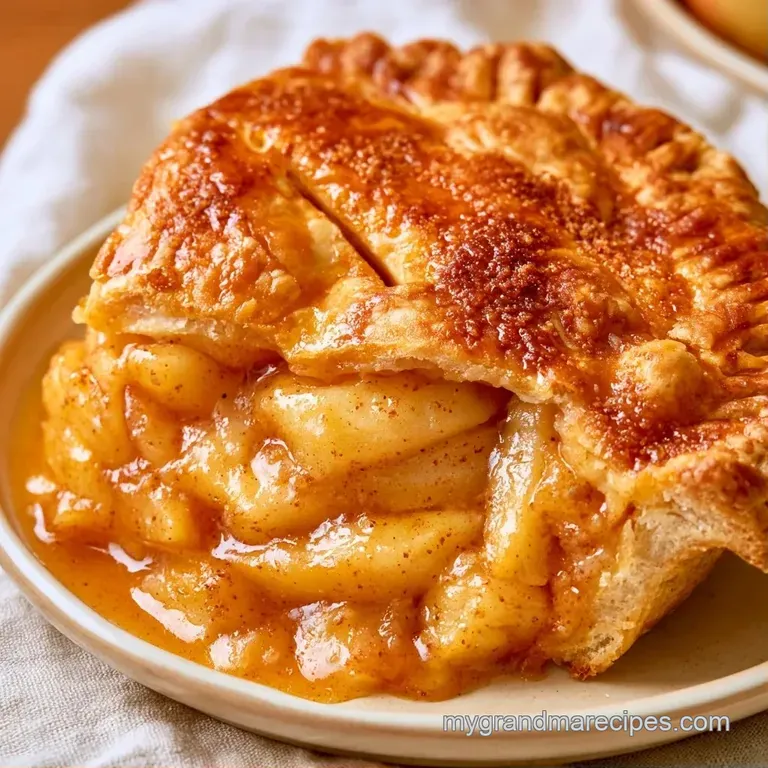
Time to put it all together. Move efficiently to ensure the crust stays chilled until it enters the oven.
- Unroll one frozen pie crust. Press it securely into the base and up the sides of a 9 inch pie dish, sealing any rips.
- Transfer both cans of apple pie filling into a large bowl.
- Stir in the lemon juice, ground nutmeg, and ground cinnamon. Mix lightly until the spices are evenly distributed and the syrup has a glossy sheen.
- Pour the spiced apple filling into the prepared shell. Smooth the surface with a spatula.
- Place the second crust over the apples. Trim any excess dough to prevent over overlapping.
- Press the edges of the top and bottom crusts together. Ensure a tight seal to prevent the juices from leaking.
- Cut 4-5 small vents in the center with a knife to allow steam to release.
- Coat the entire top with the beaten egg wash and sprinkle the coarse sugar evenly across the surface.
- Bake at 425°F (218°C) for 35-45 minutes until the crust is mahogany colored and the filling is bubbling through the vents.
Fixing Common Problems
Even with a shortcut, errors can occur. Typically, it comes down to the temperature.
A Soggy Bottom
This occurs when syrup pools at the base before the crust can properly crisp. To prevent this, place your pie dish on a preheated baking sheet, which delivers heat directly to the bottom of the pan.
A Pale Crust
If the crust remains white after 30 minutes, your oven may be under temperature or you missed the egg wash. The protein in the egg is what creates that rich, deep brown color.
Filling Bubbling Over
This is typically caused by adding too much filling or forgetting to add vents. If this happens, quickly move the pan to a higher rack or slide a baking sheet onto the rack below to catch any drips.
| Problem | Fix |
|---|---|
| Soggy Bottom | Bake on a preheated baking sheet |
| Pale Crust | Use egg wash and ensure oven is 425°F |
| Filling Overflow | Poke more vents and don't overfill |
Twists and Flavor Swaps
Feel free to customize the filling to your liking. I’ve found that adding a handful of fresh cranberries provides a tart pop of color, which is perfect for holiday tables.
For a different topping, replace the second crust with a crumble. Combine 1 cup flour, 1/2 cup brown sugar, and 4 tbsp cold butter until crumbly, then scatter it over the fruit. If you enjoy using fruit preserves in other ways, you might also like my Savory Plum Sauce for a completely different fruit based treat.
If you prefer smaller portions, roll out the dough and cut circles to create apple hand pies. Simply fill, fold, and crimp the edges with a fork before baking for about 15-20 minutes.
Keeping Your Pie Fresh
After the pie cools, store it thoughtfully to keep the crust from softening.
Fridge Storage: Store the pie in a foil wrap or a covered container in the fridge for a maximum of 4 days. To restore the crispiness, warm a slice in a 300°F oven for 10 minutes.
Freezer Storage: You can freeze the whole pie. Seal it with plastic wrap and then a layer of foil. It will last for roughly 2 months. Let it defrost in the refrigerator overnight prior to reheating.
Zero Waste: Don't discard any pie crust scraps. Sprinkle them with cinnamon sugar and bake them into tiny "pie crackers" for a quick treat.
Best Ways to Serve
This Apple Pie with Canned Apple Pie is quite rich, so it pairs beautifully with something creamy or chilled. A serving of vanilla bean ice cream is a classic choice. The contrast of the cold cream against the hot, bubbling filling is perfect.
If you're planning a full comfort food menu, this dessert is a wonderful follow-up to a bowl of Homemade Tomato Soup Recipe and a grilled cheese. This combination makes any rainy afternoon feel cozy.
For a lighter touch, serve a slice with a dollop of whipped cream and a sprinkle of fresh cinnamon on top.
Why These Tricks Work
I mentioned the lemon juice before, but it is truly the star of the show. Canned fillings can often taste a bit dull because the canning process strips away the fruit's natural vibrancy; the acidity of the lemon juice brings those flavors back to life.
The egg wash is another vital component. It forms a shield that stops the crust from drying out while helping it achieve a deep, golden brown. It works much like a ham glaze or the way a Huli Huli Chicken Sauce Recipe gives grilled meat a glossy, caramelized finish. Using the egg ensures a professional result with very little effort.
Recipe FAQs
How many cans of apple pie filling do you need for an apple pie?
Use two 20-ounce cans. This amount fills a standard 9 inch pie crust perfectly without overflowing.
Does canned apple pie filling need to be cooked?
Yes, it must be baked. While the fruit is precooked, baking the pie ensures the crust is crisp and the filling reaches a safe, bubbling temperature.
What is the baking time for a canned filling pie?
Bake for 35-45 minutes. Remove the pie from the oven at 425°F (218°C) once the crust is mahogany colored.
Can a store-bought crust be used for this recipe?
Yes, it works great. Using a refrigerated frozen pie crust saves time and provides a consistent, flaky base.
How do you make store-bought filling taste homemade?
Stir in cinnamon, nutmeg, and lemon juice. These additions cut through the canned sweetness and add depth. If you enjoy balancing tart and sweet flavors, see how we use a similar approach in our jam thumbprint cookies.
Which method thickens an overly watery apple pie filling?
Simmer the filling in a pan to reduce excess moisture before pouring it into the crust. This prevents the bottom crust from becoming soggy.
Is it true that you can skip the oven and serve canned filling cold in a crust?
False. The raw dough of a store-bought crust must be baked to be edible and safe.
Should you refrigerate apple pie after baking?
No, let it cool at room temperature. Refrigerating a hot pie can trap steam, which often results in a soggy bottom crust.
Apple Pie With Canned Filling