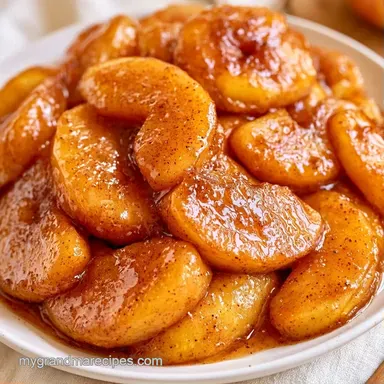
Old-Fashioned Amish Apple Pie Filling for Canning
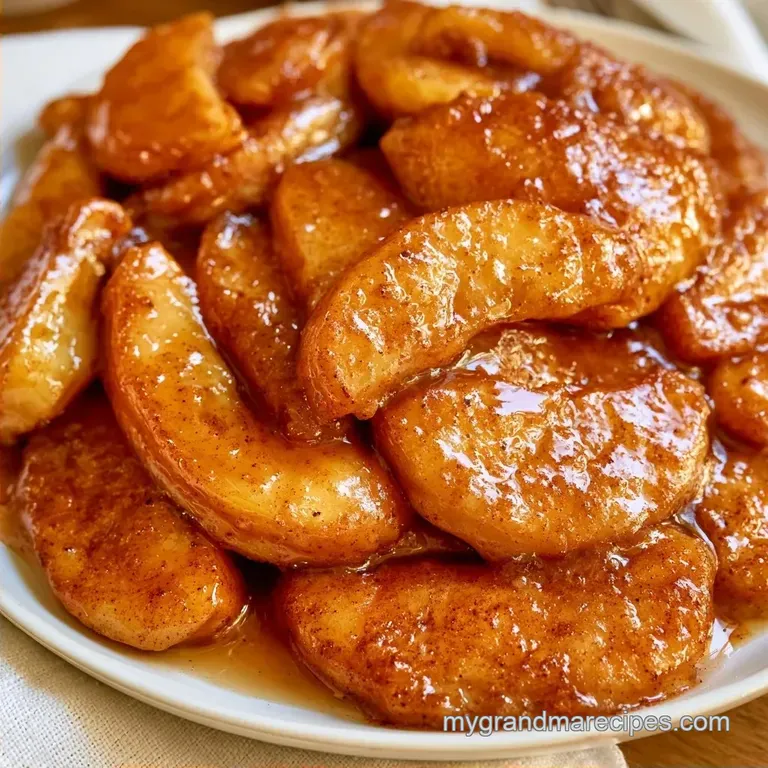
- Time: 40 min prep + 30 min cook
- Flavor/Texture Hook: Tart, chunky apples in a glossy syrup
- Perfect for: Winter pantry stocking and holiday baking
Right then, let's talk about the smell of a kitchen in October. There's nothing quite like the scent of cinnamon and tart apples bubbling away on the stove while the air outside turns crisp. For me, this is a Southern tradition that feels like a warm hug from my grandmother.
I've spent a lot of time in the kitchen learning that not all canning recipes are created equal. There's a real heartbreak in opening a jar after six months only to find a watery, separated sludge that turns your crust into a soggy sponge. We've all been there, and it's honestly frustrating.
That's why I'm sharing this specific way to make Apple Pie Filling for Canning. It's a budget friendly, old-fashioned approach that keeps the apples firm and the syrup thick. You get that classic, comforting taste without needing expensive equipment or fancy ingredients.
Why This Recipe Works
- Tart Apple Varieties: Using Granny Smith or Jonathan apples keeps the slices from collapsing. These have a stronger cell structure that resists turning into applesauce during the boiling process.
- Modified Starch: Using Clear Jel instead of standard cornstarch prevents the syrup from weeping. It stays stable during the high heat of the water bath and doesn't separate when you open the jar.
- Acid Balance: The lemon juice doesn't just stop the apples from browning, it balances the sugar so the filling tastes bright and fresh rather than cloyingly sweet.
Since some of you might just want to make a pie today without the canning process, I've put together a quick comparison. Canning is for the long haul, but fresh is for right now.
| Feature | Fresh Method | Canning Method |
|---|---|---|
| Shelf Life | 3-5 days (fridge) | 1 year (pantry) |
| Texture | Softer, more rustic | Firmer, glossy |
| Time | 45 minutes | 70 minutes |
| Best For | Immediate dinner | Future holiday baking |
Gear You'll Need
A few reliable tools will make this process much smoother. I recommend using a large, heavy bottomed stockpot, which helps the heat distribute evenly to prevent the sugar from burning.
For the canning stage, you will need a water bath canner and sterilized Mason jars with new lids. If you're slicing six pounds of apples by hand, a sharp chef's knife or a manual peeler corer-slicer will be a lifesaver for your wrists.
Understanding the Ingredients
Before we start cooking, here is a quick breakdown of how the ingredients work. While many assume sugar is only for sweetness, it also preserves the fruit and helps develop that signature thick glaze.
| Component | Purpose | Substitute Notes |
|---|---|---|
| Tart Apples | Main structure | Use Braeburn for a slightly sweeter taste |
| Clear Jel | Thickening stability | Standard cornstarch (see "Ways to Change It") |
| Lemon Juice | Acidity & Color | Apple cider vinegar (slightly sharper) |
| Granulated Sugar | Sweetness & Glaze | Brown sugar (adds a molasses depth) |
One word of advice: do not reduce the lemon juice. It is essential for providing that "bright" flavor and ensuring the colors stay natural in the jar.
Recipe Specs
- Prep time:40 minutes
- Cook time:30 minutes
- Total time:70 minutes
- Yield: 4 Quarts
- Temperature: Water bath canner temperature per manufacturer settings
Step-by-step Cooking
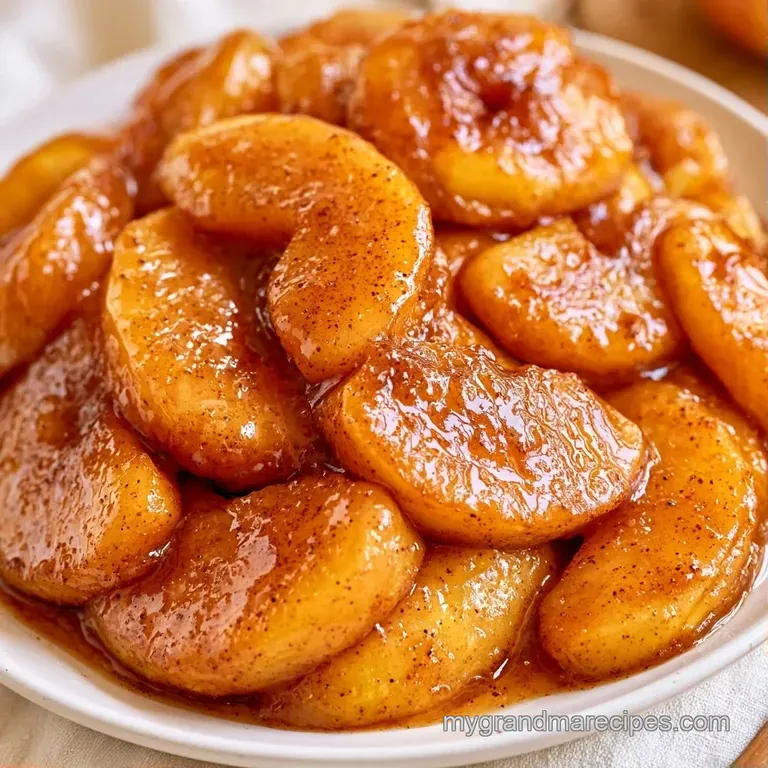
The Fruit Prep
- Peel, core, and slice 6 lbs of apples into rounds exactly 1/4 inch thick. Note: Consistent thickness ensures they all cook at the same rate.
- Put the sliced apples into your stockpot with 1/2 cup lemon juice and 2 cups water.
- Bring the pot to a boil over medium high heat, stirring every few minutes.
- Simmer for 5-8 minutes until the edges of the apples look translucent but they still feel firm.
The Syrup Build
- In a separate small bowl, whisk 2 cups sugar, 1/4 cup Clear Jel, 1 tsp cinnamon, 1/4 tsp nutmeg, 1/4 tsp cloves, and 1/2 tsp salt.
- Gradually stir the dry mixture into the bubbling apples.
- Continue cooking for 2-5 minutes until the syrup turns from cloudy to a glossy, clear glaze that coats the fruit.
The Canning Phase
- Ladle the hot filling into sterilized jars, leaving about 1/2 inch of headspace.
- Process the jars in a water bath canner according to safety guidelines from the National Center for Food Preservation.
- Remove jars and let them sit undisturbed for 24 hours before checking the seals.
Fixing Common Issues
It's not uncommon to hit a snag when you're first starting with Apple Pie Filling for Canning. Usually, the issue comes down to the starch or the apple variety. If your apples are too soft, they'll basically dissolve into a jam, which isn't what we want for a pie.
Fixing Runny Syrup
If the syrup is too thin, it's usually because the mixture didn't reach a full boil after adding the Clear Jel. The starch needs a specific temperature to activate. If you see this before canning, bring the pot back to a boil for one more minute.
Fixing Mushy Apples
This happens when you overcook the fruit in the first stage or use a "sweet" apple like Gala. Once they're mushy, you can't undo it, but you can use the filling for apple crisp instead of a structured pie.
Fixing Jar Separation
If you see a layer of liquid at the top of your jar, don't panic. This is common with cornstarch based fillings. Clear Jel mostly stops this, but a little shaking before you use the filling usually blends it back together.
| Problem | Fix |
|---|---|
| Watery Filling | Boil for an extra 2 mins after adding starch |
| Mushy Fruit | Use firmer tart apples (Granny Smith) |
| Cloudiness | Ensure sugar/starch is fully whisked before adding |
Storing Your Jars
Keep your processed jars in a cool, dark spot, such as a cellar or pantry. If sealed properly, they will remain fresh for approximately one year. I always add a date to my labels because you'll likely forget which batch is which by next autumn.
To minimize waste, save your apple peels and cores. I keep mine in a freezer bag and then boil them with a little water and cinnamon to create a light apple tea. It's a wonderful way to extract every bit of flavor from your produce.
Ways to Change It
If you don't have Clear Jel, you can use cornstarch, but be warned: it's more likely to separate in the jar. I've found that a 1:1 swap works for immediate use, but for canning, you might want to add an extra tablespoon of cornstarch to compensate for the stability loss.
You can also play with the spices. I love adding a pinch of ground ginger for a bit of a zing. If you're feeling fancy, try adding some diced dried apricots or cranberries to the pot. This creates a multi fruit filling that's just as good for filling Jam Thumbprint Cookies as it is for a pie.
Since we're talking about changes, let's look at how to adjust the goal of your batch.
| Goal | What to change |
|---|---|
| More Tartness | Increase lemon juice to 3/4 cup |
| Deeper Color | Swap white sugar for light brown sugar |
| Lighter Texture | Slice apples slightly thinner (1/8 inch) |
Serving Suggestions
When you're ready to bake, simply pour the filling into your chilled crust. Because the mixture is already thick, there is no need to pre-cook it just assemble and bake.
For a special touch, serve a warm slice of pie with a drizzle of my Caramel Sauce recipe. The saltiness of the caramel perfectly balances the sweetness of the Apple Pie Filling for Canning.
Assembling the Pie
I recommend a double crust. Roll out the bottom dough, fill it to the top, and then lay the top crust over it. Seal the edges firmly to prevent the glossy syrup from dripping onto your oven floor.
Other Ideas
You don't need to make a full pie every time. This filling is a great shortcut for quick desserts. Try spooning it over vanilla ice cream, using it to fill crepes, or layering it with yogurt and granola for a fancy breakfast. It's a versatile way to keep autumn flavors in your pantry all year.
Recipe FAQs
Is it better to water bath or pressure can apple pie filling?
Use a water bath canner. This method is safe and effective for the acidity levels provided by the apples and lemon juice.
How to make apple pie filling for canning?
Simmer sliced apples with lemon juice and water for 5 to 8 minutes. Stir in a blend of sugar, Clear Jel, and spices until the syrup becomes thick and glossy.
Is it true that regular cornstarch can replace Clear Jel for canning?
This one's false: Regular cornstarch breaks down during processing and causes the syrup to separate. Modified cornstarch is necessary for a stable, clear result.
What are the best apples for a tart canned filling?
Choose firm, tart varieties like Granny Smith or Jonathan to prevent the slices from mushing. Since you've mastered balancing fruit and acidity here, try applying those skills to this plum sauce.
Apple Pie Filling For Canning