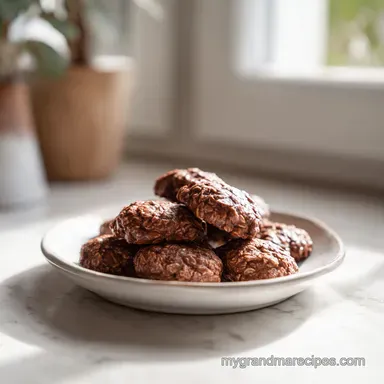
Classic No Bake Cookies: Fudgy and Chocolatey
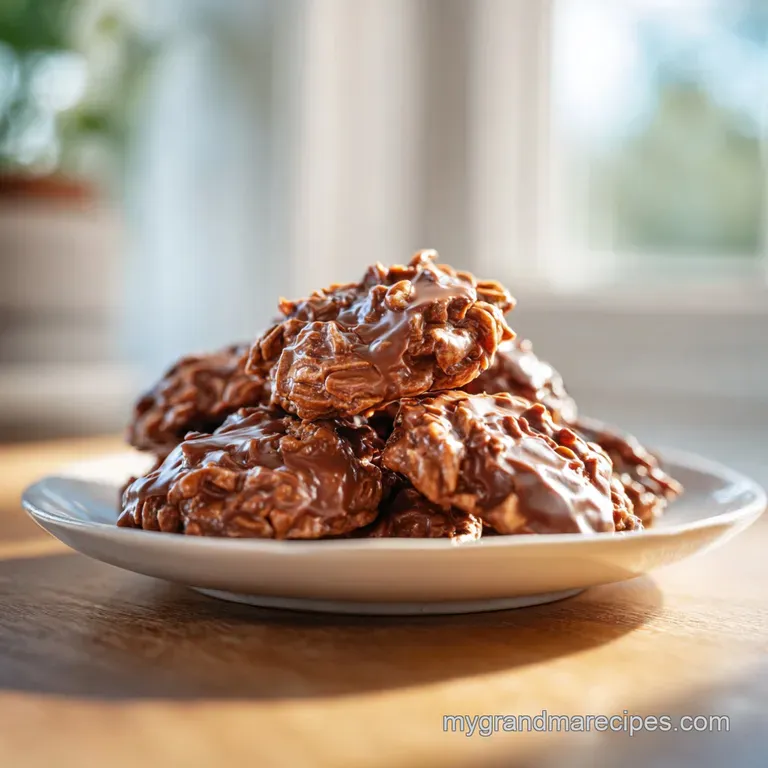
- Time: Active 5 minutes, Passive 5 minutes, Total 10 minutes
- Flavor/Texture Hook: Fudgy chocolate with chewy oats
- Perfect for: Last minute bake sales or rainy afternoons
- Why These Classic No Bake Cookies Work
- Component Analysis for Better Baking
- Simple Pantry Staples You Need
- Essential Tools for the Kitchen
- Simple Steps for the Fudgiest Results
- Fixing Texture and Setting Issues
- Tasty Twists on the Original
- Storage and Freezing for Later
- What to Serve with These
- Recipe FAQs
- 📝 Recipe Card
Why These Classic No Bake Cookies Work
The smell of chocolate and peanut butter hitting a hot pot is the scent of a rainy Tennessee afternoon in my grandma’s kitchen. I remember standing on a wooden stool, watching her clock the stove like a hawk because she knew the difference between a "soft" cookie and a "crumbly" one was a matter of seconds.
It wasn't about fancy thermometers; it was about the rhythm of the bubbles and the way the sugar transformed into silk right before our eyes.
These cookies were the bridge between generations in our house. When the humidity was too high for divinity or fudge, we turned to the stove for these. They are the ultimate budget-friendly comfort, using nothing but pantry staples that most of us already have tucked away.
There is a certain magic in watching a few basic ingredients turn into something so decadent in just five minutes of actual cooking time.
We don't need an oven, and we certainly don't need a lot of money to make these happen. Whether it was for a school bake sale or just a Tuesday treat, these were always the first to disappear from the platter.
They are chewy, intensely chocolatey, and have that salty sweet hit from the peanut butter that keeps you coming back for a second (or third) one before they've even fully cooled.
The Science of the Rolling Boil
Understanding the chemistry of the stovetop is what separates a gooey mess from a perfect cookie. We aren't just melting ingredients; we are creating a sugar syrup.
- Sucrose Breakdown: Boiling the sugar with milk and butter breaks down crystals, ensuring the final cookie isn't grainy or sandy on the tongue.
- Evaporation Control: The exact 60 second boil removes just enough moisture so the "candy" base sets firm at room temperature without becoming brittle.
- Starch Hydration: Folding in the oats while the mixture is hot allows the starches to swell slightly, creating a chewy rather than crunchy texture.
| Boil Time | Internal Texture | Final Result | Visual Cue |
|---|---|---|---|
| 30 seconds | Too much moisture | Gooey/Won't set | Shiny and runny |
| 60 seconds | Soft ball stage | Fudgy and firm | Holds shape perfectly |
| 90 seconds | Sugar overcooked | Dry and crumbly | Dull and sandy |
The timing starts the moment the bubbles are so vigorous that you cannot stir them down with a spoon. If you start the timer too early, when the bubbles are just at the edges, your cookies will stay soft and require a spoon to eat. This is a common mistake that is easily avoided by simply being patient with the heat.
Component Analysis for Better Baking
Getting the ingredients right is the first step toward grandma level success. We use specific items not because they are fancy, but because they behave in a predictable way when heat is applied. This recipe is a lesson in how fat, sugar, and fiber work together to create structure.
| Ingredient | Science Role | Pro Secret |
|---|---|---|
| Granulated Sugar | Structure & Sweetness | Use fresh sugar to avoid clumps that don't melt. |
| Unsweetened Cocoa | Flavor & Acidity | Dutch process cocoa provides a darker, smoother chocolate profile. |
| Quick Cooking Oats | Binding Fiber | These absorb the syrup faster than old-fashioned rolled oats. |
| Creamy Peanut Butter | Emulsifier & Fat | Avoid "natural" stir type butters as they can separate. |
If you find yourself missing an ingredient, don't panic. These are meant to be adaptable, which is why they've remained a staple in kitchens for decades. Just remember that changing the fat or sugar content will slightly alter how the cookies set on the parchment paper.
Simple Pantry Staples You Need
Most of these items are already sitting in your cupboard, waiting to be turned into a treat. I always keep a bag of quick oats and a tub of peanut butter specifically for this recipe because you never know when a chocolate craving will strike.
- 2 cups (400g) granulated sugar: This provides the bulk and the structure. Why this? It crystallizes during cooling to hold the oats together.
- 1/2 cup (115g) unsalted butter, cubed: Adds richness and fat. Why this? Cubing it ensures it melts evenly with the sugar.
- 1/2 cup (120ml) whole milk: The liquid base for our syrup. Why this? Whole milk provides a creamier mouthfeel than skim or water.
- 1/4 cup (25g) unsweetened Dutch process cocoa powder: For that deep chocolate hit. Why this? It dissolves easily without leaving lumps in the syrup.
- 1/4 tsp salt: A tiny amount to balance the sugar. Why this? Salt intensifies the chocolate and peanut butter flavors.
- 1/2 cup (130g) creamy peanut butter: The glue of the recipe. Why this? It adds protein and fat for a velvety finish.
- 1 tsp (5ml) pure vanilla extract: Added at the end for aroma. Why this? Heat kills vanilla flavor, so we stir it in off the flame.
- 3 cups (270g) quick cooking oats: The heart of the cookie. Why this? Their smaller size creates a more cohesive, tender bite.
| Original Ingredient | Substitute | Why It Works |
|---|---|---|
| Whole Milk | Evaporated Milk | Adds even more richness; same liquid ratio. |
| Creamy Peanut Butter | Almond Butter | Similar fat content. Note: Gives a more subtle, nutty flavor. |
| Unsalted Butter | Salted Butter | Works fine; just omit the extra 1/4 tsp of salt. |
If you're in the mood for a classic baked version with those mahogany edges and a different kind of chew, you've got to try my Chocolate Chip Cookies. They are the perfect counterpart to these stovetop treats when you actually have time to preheat the oven.
Essential Tools for the Kitchen
You don't need a stand mixer or a thermometer for this, which is the beauty of it. However, a heavy bottomed pot is your best friend here. Cheap, thin pots have hot spots that can scorch the sugar before the whole mixture reaches a boil, leading to a burnt taste that no amount of peanut butter can hide.
- 3 quart Saucepan: Needs to be heavy bottomed to distribute heat evenly.
- Wooden Spoon: Ideal for stirring the thick, sticky mixture without bending.
- Parchment Paper: Essential for easy removal once the cookies set.
- Cookie Scoop: A 2 tablespoon scoop ensures all 24 servings are the same size.
Chef's Note: If you don't have a cookie scoop, two large spoons work just as well. Use one to scoop and the other to push the mixture onto the tray. Work quickly, as the mixture starts to set as it cools!
Simple Steps for the Fudgiest Results
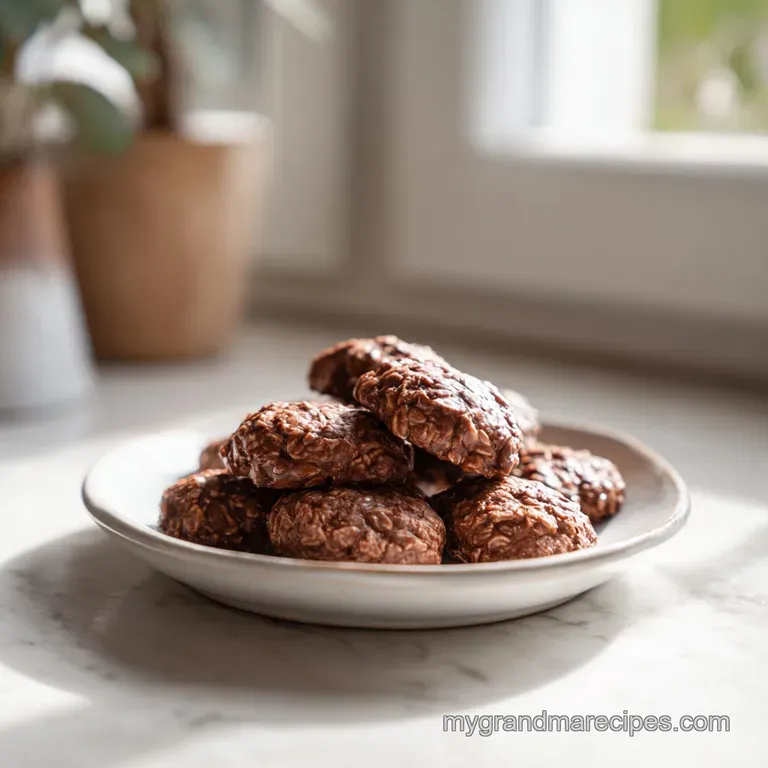
- Place the parchment paper on two large baking sheets before you even turn on the stove.
- In your 3 quart saucepan, combine the granulated sugar, cubed butter, whole milk, cocoa powder, and salt.
- Turn the heat to medium high and stir frequently with your wooden spoon.
- Wait for the mixture to reach a full rolling boil. Note: This means the entire surface is bubbling and you can't stir the bubbles away.
- Set your timer for exactly 60 seconds of boiling.
- Remove the pot from the heat the second the timer goes off.
- Stir in the creamy peanut butter and vanilla extract until the mixture is smooth and glossy.
- Fold in the 3 cups of quick cooking oats until every single flake is coated in chocolate.
- Drop 2 tablespoon mounds onto your prepared parchment paper using a scoop or spoons.
- Allow the cookies to rest for 20 minutes until firm and no longer shiny.
Fixing Texture and Setting Issues
One of the biggest frustrations with this recipe is when they just don't set. If your kitchen is particularly humid, or if you were a few seconds shy on the boil, you might end up with "pudding cookies." On the flip side, boiling too long makes them turn into dry, crumbly piles that fall apart when you touch them.
Cookies stay gooey and won't set
This usually happens because the sugar didn't reach the "soft ball" stage. If you live in a very humid environment, you might need to boil the mixture for 70 seconds instead of 60 to account for the moisture in the air.
If they are already scooped and won't set, try popping the tray into the fridge for 30 minutes.
Texture is dry and crumbly
You likely over boiled the mixture. Even 15 extra seconds can make the sugar too hard. If the mixture looks dry while you are still folding in the oats, add a teaspoon of milk to the pot to loosen it up. It won't be perfect, but it will help the cookies hold together.
| Problem | Root Cause | Solution |
|---|---|---|
| Grainy texture | Sugar didn't dissolve | Stir more frequently during the initial heating phase. |
| Spreading too much | Mixture too thin | Ensure a full rolling boil for the full 60 seconds. |
| Falling apart | Too many oats | Measure oats by weight (270g) for total accuracy. |
Common Mistakes Checklist
- ✓ Always use a timer; do not try to "eye ball" the one minute mark.
- ✓ Use quick oats instead of old-fashioned rolled oats for the best texture.
- ✓ Don't use "natural" peanut butter that has oil sitting on top.
- ✓ Ensure your butter is cubed so it melts before the milk starts to simmer.
- ✓ Let the cookies rest undisturbed; moving them too soon breaks the sugar bonds.
For a slightly different texture that skips the stovetop altogether and focuses purely on the nuttiness, check out these Peanut Butter No Bake Cookies. They are just as fast but offer a different flavor profile for the true peanut butter lovers out there.
Tasty Twists on the Original
Once you've mastered the classic, you can start playing with the add ins. I've seen people add shredded coconut or even a handful of mini chocolate chips to the mixture at the very end. Just be careful not to add too much "dry" material, or you'll throw off the ratio and the cookies won't stay together.
Nut Free Alternative
If you have an allergy in the house, you can swap the peanut butter for sunflower seed butter (like SunButter). It has a similar fat content and will help the cookies set in the same way. The flavor is slightly more earthy, but it pairs beautifully with the cocoa.
The Salted Caramel Twist
Instead of using plain salt, sprinkle a tiny bit of flaky sea salt on top of the cookies immediately after scooping them onto the parchment. The contrast between the salty flakes and the sweet chocolate fudge is incredible.
| Variation | Change | Result |
|---|---|---|
| Mocha | Add 1 tsp espresso powder | Deepens the chocolate flavor significantly. |
| Coconut | Replace 1/2 cup oats with coconut | Adds a tropical chew and extra sweetness. |
| Double Chocolate | Add 1/4 cup mini chips at end | Chips will partially melt for a swirl effect. |
Storage and Freezing for Later
Keeping these fresh is easy because the sugar acts as a natural preservative. They will stay perfectly fudgy in an airtight container at room temperature for about a week. If your house is warm, I actually prefer keeping them in the fridge, they get a little snappier and are incredibly refreshing on a hot day.
For long-term storage, you can freeze these for up to 3 months. Place them in a single layer on a tray to freeze solid first, then toss them into a freezer bag. This prevents them from sticking together. When you want one, just let it sit on the counter for 10 minutes, and it'll be ready to eat.
To use up the "dust" at the bottom of the container, don't throw it away! Those chocolatey oat crumbs are absolute gold when sprinkled over a bowl of vanilla bean ice cream or stirred into your morning yogurt.
What to Serve with These
These are quite rich, so they pair best with something that cuts through the sweetness. A cold glass of whole milk is the traditional choice, but a strong cup of black coffee is my personal favorite. The bitterness of the coffee brings out the floral notes in the vanilla and the richness of the Dutch process cocoa.
- If you want a party platter, serve these alongside some tart green apple slices.
- If you want a decadent dessert, warm one up for 10 seconds and crumble it over a scoop of salted caramel gelato.
- If you want a kid friendly snack, pair them with some fresh strawberries.
Culinary Myths
One common myth is that you must use a candy thermometer. While you can use one to look for 235°F to 240°F, it's actually harder because the volume of the liquid is often too shallow for the probe to get an accurate reading.
Trusting the visual cue of the rolling boil is much more reliable for the home cook. Another myth is that you can't use margarine. While butter tastes better, margarine works because it has a similar fat to water ratio; just avoid the "light" spreads which have too much water and won't allow the cookies to set.
Recipe FAQs
Why did my cookies turn out dry or crumbly?
You likely boiled the sugar mixture for longer than 60 seconds. Boiling past the one-minute mark evaporates too much moisture, which ruins the final texture and prevents the sugar from setting properly.
Can I use old-fashioned rolled oats instead of quick-cooking oats?
No, stick with quick-cooking oats for the best results. Old-fashioned oats have a much larger, chewier texture that prevents the cookies from holding together properly in this specific ratio.
How to ensure the cookies set firmly without moving them?
Scoop the mixture directly onto a parchment-lined baking sheet and leave them untouched for 20 minutes. Moving them too early disrupts the formation of the sugar bonds, which are critical for achieving the right structure.
Is it true I can use natural peanut butter with the oil layer on top?
No, this is a common misconception. The separation of oil in natural peanut butter causes the cookies to stay greasy and prevents them from setting, so always use shelf-stable creamy peanut butter.
How to prevent the butter from scorching before the milk simmers?
Cube your butter before adding it to the saucepan to ensure even melting. If you enjoyed mastering this heat-management technique, the same principles of fat-to-liquid control apply to our buttery caramel bars.
How to tell when the sugar mixture reaches a full rolling boil?
Watch for large bubbles that continue to pop even when you stir the mixture. A true rolling boil means the heat is uniform throughout the pan, which is the only way to ensure the sugar reaches the temperature needed to set the cookies.
Should I store these in the refrigerator?
Optional, but recommended if your kitchen is warm. Storing them in the fridge keeps them snappy and firm, though they will stay fresh in an airtight container at room temperature for up to one week.
Classic No Bake Cookies in 10 Minutes with Cocoa Powder