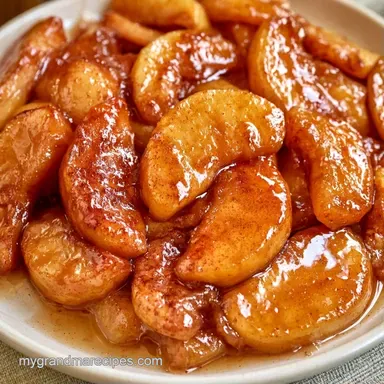
Make Ahead Apple Pie Filling: Glossy and Spiced
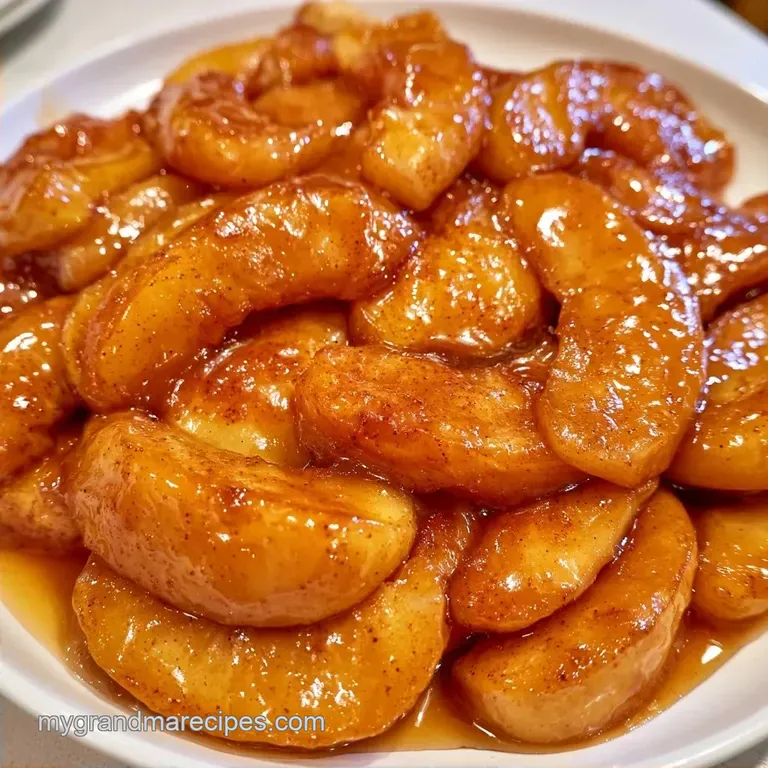
- Time: 20 min active + 15 min cooking
- Flavor/Texture Hook: Glossy, spiced syrup with tender apple slices
- Perfect for: Holiday meal prep, busy bakers, and avoiding soggy crusts
The scent of browned butter and cinnamon wafting through the house always reminds me of the patient way my grandmother baked in the South. She never rushed her process. I recall a time when I tried to be "modern" by simply piling raw apples into a crust, assuming the oven would do all the work.
I ended up with a collapsed top and a bottom crust that felt like a wet sponge.
Don't believe the myth that raw fruit is the only way to get an authentic taste. Many bakers worry that pre-cooking the apples will make them mushy or dull the flavor, but the opposite is true. By applying heat on the stove first, you control the moisture levels and ensure the fruit doesn't slump.
This make ahead Apple Pie Filling transforms your baking routine, providing a consistently rich result without the uncertainty. It's also a budget friendly approach, as it allows you to use a variety of apple types to keep costs down while maintaining a high-quality flavor.
Why This Technique Works
- Moisture Control: Pre cooking evaporates the water that usually leaks out in the oven, which keeps your crust crisp.
- Starch Activation: Heating the cornstarch slurry on the stove ensures the sauce thickens fully before it ever hits the pastry.
- Texture Balance: Using a mix of apples prevents the filling from turning into a puree during the final bake.
| Method | Prep Time | Texture | Best For |
|---|---|---|---|
| Raw Filling | Fast | Variable/Runny | Quick rustic tarts |
| Pre Cooked | Medium | Consistent/Glossy | Traditional deep dish pies |
Ingredient Deep Dive
| Ingredient | Role | If You Don't Have It |
|---|---|---|
| Granny Smith/Honeycrisp | Structure and tartness | Use Braeburn or Pink Lady |
| Cornstarch | Thickening agent | Use 3x the amount of all purpose flour |
| Brown Sugar | Depth and color | Use coconut sugar or more white sugar |
| Lemon Juice | Prevents browning | Use apple cider vinegar |
The Shopping List
- 6 cups (1.4kg) peeled and sliced apples Why this? Using different types ensures a balance of tartness and sweetness.
- 1 tbsp (14g) lemon juice Why this? Keeps the fruit looking fresh and adds a bright tang.
- 3/4 cup (150g) light brown sugar, packed Why this? Gives the syrup a deep mahogany hue.
- 1/4 cup (50g) granulated sugar Why this? Provides a clean, straightforward sweetness.
- 2 tbsp (16g) cornstarch Why this? Thickens the fruit juices into a glossy glaze.
- 1 tbsp (8g) ground cinnamon Why this? The essential warm spice base.
- 1/2 tsp (2g) ground ginger Why this? Adds a hint of peppery warmth.
- 1/4 tsp (1g) ground nutmeg Why this? Provides a classic, aromatic depth.
- 1 tsp (5ml) vanilla extract Why this? Ties the sweetness and spices together.
- 2 tbsp (28g) unsalted butter Why this? Enhances the richness and helps the sugar dissolve.
Recipe Specs
- Yield: 8 servings
- Prep time:20 minutes
- Cook time:15 minutes
- Total time:35 minutes
Stuff You Need
Simple tools are all you need. A large, heavy bottomed pot or a deep skillet is ideal for distributing heat evenly and preventing the sugar from scorching. I typically use stainless steel so I can watch the syrup bubble. You'll also need a whisk for the slurry and a sturdy spoon to stir the apples.
Step by step Guide
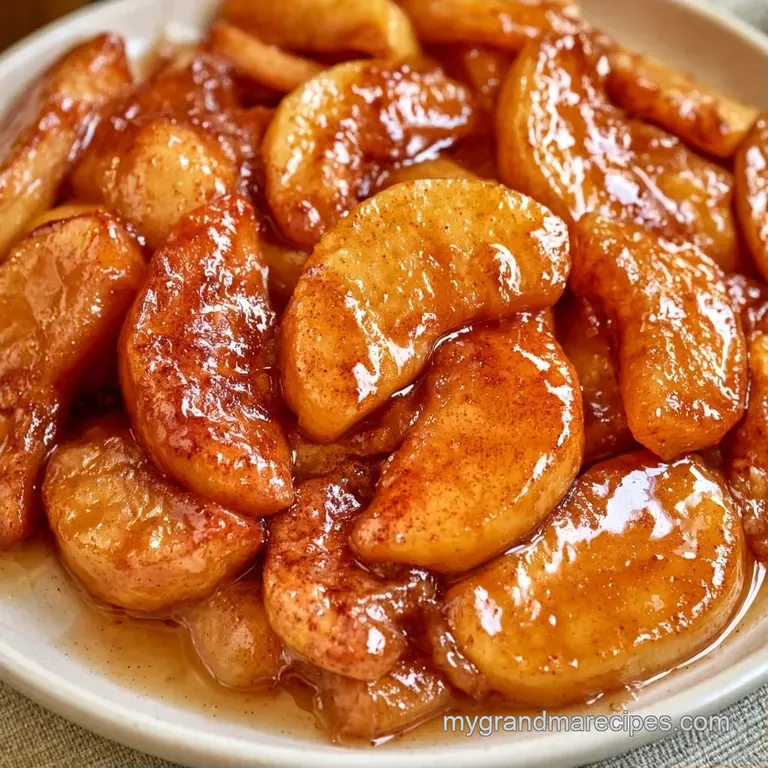
- Place the butter in your pot and melt it over medium heat. Note: Use medium heat to avoid browning the butter too quickly.
- Mix in the brown and granulated sugars. Whisk continuously for 1-2 minutes .
- Incorporate the sliced apples, lemon juice, cinnamon, ginger, and nutmeg. Stir thoroughly so each piece is evenly coated.
- Simmer for 8-10 minutes, stirring every so often, while remaining intact.
- Combine the cornstarch and 2 tbsp of cold water in a small bowl, whisking until smooth.
- Stir the slurry into the simmering apples. Continue whisking for 1-2 minutes .
- Mix in the vanilla extract and take the pot off the heat. Note: Adding vanilla at the end keeps the flavor from evaporating.
Fixing Common Issues
If your filling feels off, it's usually a matter of heat or timing. If the sauce is too thin, you likely didn't let the slurry boil for a full minute. The cornstarch needs that hit of heat to activate.
For apples that turned into mush, you probably simmered them too long or used a variety that lacks structure. For next time, try sticking to Granny Smiths.
Filling Too Runny
The heat was too low or the slurry didn't cook through. Mix 1 tsp cornstarch with 1 tsp water and stir into the hot filling.
Apples Too Mushy
Overcooked during the simmer phase. Reduce cooking time by 2 minutes in the next batch.
Flavor Too Tart
Too much lemon or very acidic apples. Stir in an extra tablespoon of brown sugar.
| Problem | Fix |
|---|---|
| Runny sauce | Add extra cornstarch slurry and boil 1 min |
| Mushy apples | Reduce simmer time by 2 mins |
| Too tart | Add 1 tbsp brown sugar |
Changing the Size
When scaling your make ahead Apple Pie Filling, be careful with the thickeners. If you're cutting the recipe in half, use exactly half the cornstarch and sugar, but keep the lemon juice almost the same to maintain the brightness. Use a smaller saucepan to prevent the syrup from spreading too thin and burning.
For doubling or tripling the batch, don't just triple the spices. I've found that cinnamon and nutmeg can become overwhelming in large amounts, so increase spices to 1.5x first and taste.
Work in batches if your pot is too small, as overcrowding the apples will lead to steaming rather than sautéing, which ruins the texture.
Common Pie Myths
Searing the apples "locks in" the juice. That's not true. Cooking them first is about removing excess water and controlling the thickness of the syrup, not about sealing the fruit.
You must use only one type of apple for a "traditional" taste. Actually, the best pies use a blend. Mixing a tart apple with a sweet one creates a more complex flavor than any single variety can offer.
Keeping It Fresh
Saving your make ahead Apple Pie Filling is a wonderful way to prepare in advance. Transfer the cooled mixture into a glass jar or a freezer safe container. It keeps well in the refrigerator for 4 days.
For longer storage, place the filling in airtight containers and freeze it for 3 months. To use it, let it thaw in the fridge overnight. If you're short on time, use the microwave on low, stirring every 30 seconds to avoid hot spots.
To minimize waste, don't discard your apple peels. Toss them with a pinch of cinnamon and sugar, then air fry at 350°F for 5 minutes for a quick snack.
How to Serve
This filling is great in a traditional double crust pie, but it's also a win as a topping for pancakes or vanilla ice cream. If you're hosting a dessert party, this pairs well with a few Jam Thumbprint Cookies for a variety of textures on the platter.
For a cozy winter vibe, serve it warm in a bowl with a dollop of whipped cream. It's a great way to enjoy the flavors without having to bake a whole pie.
Twists and Swaps
To add more complexity to the taste, stir in a tablespoon of bourbon or dark rum along with the vanilla. For a more indulgent treat, drizzle some Easy Caramel Sauce recipe over the slices before you bake the pie.
| Original Ingredient | Substitute | Why It Works |
|---|---|---|
| Cornstarch | Arrowroot Powder | Similar thickening; better for clear glazes |
| Brown Sugar | Maple Syrup | Adds woody sweetness; reduce other liquids |
| Butter | Coconut Oil | Vegan friendly fat; adds a slight coconut note |
Want a vegan option? Simply replace the butter with coconut oil or a vegan butter substitute. All other ingredients are naturally plant based. If you need a gluten-free alternative, this recipe is already gluten-free, provided your cornstarch is certified.
Prepping this apple pie filling in advance is a great way to ensure a stress free dessert.
Recipe FAQs
Can I prepare apple pie filling in advance?
Yes, it saves time on baking day. Simply cool the filling completely before storing it in the refrigerator.
How do I pre-cook apple pie filling?
Simmer the apples and sugars for 8-10 minutes. Continue the recipe steps until the sauce thickens into a glossy glaze, then cool before use.
Which method thickens an overly watery apple pie filling?
Whisk cornstarch with cold water to create a slurry. Pour it into the bubbling mixture and stir for 1-2 minutes until the desired thickness is reached.
Is a store-bought crust acceptable for an apple pie?
Yes, it is a great time saver. Just ensure the crust remains chilled before adding your filling to maintain a flaky texture.
How to make store bought pie fillings taste homemade?
Stir in ground cinnamon and ginger. Adding a pinch of nutmeg and vanilla extract also mimics the depth of a scratch made version.
Should you refrigerate apple pie after baking?
No, it is best kept at room temperature. Keeping it on the counter preserves the crust's crispness and the filling's ideal texture.
Is it true that making apple pie filling from scratch is too time consuming?
This one's false: The whole process takes just 35 minutes. If you liked the blend of sweetness and tang here, check out our lemon bars for a similar approach to acidity.
make ahead Apple Pie Filling