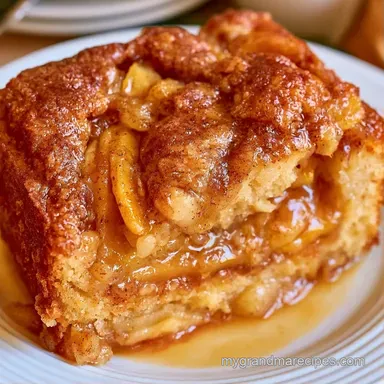
Golden Apple Pie Filling Dump Cake
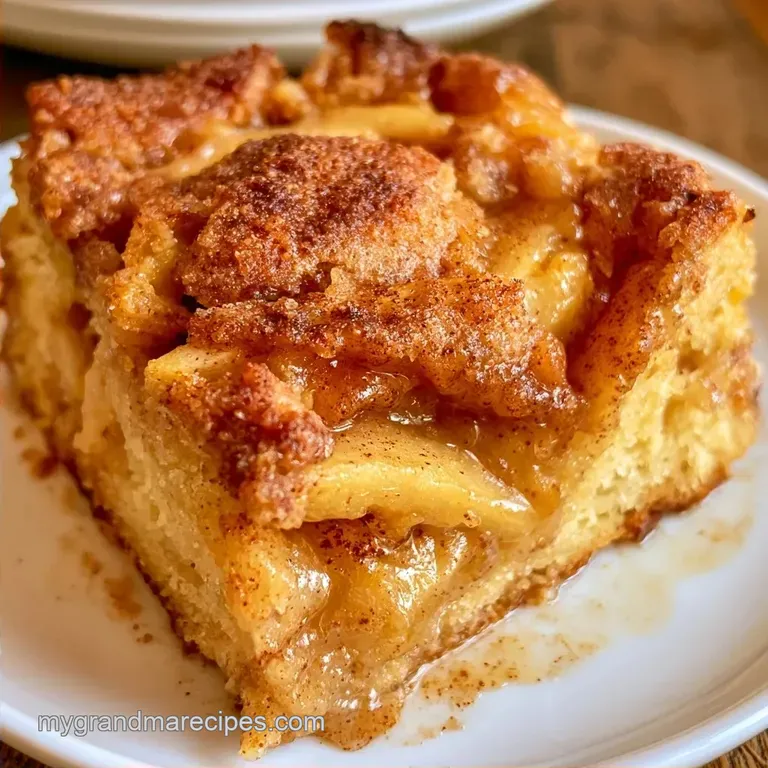
- Time: 10 min active + 45 min baking
- Taste & Texture: Bubbling cinnamon apples with a golden, crisp topping
- Ideal for: Potlucks, budget-friendly treats, or beginners who dislike rolling dough
The aroma of cinnamon and browned butter wafting from the oven is instantly inviting. It’s a nostalgic, Southern comfort scent that brings back memories of church socials and family reunions, where the goal was to feed a large group without spending the entire day over the stove.
I first prepared this for a neighbor's homecoming party years ago. Since I didn't have the time for a traditional crust, I used this "dump" technique. Everyone wondered if I'd spent the afternoon preparing the filling, not realizing that a couple of cans had done all the heavy lifting.
The final result is a dessert that falls somewhere between a cake and a cobbler. This Apple Pie Filling Dump Cake provides a tender, fruit rich center and a topping that crumbles and crisps perfectly.
Why This Simple Dessert Hits the Spot
The Butter Layer: Melting the butter and drizzling it over the dry mix creates a rich, shortbread like texture. It prevents the cake mix from staying powdery and helps it brown in the oven.
Filling Stability: Canned fillings have thickeners that don't break down as easily as fresh apples. This means you get a consistent, jammy consistency every time, regardless of how juicy the apples are.
Cinnamon Boost: Adding a bit of extra cinnamon to the fruit layer bridges the gap between the boxed cake flavor and the fruit, making it taste more like a homemade treat.
The Basic Pantry List
| Ingredient | What It Does | Best Swap |
|---|---|---|
| Apple Pie Filling | Provides sweetness and bulk | Stewed apples with sugar |
| Cake Mix | Forms the buttery crust | Almond flour + sugar mix |
| Unsalted Butter | Adds richness and browning | Coconut oil (melted) |
| Ground Cinnamon | Adds warm, woody spice | Apple pumpkin pie spice |
Full Ingredients: 2 cans (21 oz each) apple pie filling 1 tsp ground cinnamon 1 box (15.25 oz) yellow or white cake mix 3/4 cup unsalted butter, melted 1/4 tsp salt Why this? Balances the high sugar in the filling
Substitution Guide:
| Original Ingredient | Substitute | Why It Works |
|---|---|---|
| Yellow Cake Mix | White Cake Mix | Very similar profile, slightly less buttery taste |
| Unsalted Butter | Salted Butter | Works fine. Note: Skip the extra 1/4 tsp salt |
| Canned Filling | Fresh Apples | Sliced Granny Smiths. Note: Must sauté first to avoid a watery cake |
The difference between using fresh fruit and the shortcut is mostly about time and moisture. Fresh apples release a lot of water, which can make the bottom of your pan soggy if you don't pre cook them.
| Approach | Prep Time | Result |
|---|---|---|
| Canned Shortcut | 10 minutes | Consistent, jammy, and sweet |
| Fresh Sliced | 30 minutes | Tart, textured, and more rustic |
Quick Timing and Yield
This recipe is designed for a standard 9x13 inch pan. It serves about 15 people, making it a great option for crowds.
- Prep Time: 10 minutes
- Bake Time: 45 minutes
- Total Time: 55 minutes
- Oven Temp: 350°F (175°C)
Kitchen Tools for the Job
No special equipment is necessary for this recipe. A standard 9x13 inch baking dish is all you need. I suggest using glass or ceramic, as these materials retain heat better. You will also need a spatula to spread the fruit and a microwave safe bowl for the butter.
Step-by-step Baking Guide
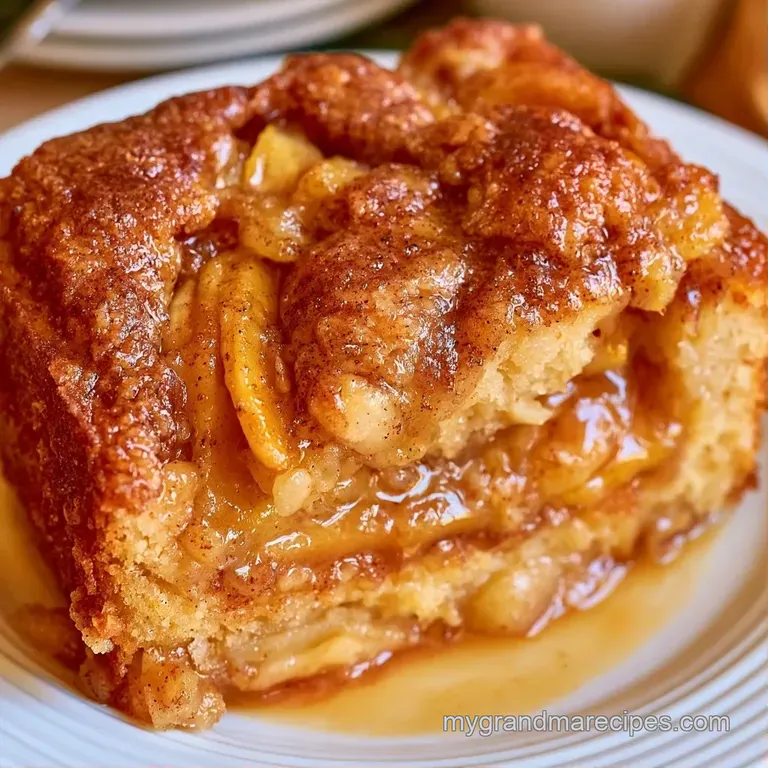
Phase 1: The Foundation
- Set your oven to 350°F (175°C).
- Coat a 9x13 inch baking pan with cooking spray or a small amount of butter.
- Pour both cans of apple pie filling into the pan and spread the fruit evenly with a spatula.
- Dust 1 tsp of ground cinnamon and 1/4 tsp of salt over the apples. Note: This keeps the top from tasting too plain compared to the filling.
Phase 2: The Layering
- Scatter the dry cake mix evenly across the top. Do not stir the powder into the fruit.
- Drizzle the melted butter over the cake mix. Note: Target any dry patches so no white powder remains.
Phase 3: The Bake
- Slide the pan onto the oven's center rack.
- Bake for 40–45 minutes until the top is golden brown and crisp and the edges are bubbling.
Fixing Common Baking Hiccups
Dealing with Dry Patches
If you see white, floury spots on top after 20 minutes, the butter didn't cover everything. Quickly take the pan out and gently press those spots down with a buttered spoon or drizzle a tiny bit of extra melted butter over them.
Managing a Runny Center
A gooey center usually happens if the filling was too thin or the oven temperature was too low. If the top is brown but the middle is still liquid, bake for another 5 to 10 minutes. Let the dish sit for at least 15 minutes after removing it from the oven to allow the starches to set.
Fixing a Burnt Top
If the cake mix browns too quickly before the fruit bubbles, slide a piece of aluminum foil over the top. This protects the crust while the heat continues to penetrate the apple layer.
Saving Leftovers for Later
Store any remaining slices in a sealed container in the refrigerator for a maximum of 4 days.
To maintain a crisp crust, skip the microwave when reheating. Instead, place individual servings in a toaster oven or an oven preheated to 300°F (150°C) for 10 minutes.
To minimize waste, don't throw away any cake mix left in the box. Combine it with a bit of sugar and melted butter to make a quick crumble for your morning yogurt.
Best Ways to Plate It
Serve this dessert warm to fully enjoy its richness. Pairing it with vanilla bean ice cream is a timeless approach, as the chilled cream contrasts beautifully with the warm cinnamon.
To make it even more decadent, add a drizzle of caramel sauce over the top. The saltiness of the sauce helps balance the sweetness of the boxed mix.
Twist Your Apple Dump Cake
Nutty Texture: Scatter 1/2 cup of crushed walnuts or pecans over the cake mix before adding the butter. This introduces a salty, earthy crunch that complements the apples.
Spice Cake Option: Opt for a spice cake mix instead of yellow cake. This deepens the flavor and gives the dessert a nostalgic, autumnal feel.
Pear Variation: Swap one can of apple filling for pear filling to achieve a lighter, more floral taste.
If you're looking for another quick bake, try these banana muffins for a different kind of comfort food.
Customization Guide:
| Goal | What to change |
|---|---|
| More tartness | Add 1 tbsp lemon juice to filling |
| Extra crunch | Add 1/4 cup brown sugar to top |
| Less sweet | Use 1 can filling + 2 cups fresh apples |
Kitchen Truths
While searing fruit doesn't "lock in" flavor, it does help eliminate excess water. If you opt for fresh apples instead of canned, sauté them for 5 minutes first. Per testing from Serious Eats, reducing the moisture in the fruit prevents the cake base from turning out gummy or soggy.
It is also a myth that you need to stir the cake mix into the fruit. The goal of a dump cake is the layering. Stirring the mix creates a dense, bread like texture rather than the light, crisp topping this recipe is known for.
Recipe FAQs
What can I do with a can of apple pie filling?
Create an effortless dessert like a dump cake. It serves as a pre-sweetened, thickened base that requires minimal prep time.
How do I make a dump cake with pie filling?
Spread apple filling in a greased 9x13 dish. Sprinkle cake mix on top, drizzle with melted butter, and bake at 350°F for 40-45 minutes.
What is the biggest mistake to avoid when making a dump cake?
Mixing the batter into the fruit. Keeping the layers separate ensures the top bakes into a crisp crust while the bottom stays syrupy.
Is it true that stirring the cake mix into the fruit creates a better texture?
No, this is a common misconception. Stirring leads to a dense, gummy mess instead of the desired light, golden brown crust.
Can you make apple pie filling at home?
Yes, by simmering diced apples with sugar and thickeners. If you loved the sweet tart balance in this recipe, see how we use a similar profile in our jam thumbprint cookies.
What's the secret to making store-bought pie fillings taste homemade?
Add a dash of cinnamon and a pinch of salt. These simple additions brighten the canned flavor and reduce the processed taste.
Why does the cake topping remain floury after baking?
Butter didn't cover all the dry mix. Focus your drizzle on the edges and any visible powder to ensure the crust fully cooks.
Apple Pie Filling Dump Cake