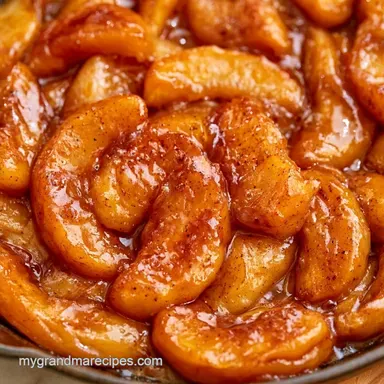
Quick Skillet Apple Pie: Crispy Crust
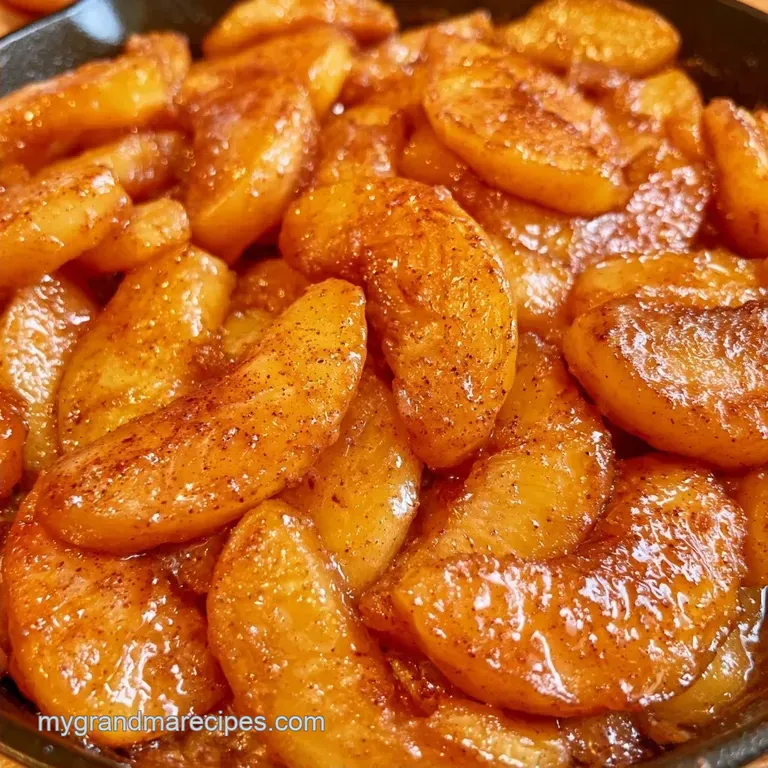
- Time:15 minutes prep + 45 minutes baking
- Flavor/Texture Hook: Bubbling cinnamon-spiced apples beneath a crisp, sugary shell
- Perfect for: Spontaneous dessert cravings or a relaxing Sunday treat
- Quick Skillet Apple Pie
- Why the Skillet Method Works
- The Core Recipe Details
- Gather Your Ingredients
- The Essential Kitchen Tools
- Bringing Everything Together
- Preventing Common Baking Issues
- Ways to Customize Flavor
- Adjusting the Serving Size
- Common Baking Misconceptions
- Keeping Leftovers Fresh
- Plating and Serving Tips
- Recipe FAQs
- 📝 Recipe Card
Quick Skillet Apple Pie
There is nothing more disappointing than cutting into a beautiful pie only to find a layer of gummy, pale dough at the bottom. I spent years fighting that "wet crust" problem, often ending up with a dessert that looked great on top but felt like a sponge underneath.
It usually happens because the apple juices pool at the base, soaking the dough before the heat can actually crisp it up.
The fix isn't a fancy tool, but a heavy cast iron pan and a higher oven temperature. By cranking the heat to 400°F and using a skillet, we create a heat reservoir that sears the bottom crust almost instantly.
This Quick Skillet Apple Pie gives you those charred, caramelized edges and a center that stays tender but not mushy.
You can expect a rustic, home style dessert that tastes like it spent all afternoon in the oven, even though it only takes an hour from start to finish. It's a budget-friendly win that relies on basic pantry staples to deliver a huge amount of comfort.
Why the Skillet Method Works
- Cast Iron Heat: The heavy metal holds heat better than glass or ceramic, pushing warmth directly into the bottom crust to prevent sogginess. It's similar to the heavy bottomed approach I use for Homemade Chicken Pot Pie, where the crust needs a quick sear to stay flaky.
- Rapid Evaporation: Because the skillet is shallower and wider than a deep dish, the apple juices bubble and reduce faster, creating a thick syrup instead of a watery soup.
- over High heat Browning: Baking at 400°F triggers a faster browning process on the top crust, giving it that deep mahogany color and a sugary crunch without overcooking the fruit.
| Method | Time | Texture | Best For |
|---|---|---|---|
| Traditional Oven | 1.5 - 2 hours | Soft, uniform crust | Formal dinner parties |
| Skillet Method | 60 minutes | Crispy edges, tender center | Fast cravings & casual treats |
The Core Recipe Details
When you're making this, keep these three numeric checkpoints in mind to ensure it turns out right. First, the oven must hit 400°F before the pan goes in. Second, the bake time should be between 30 and 40 minutes, depending on your oven's hot spots.
Third, let the pie rest for exactly 10 minutes before slicing so the filling sets.
- For a crispier top
- Increase the coarse sugar by a pinch.
- For softer apples
- Slice them slightly thicker.
- For a sturdier crust
- Chill the refrigerated dough for 10 minutes before pressing it into the pan.
Gather Your Ingredients
Ingredient Deep Dive
| Ingredient | Role | If You Don't Have It |
|---|---|---|
| Granny Smith Apples | Tartness and structure | Honeycrisp or Braeburn |
| Cornstarch | Thickens the juices | Flour (use 1 tbsp more) |
| Unsalted Butter | Creates a moisture barrier | Coconut oil (melted) |
| Brown Sugar | Deep caramel flavor | Maple syrup (reduce other liquids) |
Main Components
For the Filling 600g peeled and sliced Granny Smith or Honeycrisp apples Why this? Holds shape better than softer varieties 100g light brown sugar, packed 15g ground cinnamon 15ml fresh lemon juice Why this? Prevents oxidation and balances sweetness 20g cornstarch 1.5g salt
For the Base and Top 400g refrigerated pie crusts (two 9 inch rounds) 55g unsalted butter, melted 15ml heavy cream 8g coarse sugar
For the Optional Crumb Topping 65g all purpose flour 40g rolled oats 50g cold unsalted butter, cubed 38g brown sugar
The Essential Kitchen Tools
No high-end equipment is necessary, but the pan is the one thing you shouldn't substitute. A 10-inch cast iron skillet is the gold standard for this recipe, as the thick metal prevents the bottom from staying raw.
Gather a spacious bowl for the apples, a pastry brush for the cream, and a sharp knife for slicing. While a stand mixer like a KitchenAid can be used to work the butter into the crumb topping, using your fingers is just as effective and gives you a better sense of the texture.
Bringing Everything Together
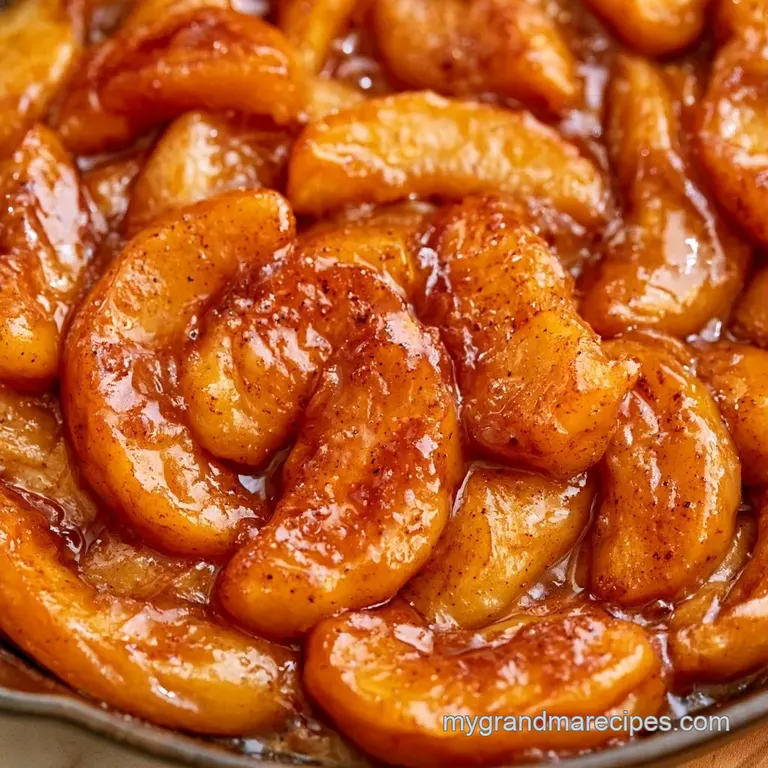
1. Preparing the Quick Apple Pie Filling
Combine the sliced apples, lemon juice, brown sugar, cinnamon, salt, and cornstarch in a large bowl. Stir until the apples are well-coated and glossy. Let the mixture rest for 5 minutes; this is a crucial step, as it allows the sugar to extract the juices so they can thicken while baking.
2. Assembling the Cast Iron Skillet Apple Pie
Preheat your oven to 400°F (200°C). Pour 55g of melted butter into a 10 inch skillet, coating the bottom and sides. Fit the first crust round into the pan, pressing it gently against the bottom and up the sides. Spread the apple mixture over the crust and level it with a spoon.
3. Adding the Top and Finishing
Lay the second crust round over the apples. Trim any excess dough and pinch the edges firmly to seal the pie. Brush the top with heavy cream and scatter coarse sugar across the surface.
Chef's Tip: For a crumb topping, skip the second crust. Mix the flour, oats, brown sugar, and cold butter until crumbly, then scatter it over the apples instead.
4. The High-Heat Bake
Place the pan in the oven. Bake for 30–40 minutes. The crust should be a deep mahogany brown and the juices should bubble thick and slow around the edges. Remove the skillet and let it cool for 10 minutes.
This resting period is essential to ensure the filling doesn't run when sliced.
Preventing Common Baking Issues
A common grievance with this Quick Skillet Apple Pie is the "leaking" filling. This generally happens when apple slices are too thick or the cornstarch isn't thoroughly incorporated. When the starch isn't evenly distributed, you end up with thin, watery pockets that soak into the dough.
Another challenge is a top crust that chars before the apples soften. Since cast iron distributes heat so intensely, certain ovens have "hot spots" that brown the top prematurely. If the crust looks dark brown by the 20 minute mark, simply cover it with a piece of foil or parchment paper for protection.
Soggy Bottom Fixes
If your base stays soft, you probably didn't preheat the skillet sufficiently or used an excessive amount of filling. Ensure the melted butter is spread evenly and avoid filling the pan beyond the edges of the crust.
Browned Crust Signs
A perfectly baked crust should be a deep brown, not just golden. If it remains pale, it will likely taste doughy. Hold out for that dark, toasted shade.
| Problem | Fix |
|---|---|
| Gummy bottom crust | Increase oven temp or pre heat the pan with butter |
| Filling is too runny | Add 5g more cornstarch to the apple mix |
| Top crust burnt | Cover with foil after 20 minutes |
| Apples are too hard | Slice thinner or let them sit in sugar longer |
Ways to Customize Flavor
You can easily switch the fruit to change the character of this dessert. Pears work wonderfully in a Quick Skillet Apple Pie, though because they are softer, I recommend adding an extra 5g of cornstarch to account for the extra moisture.
To add a unique touch, try incorporating a pinch of cardamom or ground ginger into the cinnamon mix. This brings a warm, spicy depth that balances the sweetness of the brown sugar.
Flavor Twists
Stir 30g of chopped pecans or walnuts into the crumb topping for a salty, earthy crunch. Another excellent option is to add a small dollop of cream cheese or goat cheese to each slice before serving for a tangy contrast.
Diet Swaps
For a gluten-free alternative, replace the all-purpose flour in the crumble with almond flour. Be aware that almond flour adds more moisture, making the topping denser. If you prefer to avoid dairy, coconut oil serves as a direct substitute for the butter in the skillet.
If you're looking for another fruit-filled treat, my Homemade Banana Muffins are a wonderful choice for a quick bake.
Adjusting the Serving Size
Making this for a crowd? If you want to double the recipe, don't just double the time in the oven. Instead, use two 10 inch skillets. If you try to put all the filling into one giant pan, the center will never cook through, and you'll end up with a raw middle and burnt edges.
For a smaller version, you can make mini skillet apple pies using 5 inch cast iron pans. Reduce the filling by half and bake for about 20–25 minutes. Since the surface area is smaller, they cook much faster.
When scaling up the spices, be careful. I usually only increase the cinnamon and salt to 1.5x rather than 2x. Too much cinnamon can become bitter and overpower the natural sweetness of the apples.
Common Baking Misconceptions
One big myth is that you have to peel the apples for a skillet pie. While peeling gives a cleaner look, leaving the skins on adds extra fiber and keeps the apple slices from breaking down too much. Serious Eats' testing suggests that keeping some skin on can actually help the fruit maintain its shape.
Another common belief is that low heat is the only way to get "tender" apples. In reality, the high heat of a skillet caramelizes the sugars on the outside of the apple while the internal steam cooks the inside. This creates a better contrast in texture than a slow, low temp bake.
Keeping Leftovers Fresh
This pie is most delicious served warm, though it keeps quite well. Store leftover slices in an airtight container; they'll keep for about four days in the refrigerator. To reheat, avoid the microwave to prevent the crust from becoming rubbery; instead, warm a slice in the oven at 350°F for 5–10 minutes.
If you prefer to save the pie for later, you can freeze it before baking. Wrap the skillet tightly in plastic wrap and foil. Before baking, let the pie thaw in the refrigerator overnight. Increase the total baking time by roughly 5–10 minutes.
To reduce waste, don't discard your apple peels and cores. Boil them along with water and cinnamon to create a quick apple cider syrup for pancakes.
Plating and Serving Tips
The beauty of a Quick Skillet Apple Pie is its rustic look. I love serving it straight from the pan in the center of the table. It feels more like a shared family experience than a formal dessert.
For the best presentation, pair a warm slice with a scoop of cold vanilla bean ice cream. The heat from the pie melts the ice cream into a creamy sauce that fills the gaps in the crust. If you want something a bit lighter, a dollop of Greek yogurt with a drizzle of honey provides a great tangy contrast.
Slice the pie into eighths using a sharp serrated knife to avoid crushing the delicate crust. If the filling is particularly juicy, use a spatula to make sure you get every bit of that cinnamon syrup on the plate.
Recipe FAQs
How do I bake an apple pie in a skillet?
Press a crust into a buttered 10-inch cast iron skillet, fill with the apple mixture, and top with a second crust. Bake at 400°F for 30–40 minutes until the edges are deep mahogany-brown.
Is it true that apples must be pre-cooked before baking?
This one's false: Toss fresh slices with sugar and cornstarch then let them sit for 5 minutes. This process draws out juices without needing a separate cooking step.
Can store-bought crusts be used for this recipe?
Use refrigerated pie crust rounds for a faster process. If you enjoyed working with a prepared dough here, see how we handle a different Sourdough Crust recipe for savory pies.
What is the best way to thicken watery filling?
Stir in a bit more cornstarch to the apple mixture before adding it to the crust. This absorbs excess moisture to prevent the bottom from getting soggy.
Should the pie be refrigerated after it cools?
Keep the pie at room temperature for a few hours after baking. Move it to the refrigerator only if you aren't eating it all the same day.
Quick Skillet Apple Pie for 8 Servings