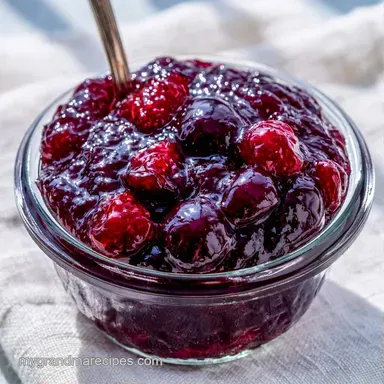
Homemade Plum Jam with Fresh Plums
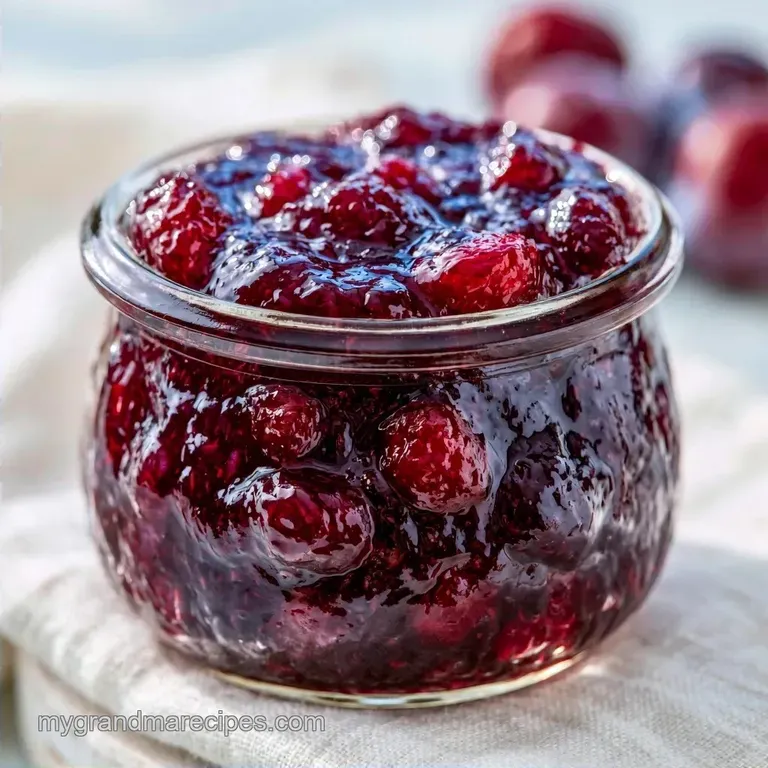
- Time: 15 min active + 30 min resting + 25 min cook
- Flavor/Texture Hook: Vibrant ruby hue with a bright, tangy fruit profile
- Perfect for: Southern style breakfast toast or corn muffins
Have you noticed how some jams taste artificial while others evoke a fresh orchard? For years, I encountered preserves that had a gelatinous texture and barely any fruit flavor, the result of relying on powdered pectin. In my family, we stuck to traditional methods, letting the fruit itself do the heavy lifting.
This Plum Jam perfectly encapsulates the essence of late August. It is a nostalgic comfort food reminiscent of a grandmother's kitchen, highlighting the plum's natural acidity rather than just raw sugar.
If you've never made preserves before, don't be intimidated. By sticking to a small batch, you can achieve perfect results without needing an industrial canning kit or a mountain of specialized equipment.
Why This Plum Jam Works
- Natural Pectin: Plums have a high concentration of pectin in their skins and cores. When boiled with sugar and acid, this forms a natural gel.
- The Maceration Step: Letting the fruit sit with sugar first draws out the juices, which prevents the fruit from breaking down too quickly during the boil.
- Acid Balance: Lemon juice doesn't just add tang, it helps the pectin bond together for a stable set.
Plums have a high concentration of pectin in their skins and cores. When boiled with sugar and acid, this forms a natural gel.
| Method | Time | Texture | Best For |
|---|---|---|---|
| Fast (Pectin) | 15 mins | Rubbery/Gel like | Quick commercial feel |
| Classic (No Pectin) | 25 mins | Thick/Fruit rich | Old-fashioned taste |
Simple Tools for the Job
You don't need any fancy equipment to get started. The most critical piece of kit is a heavy pot with a wide base. Because a wider pot speeds up evaporation, your jam will set more quickly and maintain a brighter color.
While I prefer using stainless steel, a heavy Dutch oven is just as effective. Make sure you have a sturdy spoon for stirring and several glass jars ready. Avoid using thin cookware, or you risk scorching the sugar on the bottom.
What You'll Need
Right then, let's look at what goes into the pot. This is a short list, which is why the quality of the plums really matters. Pick ones that are fragrant and just starting to soften.
| Component | Purpose | Substitute Notes |
|---|---|---|
| Fresh Plums | Plum Jam base | Damson or Italian plums work best |
| White Sugar | Preserving agent | Honey adds floral notes but changes the set |
| Lemon Juice | Pectin activator | Lime juice works for a sharper tang |
Recipe Specs
Before we crack on, keep in mind that different plum varieties have different water contents. Some might take a few extra minutes on the heat to reach that spot on thickness.
| Original Ingredient | Substitute | Why It Works | |||
|---|---|---|---|---|---|
| Granulated Sugar | Coconut Sugar | Deep caramel flavor. Note: Result will be brown, not ruby | |||
| Lemon Juice | Apple Cider Vinegar | Provides necessary acidity. Note: Adds a slight vinegary punch | Goal | What to change | |
| --- | --- | ||||
| Tarter flavor | Increase lemon juice | ||||
| Thicker set | Simmer 5 mins longer | ||||
| Less sweet | Reduce sugar by 1/4 cup |
Bringing It Together
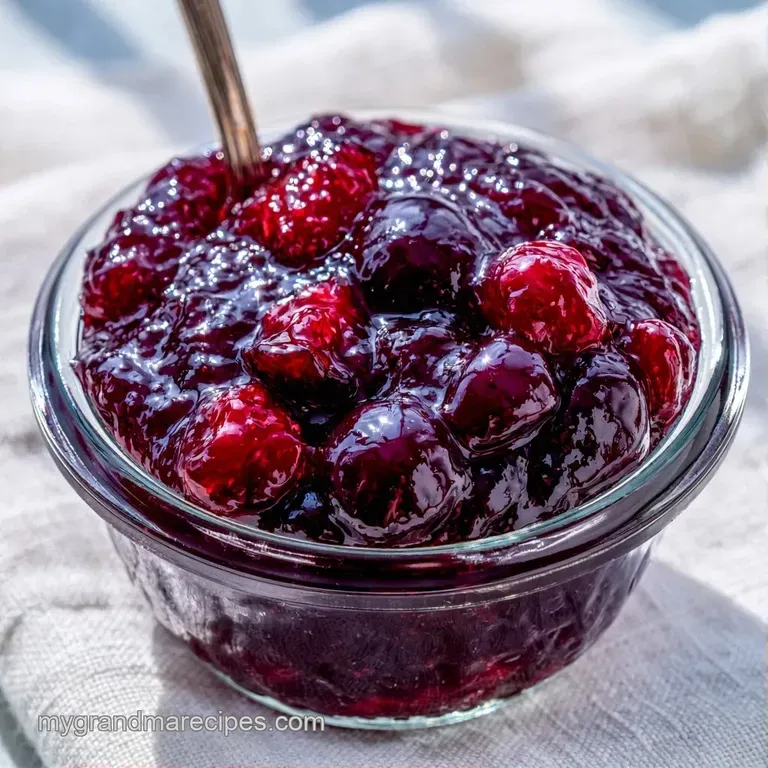
Let's get started on making your Plum Jam. It's a simple process, but paying attention to the bubbles is key.
- Wash the plums, remove the pits, and quarter the fruit. Note: Keep the skins on for the pectin.
- Combine the quartered plums, lemon juice, and granulated sugar in your wide pot.
- Let the mixture sit for 30 minutes. Wait until the plums look glossy and are swimming in syrup.
- Place the pot over medium high heat. Stir frequently until the sugar dissolves and the mixture reaches a rolling boil.
- Reduce heat to medium low. Simmer for 20-25 minutes.
- Stir occasionally until the liquid thickens and the plums soften.
- Perform the plate test. Place a small dollop of jam on a chilled plate, wait 30 seconds, and push it with your finger.
- Ensure the Plum Jam is set. The surface should wrinkle under your finger.
- Transfer the hot jam into sterilized glass jars.
- Seal with airtight lids and let them cool on the counter.
Chef's Tip: Add a pinch of salt right before you pull the pot off the heat. It cuts through the sugar and makes the fruit flavor pop. Also, rub a piece of lemon peel on the inside of your pot before starting to keep the fruit from sticking.
Avoiding Kitchen Disasters
It's easy to get nervous about the "set," but most issues are fixable. If your Plum Jam feels too runny, don't panic.
Fixing Runny Jam
If the plate test fails, just keep simmering. Usually, another 5 to 10 minutes of heat does the trick. If it's still runny after that, let it cool in the fridge overnight. Sometimes the pectin needs a few hours of cold to fully bond.
Preventing Sugar Crystals
This usually happens if you don't stir enough at the beginning or if the heat is too high. If you see crystals forming, add a tiny splash of water and stir gently over low heat to dissolve them back into the syrup.
Managing Overcooked Jam
If you simmer too long, the jam can become sticky or taste like caramel. If this happens, you can stir in a tablespoon of water or lemon juice to loosen it up, though the color will be darker.
Keeping It Fresh
Storing your Plum Jam properly ensures it tastes fresh for months. In the fridge, these jars stay good for about 3 weeks. If you're using a proper water bath canning method, they'll last a year in a cool pantry.
For the freezer, leave a bit of headspace at the top of the jar so the glass doesn't crack as the jam expands.
To avoid waste, don't toss those plum pits immediately. Some folks dry them for craft projects, but for the kitchen, use any leftover fruit scraps in a compost bin. If you have a little jam left in the bottom of the jar, pour in some hot water, shake it, and you've got a quick fruit syrup for pancakes.
Dietary Adaptations
You can tweak this recipe to fit your taste. For a spicier version, add a cinnamon stick or a few whole cloves during the simmering process. If you want something less sweet, you can reduce the sugar, but be aware that it won't keep as long in the fridge.
If you enjoy the balance of sweet and salty, this makes a great base for a savory plum sauce by adding ginger and soy sauce. For those avoiding refined sugar, coconut sugar works, but it will change the color from a bright ruby to a deep brown.
When making larger batches of Plum Jam, avoid just doubling everything in one pot. The liquid won't evaporate as quickly, and you might end up with a syrup. Work in two separate pots to keep the cook time consistent.
How to Serve and Enjoy
The most traditional way to spread this Plum Jam is on a thick slice of toasted sourdough with salted butter. The contrast between the cold butter and the warm jam is a childhood favorite in the South. It also works brilliantly as a filling for jam thumbprint cookies if you're baking for a crowd.
For something a bit different, stir a spoonful into plain Greek yogurt or swirl it into a bowl of oatmeal. It also pairs surprisingly well with sharp cheeses like aged cheddar or creamy brie on a charcuterie board.
Once you've finished your first batch of Plum Jam, you'll realize that the wait for the harvest is always worth it. It's a simple, honest way to preserve the summer.
Recipe FAQs
How do you make plum jam?
Combine quartered plums, sugar, and lemon juice in a pot and simmer until the mixture thickens.
Tip: use a wide bottomed heavy pot to encourage faster evaporation.
Should you peel the plums first?
Keep the skins on to preserve the natural pectin needed for a stable set.
Tip: just scrub the fruit well under cold water before pitting.
Is it true that store-bought pectin is required for the jam to set?
No, this is a common misconception. The skins and cores of the plums provide enough natural pectin when boiled with acid.
Tip: always include the lemon juice to help those natural pectin bonds form.
What is the fastest way to make this jam?
Boil the mixture on medium high heat and stir constantly to reach the rolling boil quickly.
Tip: macerating the fruit for the full 30 minutes actually reduces total cooking time.
Which method confirms the jam has reached its setting point?
Perform the plate test by pushing a dollop of hot jam on a chilled plate to see if it wrinkles.
Tip: place your testing plate in the freezer for 10 minutes for the most accurate result.
How to transform this jam into a clear jelly?
Strain the finished jam through a fine mesh sieve or cheesecloth to remove all fruit solids.
Tip: avoid pressing the solids too hard or the jelly will become cloudy.
Why let the fruit sit with sugar before heating?
This maceration step draws out natural juices so the fruit doesn't break down too quickly during the boil.
Tip: cover the pot with a lid while it rests to keep the juices from evaporating.
Can this jam be used in other dessert recipes?
This works perfectly as a tart filling for pastries or as a shiny glaze for cakes.
Tip: If you enjoyed the blend of sweetness and acidity, check out how we apply a similar approach in our plum galette.
Homemade Plum Jam