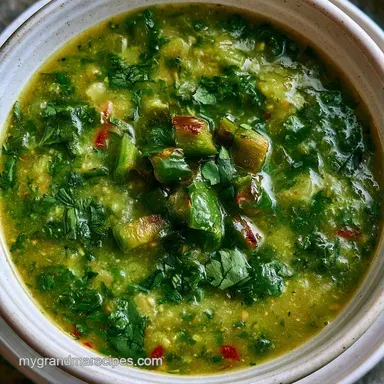
Hatch Green Chile Soup: Authentic and Smoky
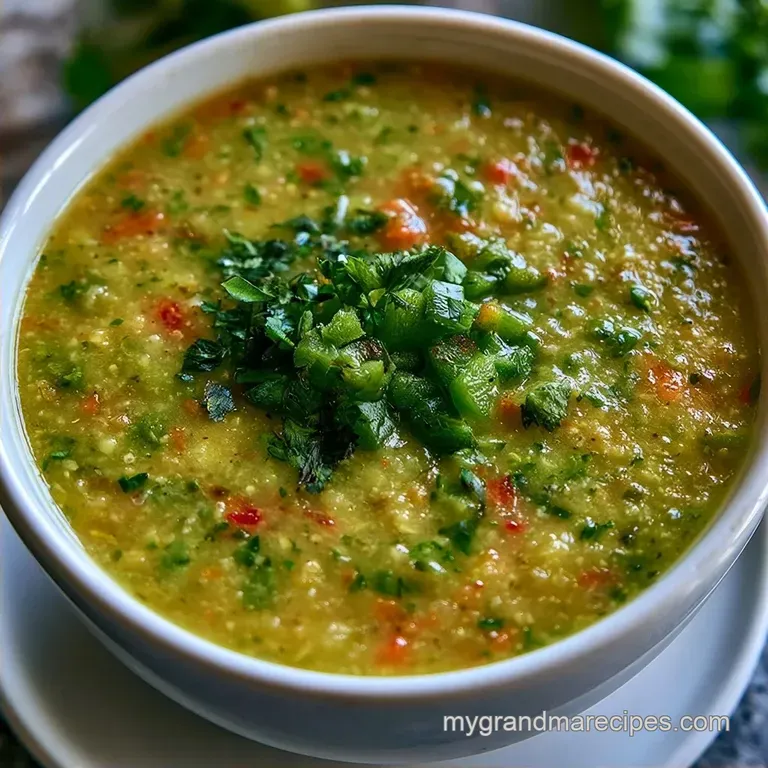
- Time: 10 min active + 35 min cooking
- Flavor/Texture Hook: Toasted corn warmth with a smoky, smooth finish
- Perfect for: Cold weeknights or comforting family meals
- Simple Techniques for Bold Flavor
- Fresh vs Shortcut Comparison
- The Best Ingredients
- Ingredients & Substitutes
- Exact Recipe Specs
- Essential Kitchen Gear
- Bringing It All Together
- Fixing Common Soup Issues
- Scaling Your Batch
- Fridge and Freezer Storage
- Debunking Kitchen Myths
- Great Side Dish Pairings
- Easy Ingredient Swaps
- Recipe FAQs
- 📝 Recipe Card
The aroma of charred chiles always takes me back to Texas in late October, right as the first chill hits the air. I recall one rainy Tuesday when I wanted to fill my home with warmth, so I tossed everything into my favorite heavy pot.
As soon as those chiles sizzled in the butter, the kitchen felt like a New Mexican roadside stall.
You'll appreciate that this recipe skips the complicated methods. It relies on robust flavors and simple tricks to ensure the consistency stays thick. This Hatch Green Chile Soup is the ultimate comfort food for when you just want to unplug and relax for a while.
Look forward to a soup that is hearty, mildly spicy, and thoroughly filling. This isn't a light broth; it's a complete meal in a bowl. Believe me, the masa harina is the secret to getting it just right.
Simple Techniques for Bold Flavor
Masa Flour: This adds a toasted corn flavor and thickens the broth without the heaviness of a wheat roux.
Sauté-Simmer: Frying the chiles first wakes up the oils before the broth softens the proteins.
Fresh vs Shortcut Comparison
| Source | Taste | Prep Time |
|---|---|---|
| Fresh Roasted | Smoky, bright, pungent | 20 mins |
| Canned/Jarred | Milder, consistent | 2 mins |
Right then, let's look at what we need to get this going. I've found that the quality of your broth really carries the whole dish. Using bone broth instead of standard stock gives you more collagen and a richer mouthfeel, which you can verify via USDA FoodData regarding protein content in bone broths.
The Best Ingredients
For the base, we use butter and a mix of onions, bell peppers, and jalapenos. These provide the aromatic foundation. The roasted Hatch chiles are the star here, giving that specific regional heat.
I prefer boneless, skinless chicken thighs over breasts because they stay juicy during the simmer. Great Northern beans add a creamy texture that balances the spice. Masa harina is our thickener, providing a distinct corn flavor that pairs better with chiles than regular flour.
Ingredients & Substitutes
- 2 tbsp unsalted butter Why this? Enhances the aromatic base (Sub: Olive oil)
- 1 medium yellow onion, diced Why this? Key for sweetness (Sub: White onion)
- 3 cloves garlic, minced Why this? Sharp, pungent depth (Sub: 1 tsp garlic powder)
- 1 bell pepper, diced Why this? Contributes mild sweetness (Sub: Poblano pepper)
- 1 jalapeno, seeded and minced Why this? Provides a spicy kick (Sub: Serrano pepper)
- 1 cup roasted Hatch green chiles, chopped Why this? Distinctive smoky profile (Sub: Anaheim chiles)
- 4 cups low sodium chicken bone broth Why this? Adds protein and body (Sub: Chicken stock)
- 15 oz can Great Northern beans, drained and rinsed Why this? Provides a hearty bite (Sub: Cannellini beans)
- 1 lb boneless, skinless chicken thighs, cut into 1 inch pieces Why this? Keeps the meat tender (Sub: Chicken breast)
- 1 tsp ground cumin Why this? Warm, earthy notes (Sub: Ground coriander)
- 1 tsp dried oregano Why this? Zesty herbal lift (Sub: Fresh oregano)
- 3 tbsp masa harina Why this? Authentic corn thickening (Sub: Cornstarch)
- 1/4 cup warm water Why this? Basis for the slurry (Sub: Warm broth)
- 1 tsp salt Why this? Amplifies overall flavor (Sub: Sea salt)
- 1/2 tsp black pepper Why this? Mild warmth (Sub: White pepper)
- 1 tbsp fresh lime juice Why this? Balances the heavy flavors (Sub: Apple cider vinegar)
Exact Recipe Specs
- Preparation: 10 minutes
- Cooking: 35 minutes
- Total duration: 45 minutes
- Servings: 6 servings
Essential Kitchen Gear
You'll want a large Dutch oven or a heavy bottomed pot. This ensures the heat distributes evenly so your onions don't burn. A small whisk and a bowl for the masa slurry are also necessary to avoid lumps.
Bringing It All Together
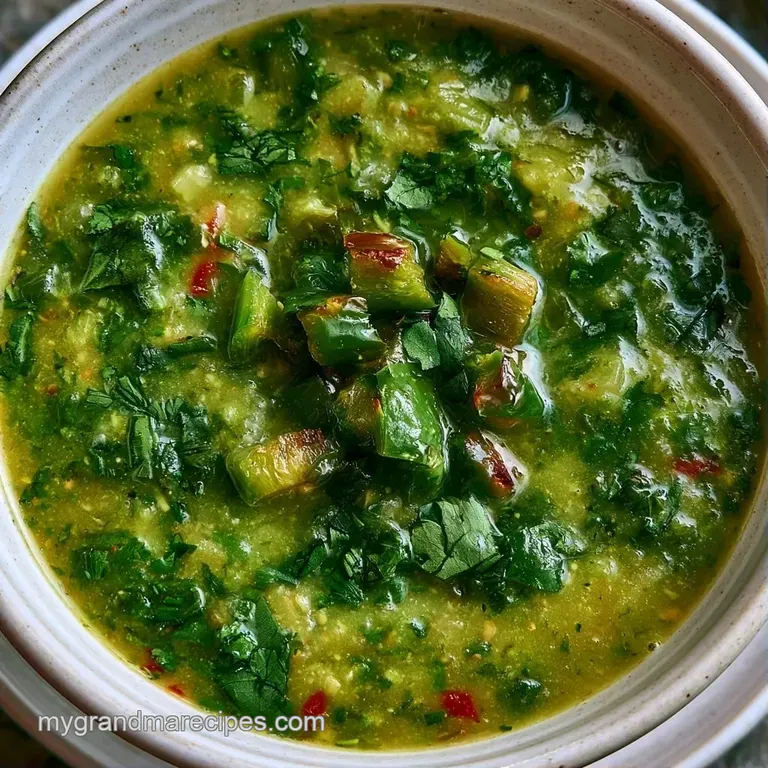
Phase 1: Building the Aromatic Base
Melt the butter in a Dutch oven set to medium-high. Add the diced onion, bell pepper, and jalapeno, sautéing for 5–7 minutes until the onions are translucent and softened. Stir in the minced garlic and cook for 60 seconds, just until the fragrance reaches its peak.
Phase 2: Incorporating the Hatch Heat
Add the chopped Hatch chiles, cumin, and oregano. Stir constantly for 2 minutes to fry the chiles, which deepens the color and releases the essential oils. Pour in the chicken bone broth and bring the liquid to a gentle boil.
Phase 3: The Final Simmer
Reduce the heat to medium-low. Add the chicken thigh pieces and drained beans, then simmer uncovered for 20 minutes. The chicken will cook through as the liquid reduces slightly.
While it simmers, whisk the masa harina and warm water in a small bowl to create a smooth paste. Stir this slurry into the soup during the final 5 minutes of cooking, shifting the broth from a clear liquid to an opaque consistency.
Finally, stir in the salt, black pepper, and fresh lime juice. The lime is a quick addition, but it is the key to making the other flavors pop.
Fixing Common Soup Issues
Achieving the correct consistency can be tricky when making this for the first time. If the masa slurry isn't thickening the soup, it's typically because the broth hasn't simmered long enough after the slurry was stirred in.
Fixing Thin Broth
If the soup is too watery, you simply need more starch. Combine an extra tablespoon of masa harina with a teaspoon of water and stir it in. Let it simmer for another 2 minutes to activate the corn starch.
Reducing Intense Heat
Hatch chiles vary in potency. If the soup is too spicy for your guests, stir in a splash of heavy cream or a dollop of sour cream at the end. The dairy binds to the capsaicin to mellow the burn.
Fixing Rubbery Chicken
The meat often toughens if the simmer is too aggressive. Keep the liquid at a gentle bubble. If you use chicken breasts instead of thighs, decrease the simmer time by 5 minutes.
| Problem | Fix |
|---|---|
| Too thin | Add 1 tbsp masa slurry; simmer 2 mins |
| Too spicy | Stir in sour cream or heavy cream |
| Rubbery chicken | Lower heat to medium low; reduce simmer time |
Scaling Your Batch
Need to feed a larger crowd? This recipe is easy to double. However, be careful not to simply double the salt and spices. I suggest increasing the cumin and oregano to 1.5x first, then tasting before adding more.
For a half-sized batch, use a smaller pot to stop the liquid from evaporating too fast. Cut the simmering time by 20% as there is less mass to heat up.
| Goal | What to change |
|---|---|
| Double Batch | 1.5x spices, 10% less broth |
| Half Batch | Smaller pot, reduce simmer time 20% |
| Extra Thick | Add 1 tbsp more masa harina |
Fridge and Freezer Storage
Keep your Hatch Green Chile Soup refrigerated in an airtight dish for as long as 4 days. You'll find that the tastes develop even more by the second day, as the corn, chicken, and chiles blend together.
This recipe freezes well. Place it in a plastic tub or freezer-safe bag for up to 3 months. For the best results, let it thaw in the refrigerator overnight. Gently warm it on the stovetop over medium-low heat.
Should the consistency be too thick after thawing, simply stir in a bit of chicken broth or water to reach your desired thickness.
Don't toss the liquid from the bean can; this aquafaba is great for making vegan mousse or thickening other stews.
Debunking Kitchen Myths
Searing meat does not "seal in juices." This is a common misconception. Moisture loss happens regardless of whether you sear the meat or not. The crust you get from searing adds a deep, savory flavor through the Maillard reaction, which is why I love it, but it's not a vacuum seal.
Another myth is that all green chiles are the same. Hatch chiles are grown in a specific region of New Mexico and have a unique soil profile. This gives them a smoky, earthy quality that you won't find in standard Anaheim or bell peppers.
Great Side Dish Pairings
This soup is hearty, but it needs a bit of crunch on the side. I always serve this with a slice of warm Hatch Chile Cornbread. The sweetness of the cornbread cuts right through the spice of the soup.
For something lighter, try a crisp cabbage slaw with lime and cilantro. The acidity and crunch provide a fresh contrast to the rich, broth of the soup.
Easy Ingredient Swaps
If you don't have chicken on hand, this recipe works beautifully with pork shoulder. You can check out my Chile Stew with Pork recipe for a similar flavor profile but a chunkier, slower cooked vibe.
For a vegetarian version, swap the chicken for extra beans or cubed sweet potatoes. Replace the chicken bone broth with a high-quality vegetable broth. You'll still get that amazing roasted chile flavor.
If you can't find masa harina, cornstarch is a decent substitute for thickness, but you'll lose that toasted corn aroma. In that case, I suggest adding a pinch of smoked paprika to mimic the depth.
Recipe FAQs
What are Hatch peppers?
These are a specific variety of chili grown in the Hatch Valley of New Mexico. They are prized for their unique smoky flavor and earthy aroma.
How spicy are Hatch chiles?
Heat levels vary from mild to extra hot depending on the specific pepper. Most home cooks find them moderately spicy, but they provide a warmth that isn't overwhelming.
Why use Hatch chiles over regular green ones?
They provide a distinctively smoky and sweet profile compared to generic green chiles. This specific terroir gives them a richer taste that anchors the soup.
Which steps are needed to make this green chile soup?
Sauté onions, bell peppers, and jalapenos in butter before stirring in Hatch chiles and spices. Add chicken bone broth and chicken thighs, then thicken the base with a masa harina slurry.
Is it true that only fresh Hatch chiles provide authentic flavor?
No, this is a common misconception. Canned or jarred roasted chiles offer a consistent, milder taste that works well for a quicker weeknight version.
How to roast chiles in the oven?
Broil the peppers on a baking sheet until the skins are charred and blistered. Place them in a covered bowl to steam, which makes the skins easy to peel. If you enjoyed mastering the charring process here, see how the same principle works in our guide for roasted Hatch chiles.
Hatch Green Chile Soup for 6 Servings