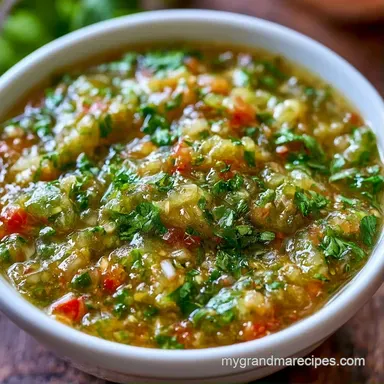
Roasted Hatch Chile Salsa
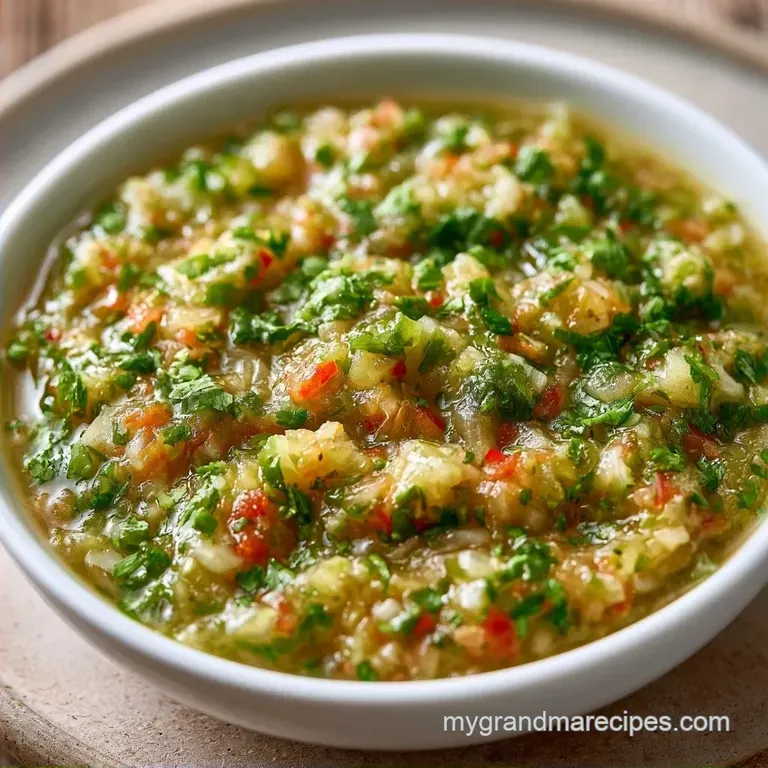
Roasting gives Hatch Chile Salsa its smoky edge, while pulsing keeps the tomatoes and chiles pleasantly textured. A 10 minute rest lets the lime, salt, and roasted aromatics settle into one balanced bite.
- Time:10 minutes prep + 15 minutes cooking + 10 minutes resting
- Flavor/Texture Hook: Smoky, bright, chunky, and lightly juicy
- Perfect for: Taco night, breakfast plates, potlucks, and quick family meals
Make-ahead: Refrigerate the finished salsa for up to 4 days.
- Why This Salsa Holds Its Texture
- Recipe Specs for Quick Hatch Chile Salsa
- Ingredients for Roasted Chile Salsa
- Equipment Needed for Broiling and Blending
- How to Make This Roasted Green Salsa
- What Can Go Wrong With Roasted Salsa
- Pairing Ideas for Bright Green Chile Salsa
- Keeping Hatch Chile Salsa Fresh
- Flavor Variations for Hatch Chile Salsa
- Recipe FAQs
- 📝 Recipe Card
Why This Salsa Holds Its Texture
Blistered skins: High broiler heat chars the chile skins quickly while the flesh stays soft and juicy. Pulling the garlic earlier keeps its aroma sweet rather than bitter.
Brief steaming: Covering the hot vegetables loosens the skins without cooking everything into a watery mash. The steam does the peeling work for you.
Short pulses: A food processor breaks down the roasted vegetables while leaving small pieces behind. For more detail on handling roasted peppers, Serious Eats’ roasted pepper guide explains why steaming helps remove loosened skins.
The tomatoes bring enough moisture for blending, but the salsa still needs those pulses rather than a long whirl. That small distinction gives Hatch Chile Salsa a spoonable body instead of a pourable purée.
Recipe Specs for Quick Hatch Chile Salsa
This makes 8 servings, about 2 cups total. Prep takes 10 minutes, cooking takes 15 minutes, and the recipe takes 35 minutes from start to serving, including the 10 minute rest.
The broiler sits about 4 inches from the vegetables and runs on high. Your first visual checkpoint comes at 5 to 7 minutes: the chile skins should show blackened patches, and the tomatoes should look softened and slightly collapsed.
For a fresher bite, serve it at room temperature. For a sharper, cooler salsa, chill it after the resting period. Either way, the lime becomes less punchy as it sits, so taste before serving.
Ingredients for Roasted Chile Salsa
Make Smart Ingredient Choices
- 8 medium Hatch green chiles, about 12 ounces: They provide the roasted green chile flavor and most of the heat. Anaheim chiles are the closest easy substitute, though they’re usually milder.
- 2 medium ripe tomatoes, about 12 ounces: Tomatoes add moisture, acidity, and body. Roma tomatoes work when your ripe tomatoes feel especially juicy.
- ½ medium yellow onion, about 4 ounces: Roasting softens its sharp bite. White onion can replace it for a brighter, more traditional edge.
- 3 garlic cloves, about ½ ounce: Garlic rounds out the charred vegetables. Use ¼ teaspoon garlic powder only in a pinch, since it won’t roast.
- ½ cup fresh cilantro leaves: Cilantro gives the salsa a green, fresh finish. Flat leaf parsley changes the flavor but works for people who dislike cilantro.
- 2 tablespoons fresh lime juice: Lime cuts through the roasted flavors. Fresh lemon juice is a workable substitute with a slightly softer aroma.
- 1 teaspoon kosher salt: Salt makes the chile and tomato flavors stand out. Use fine salt by weight or add it gradually by taste.
- ¼ teaspoon ground cumin, optional: Cumin adds a warm Texas Mexican note. Leave it out for a cleaner chile forward salsa.
The ingredient list stays short because the broiler supplies so much flavor. I don’t add oil, sugar, or broth here. They muddy the fresh roasted taste.
Equipment Needed for Broiling and Blending
You’ll need a rimmed baking sheet, foil, a medium bowl, a plate or plastic wrap for covering, and a food processor. A pair of tongs makes turning the chiles and tomatoes easier, and disposable gloves help if you’re sensitive to chile heat.
A blender can work, but use short pulses and scrape the sides between them. The narrow jar often pulls the vegetables into a smoother mixture faster than you expect.
Chef’s Note: I keep the food processor bowl nearby while peeling. The roasted juices on the sheet are worth scraping into the processor, but avoid any black, bitter garlic bits.
How to Make This Roasted Green Salsa
Position an oven rack about 4 inches below the broiler. Heat the broiler to high.
Line a rimmed baking sheet with foil. Arrange the Hatch chiles, tomatoes, yellow onion, and garlic in one layer.
Broil 5 to 7 minutes. Turn the chiles and tomatoes once, then continue until the chile skins blister and blacken in patches and the tomatoes soften.
Check the garlic at 3 to 4 minutes. Remove it if it starts browning too quickly. Note: Slightly golden garlic tastes sweet; dark garlic can make the salsa bitter.
Transfer the roasted chiles and tomatoes to a medium bowl. Cover the bowl with a plate or plastic wrap.
Steam the vegetables briefly until the skins loosen and the bowl smells smoky and sweet. Don’t leave them covered for a long stretch, or excess moisture will collect.
Cool the vegetables until you can handle them. Peel the chiles and tomatoes, remove the chile stems, and discard some or all of the seeds.
Add the peeled chiles and tomatoes to a food processor with the roasted onion, garlic, cilantro, lime juice, kosher salt, and optional cumin.
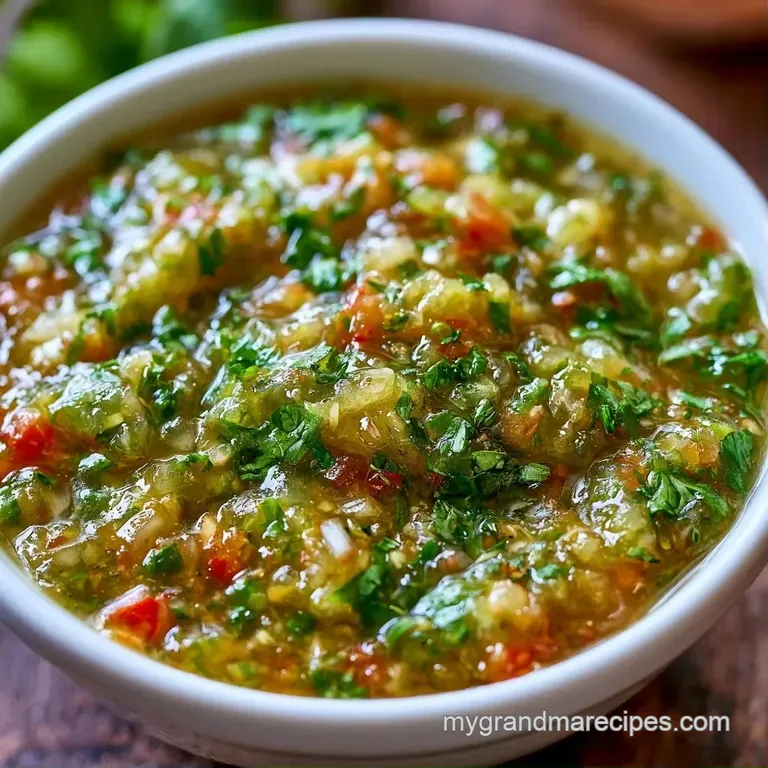
Pulse several times until the mixture is combined but still textured. Note: Stop when you can still see small pieces of chile and tomato.
Transfer the salsa to a bowl. Rest it for 10 minutes, then taste and add more salt or lime juice if needed. Serve chilled or at room temperature.
That 10 minute rest is the third numeric checkpoint. The first is the 3 to-4 minute garlic check, and the second is the 5 to-7 minute broil. These little checks matter more than chasing an exact shade of black on every pepper.
What Can Go Wrong With Roasted Salsa
Prevent a Watery Salsa
Juicy tomatoes or over processing can leave the salsa thin. Let the roasted vegetables release steam briefly before peeling, and pulse rather than running the machine continuously. If the bowl still looks loose, let the salsa stand uncovered for 10 minutes so some moisture can evaporate.
Tame Excessive Heat
Hatch chiles vary from mild to hot, even in the same batch. Remove all the seeds and inner membranes for a gentler bowl, or leave some behind for more bite. Don’t add extra tomatoes to chase the heat, because that can make the salsa watery; use a smaller portion of the finished mixture and blend it with more roasted tomato from the listed amount only if you haven’t processed everything.
Correct a Bitter Roasted Flavor
Bitter notes usually come from garlic that went too dark or vegetables that sat directly under the broiler too long. Pick out visibly black garlic before processing. A little extra lime and cilantro can soften a slightly bitter batch, but badly burnt vegetables need replacing.
Keep the Color From Dulling
The salsa may turn darker after chilling, especially when the chile skins are deeply charred. That doesn’t mean it has spoiled. Stir in the lime juice after processing, cover the bowl, and keep it cold. The fresh aroma will return when you bring it out to serve.
Pairing Ideas for Bright Green Chile Salsa
Spoon Hatch Chile Salsa over scrambled eggs, breakfast potatoes, grilled chicken, or black beans. It also works beside quesadillas, where the lime cuts through melted cheese. For a full Texas Mexican spread, serve it with Hatch Chile Cornbread and a simple pot of beans.
Try it as a topping rather than a dip when the salsa is freshly made. The roasted tomato juices soak into rice, while the chile pieces stay on top. A small spoonful over avocado toast is another quick breakfast move.
Broiler and Oven Comparison
| Method | Result | Timing |
|---|---|---|
| High broiler | Fast blistering and darker patches | 5 to 7 minutes |
| Hot oven | More even softening, less direct char | Longer cooking |
| Broiler with close rack | Strongest roasted aroma | Watch garlic closely |
The broiler method suits this recipe because it chars the skins before the tomatoes lose too much structure. If you use an oven instead, expect softer vegetables and a gentler smoky note.
Keeping Hatch Chile Salsa Fresh
Refrigerate for Short-Term Use
Spoon the salsa into a clean lidded container and refrigerate it for up to 4 days. The flavor rounds out overnight, though the cilantro aroma becomes quieter. Stir before serving and add a small squeeze of lime if the salsa tastes flat.
For food safety guidance on storing prepared foods, the USDA FoodKeeper resource offers practical refrigerator and freezer timelines. Don’t leave the salsa sitting out for hours at a party; set out a smaller bowl and refill it from the refrigerator.
Freeze for Hatch Chile Season
Freeze Hatch Chile Salsa for up to 2 months in small containers or ice cube trays. Leave a little room for expansion, then thaw it overnight in the refrigerator. Freezing softens the tomato pieces, so the thawed salsa works better in burritos, soups, eggs, or cooked chicken than as a crisp chip dip.
Warm It Without Dulling the Flavor
This salsa doesn’t need reheating, but you can fold it into hot food just before serving. Stirring it into a pan of beans or rice warms the chile flavor without cooking away all the lime and cilantro.
Flavor Variations for Hatch Chile Salsa
Add Tomatillos for Green Salsa
For a tangier Hatch Chile Salsa Verde, replace part of the tomatoes with roasted tomatillos. That changes the recipe’s balance and adds sharper acidity, so taste before adding the full amount of lime.
Deepen the Smoky Flavor
Leave a few chile skins partially charred instead of peeling every dark patch away. This gives the finished salsa a deeper roasted note, but remove any papery or fully burnt pieces.
Make It Oil Free and Vegan
The listed recipe already contains no oil or animal products, so it fits a vegan table without changes. Serve it with beans, roasted vegetables, or corn tortillas for an easy meatless meal.
Lower the Sodium
Start with less than the listed salt, then add it after the 10 minute rest. Lime, cilantro, and roasted garlic help keep the salsa lively while you adjust the seasoning.
Choose Your Heat Level
| Goal | What to change |
|---|---|
| Mild salsa | Remove all chile seeds and inner membranes |
| Medium heat | Remove some seeds, leaving a few behind |
| Hot salsa | Keep more seeds and use the chiles as roasted |
The phrase Homemade Hatch Chile Salsa fits this method because everything starts with fresh vegetables rather than jarred green sauce. For another chile centered dinner, the Creamy Hatch Chile Chicken uses a richer direction while keeping the roasted pepper flavor nearby.
A Hatch Green Chile Salsa Without Tomatillos will taste more tomato forward and rounded. Add tomatillos when you want sharper acidity, or keep the tomatoes for the softer, smoky bowl this recipe gives you.
Myths About Roasted Chile Salsa
Roasting does not make every chile mild. Heat varies from pepper to pepper, and charring only adds smoky flavor; removing seeds and membranes changes the heat more directly.
A blender does not automatically make a better salsa. Long blending breaks the vegetables into a thin mixture and can turn cilantro harsh, so short pulses give you more control.
The black patches aren’t all a problem. Blistered, patchy skins add roasted flavor, while completely burnt garlic or thick black flakes can taste bitter. Remove the truly burnt pieces and keep the rest.
This Hatch Chile Salsa is at its brightest when served the day you make it, but the chilled version has a rounder flavor. Whether you call it Easy Homemade Hatch Chile Salsa or simply roasted green salsa, keep the vegetables chunky, watch the garlic, and let the bowl rest before judging the seasoning.
Recipe FAQs
Do you have to peel Hatch chile skins?
Yes, peel the loosened skins after roasting and steaming the chiles briefly. Removing the skins gives the salsa a smoother texture and avoids tough, charred pieces, while scraping out some or all of the seeds controls the heat.
Is Hatch chile hotter than a jalapeño?
Not necessarily; Hatch chiles range from mild to hot, so some are gentler than a jalapeño and others are hotter. Taste a small piece first, then remove more or fewer seeds to adjust the salsa’s heat.
What is Hatch chile salsa, and what ingredients does it use?
Hatch chile salsa is a smoky, textured sauce made from roasted Hatch green chiles, ripe tomatoes, yellow onion, garlic, cilantro, lime juice, kosher salt, and optional ground cumin.
This recipe makes about 2 cups, and a packaged salsa such as Trader Joe’s Hatch Valley salsa may use a different formula, so check its label for its exact ingredients.
How do you roast Hatch chiles in the oven?
Position a rack about 4 inches below the broiler, heat the broiler to high, line a rimmed sheet with foil, and broil the chiles, tomatoes, onion, and garlic for 5 to 7 minutes, turning the chiles and tomatoes once; remove the garlic after 3 to 4 minutes if it browns quickly.
Transfer the chiles and tomatoes to a bowl, cover briefly to steam, peel them when cool, remove the stems and desired seeds, then pulse them with the roasted onion, garlic, cilantro, lime juice, salt, and optional cumin until textured; rest the salsa for 10 minutes before serving.
How can you use green Hatch chiles in cooking?
Use roasted green Hatch chiles in this salsa, or fold them into dishes where their smoky flavor and chosen heat level can stand out. For another hearty option, try green chicken chili, or serve the salsa alongside stuffed Hatch chiles.
Hatch Chile Salsa in 25 Minutes