Pot Roast: Fork Tender Masterpiece
- Time: Active 20 minutes, Passive 3 hours 30 mins, Total 3 hours 50 mins
- Flavor/Texture Hook: Savory, wine infused beef with a velvety, melt in-your mouth texture.
- Perfect for: Sunday family dinner, cold weather comfort, or meal prep.
- The Soul of Comfort: Braising a Succulent Pot Roast
- Analyzing the Science of Low Temperature Cooking
- Strategic Measurements for the Best Family Yield
- The Alchemy of Selecting Savory Beef Elements
- Essential Tools for Traditional Braising Excellence
- Transforming Raw Cuts into Fork Tender Bites
- Solving the Mystery of Tough Beef Texture
- Personalizing Your Sunday Supper Flavor Profile
- Debunking Braising Folklore
- Preserving Leftovers for Future Busy Weeknight Meals
- Plating Your Braised Beef with Artistic Flair
- High in Sodium
- Pot Roast FAQs
- 📝 Recipe Card
The Soul of Comfort: Braising a Succulent Pot Roast
You know that specific sound of a heavy Dutch oven lid clanking into place? In my grandma’s Tennessee kitchen, that was the signal that Sunday had officially begun. The house would fill with the aroma of onions softening in beef fat and the sharp, woody scent of fresh rosemary.
By the time we got home from church, the meat was so tender it would practically shatter at the mere suggestion of a fork. It wasn’t fancy, but it felt like a warm hug in a bowl.
I’ve spent years trying to replicate that exact magic, and honestly, I made every mistake in the book. I’ve ended up with gray, boiled meat that tasted like a shoe, and I’ve had vegetables that turned into a sad mush. But those failures taught me the tricks.
You don’t need an expensive prime rib to make a world class meal; you just need patience and a little bit of kitchen chemistry to turn a tough chuck roast into something spectacular.
We’re going to talk about why we sear the meat until it’s dark brown and why the choice of liquid matters more than you think. This isn’t just about following a list of steps; it’s about understanding how to coax the most flavor out of simple, budget friendly ingredients.
Trust me, once you see that first fork tender piece of beef pull away from the bone, you’ll never go back to those flavorless crockpot versions.
Analyzing the Science of Low Temperature Cooking
The secret to this dish lies in the transformation of connective tissue. When we cook tough cuts like chuck roast, the magic happens when we reach the right temperature for a sustained period.
- The Collagen Conversion: Slow heat at 190°F to 200°F gradually melts tough collagen into silky gelatin, which provides a velvety mouthfeel.
- The Maillard Reaction: Searing the beef at high heat creates hundreds of new flavor compounds that a slow cooker simply cannot replicate.
- Osmotic Exchange: As the beef simmers, it releases juices while simultaneously absorbing the seasoned wine and bone broth, seasoning the meat from the inside out.
Comparison of Cooking Methods
| Method | Total Time | Texture | Best For |
|---|---|---|---|
| Dutch Oven | 3 hours 50 mins | Rich, deeply browned, fork tender | Maximum flavor and traditional crust |
| Slow Cooker | 8 hours 15 mins | Soft, shredded, very moist | Set it and forget it convenience |
| Instant Pot | 1 hour 15 mins | Sliced or pulled, slightly less depth | When you need dinner on the table fast |
When choosing your method, consider that the oven provides dry heat from above the pot, which slightly reduces the braising liquid into a concentrated glaze. While a slow cooker is convenient, it doesn't allow for the same evaporation, often resulting in a thinner sauce.
If you have the time, the oven method is the gold standard for that deep, "Grandma's kitchen" flavor profile.
Strategic Measurements for the Best Family Yield
To get that perfect balance of meat, potatoes, and savory gravy, sticking to these exact proportions is key. I’ve learned that overcrowding the pot is the fastest way to end up with steamed beef instead of seared beef, so pay attention to the size of your roast relative to your cookware.
| Component | Science Role | Pro Secret |
|---|---|---|
| Beef Chuck Roast | Provides fat and protein structure | Bring to room temp for 30 minutes before searing to ensure an even crust. |
| Dry Red Wine | Acids break down fibers and add tannins | Use a Cabernet or Malbec; the tannins provide a "backbone" to the heavy beef fats. |
| Tomato Paste | Adds glutamates for "umami" depth | Sauté the paste until it turns brick red to remove the raw metallic taste. |
| Bone Broth | Liquid base for gelatinous body | Use bone broth instead of regular stock for a richer, more velvety sauce. |
Chef's Tip: If you're on a tight budget, you can swap the red wine for an extra cup of beef broth mixed with a tablespoon of balsamic vinegar. The vinegar provides the necessary acidity to cut through the fat without the cost of a bottle of wine.
The Alchemy of Selecting Savory Beef Elements
- 3.5 lbs Beef Chuck Roast: Well marbled. Why this? The fat and connective tissue are essential for moisture during long cook times.
- Substitute: Beef Brisket (Flat cut). Note: Will be easier to slice but slightly less juicy.
- 2 tsp Kosher Salt: For seasoning.
- Substitute: 1 tsp Fine Table Salt.
- 1 tsp Coarse Black Pepper: For a little bite.
- 2 tbsp Neutral Oil: For the over high heat sear.
- Substitute: Beef tallow or lard for extra traditional flavor.
- 1 large Yellow Onion: Quartered. Why this? Provides a sweet, savory aromatic base that melts into the sauce.
- Substitute: White onion or 3 large shallots.
- 5 cloves Garlic: Smashed.
- 2 tbsp Tomato Paste: For color and depth.
- 2 cups Beef Bone Broth: The liquid foundation.
- Substitute: Beef stock with a pinch of unflavored gelatin.
- 1 cup Dry Red Wine: To deglaze and tenderize.
- Herbs: 2 sprigs Rosemary, 4 sprigs Thyme, 2 Bay Leaves.
- Vegetables: 1 lb Yukon Gold Potatoes (halved), 1 lb Large Carrots (2 inch chunks), 2 stalks Celery (1 inch chunks).
Essential Tools for Traditional Braising Excellence
For the best Pot Roast, you really want a heavy bottomed vessel. A 6 quart Enameled Cast Iron Dutch Oven (like a Lodge or Le Creuset) is the MVP here because it holds heat beautifully and distributes it evenly.
If you don't have one, a heavy stainless steel stockpot will work, but you'll need to keep a closer eye on the liquid levels to ensure nothing scorches.
You'll also need a pair of sturdy tongs for flipping that 3.5 lb roast. Don't use a fork to turn the meat during the searing phase; piercing the meat this early can cause valuable juices to escape before the exterior is sealed.
A sharp chef's knife is a must for those 2 inch carrot chunks, and a fat separator is a nice to have if you want a crystal clear gravy at the end.
Transforming Raw Cuts into Fork Tender Bites
1. The Hard Sear (The Flavor Base)
Pat your 3.5 lbs Beef Chuck Roast completely dry with paper towels. Season aggressively with 2 tsp Kosher Salt and 1 tsp Black Pepper. Heat 2 tbsp Neutral Oil in your Dutch oven over medium high heat. Place the beef in the pot and sear for 5 minutes per side until a dark brown crust forms.
Note: If the meat is sticking, it isn't ready to flip yet.
2. Building the Aromatic Foundation
Remove the beef to a plate. Lower the heat to medium and toss in 1 large Yellow Onion and 5 smashed Garlic cloves. Cook for 3 minutes until the onions have browned edges and smell sweet. Stir in 2 tbsp Tomato Paste and cook for 2 more minutes, stirring constantly to avoid burning.
3. Deglazing and Loading
Pour in 1 cup Dry Red Wine. Use a wooden spoon to scrape all the brown bits (the "fond") off the bottom of the pot. Note: This is where all your flavor lives! Add 2 cups Beef Bone Broth, 2 sprigs Rosemary, 4 sprigs Thyme, and 2 Bay Leaves.
4. The Gentle Braise
Place the beef back into the liquid (it should come about halfway up the meat). Bring to a simmer, cover with a tight fitting lid, and transfer to a 325°F oven. Braise for 2 hours 30 mins.
5. Adding the Vegetables
Carefully remove the pot from the oven. Arrange 1 lb Yukon Gold Potatoes, 1 lb Carrots, and 2 stalks Celery around the beef. Cover and return to the oven for another 1 hour until the vegetables are tender and the beef shreds easily.
6. The Gravy Finish
Remove the meat and vegetables to a platter. If the liquid is too thin, simmer it on the stove for 5-10 minutes to reduce. Discard the herb sprigs and bay leaves before serving. This technique is very similar to the flavor building steps used in a Slow Braised Beef Roast recipe where the liquid reduction is key.
Solving the Mystery of Tough Beef Texture
Sometimes, despite our best efforts, the beef just won't cooperate. Usually, the culprit is either time or temperature. If you try to rush a pot roast by turning up the heat, the muscle fibers will seize up and squeeze out all their moisture, leaving you with dry, stringy meat.
If it's tough, it almost always needs more time, not more heat.
Troubleshooting Your Roast
| Problem | Root Cause | Solution |
|---|---|---|
| Beef is tough/chewy | Collagen hasn't fully melted yet | Cover and cook for another 30-45 mins. Check every 15 mins. |
| Vegetables are mushy | Added too early in the process | Always add root vegetables in the last hour of cooking. |
| Gravy is too greasy | Too much rendered fat from the chuck | Use a fat separator or skim the top with a wide spoon. |
Common Mistakes Checklist
- ✓ Never skip the searing step; it provides 80% of the final color and flavor.
- ✓ Don't add the vegetables at the beginning, or they will turn to puree.
- ✓ Ensure the lid is tight fitting; if steam escapes, the meat will dry out.
- ✓ Always let the meat rest for 15 minutes before shredding to keep it juicy.
- ✓ Pat the meat dry before searing, or it will steam instead of browning.
Personalizing Your Sunday Supper Flavor Profile
If you want to scale this down for a smaller household, you can use a 2 lb roast. Just make sure to use a smaller pot so the liquid still comes halfway up the meat, and reduce the total oven time by about 45 minutes.
For a larger crowd (up to 7 lbs of meat), work in batches to sear the beef so you don't crowd the pan, and increase the liquids by 50%.
If you want X, do Y:
- If you want a thicker gravy: Whisk 1 tbsp of cornstarch with 1 tbsp of cold water and stir it into the simmering liquid at the end.
- If you want a deeper flavor: Add a tablespoon of Worcestershire sauce or a teaspoon of anchovy paste with the tomato paste.
- If you want it kid friendly: Swap the red wine for extra bone broth and add a teaspoon of honey to mellow the acidity.
For those looking for a different way to use these flavors, you might enjoy the savory base of a Shepherd s Pie Recipe, which uses similar aromatic principles.
Debunking Braising Folklore
One major misconception is that searing "seals in the juices." Science tells us this isn't true; moisture loss happens regardless of the sear. However, we sear for the flavor development known as the Maillard reaction. Another myth is that you must completely submerge the meat in liquid.
If you do that, you're boiling the meat, not braising it. Keeping the top half of the roast exposed to the air in the pot allows it to reach higher temperatures, creating a better crust.
Preserving Leftovers for Future Busy Weeknight Meals
Storage: This roast keeps beautifully in the fridge for up to 4 days. In fact, many people (including me!) think it tastes better on day two because the flavors have time to meld. Store the meat submerged in its gravy to prevent it from drying out.
Freezing: You can freeze the cooked beef and gravy for up to 3 months. I don't recommend freezing the cooked potatoes or carrots, as their texture becomes grainy and unpleasant upon thawing.
Zero Waste Tip: Don't throw away those leftover bits of beef! They make the most incredible filling for tacos or can be tossed into a beef barley soup. If you have extra gravy, use it as a base for a Green Bean Casserole recipe to add a rich, meaty depth to your side dishes.
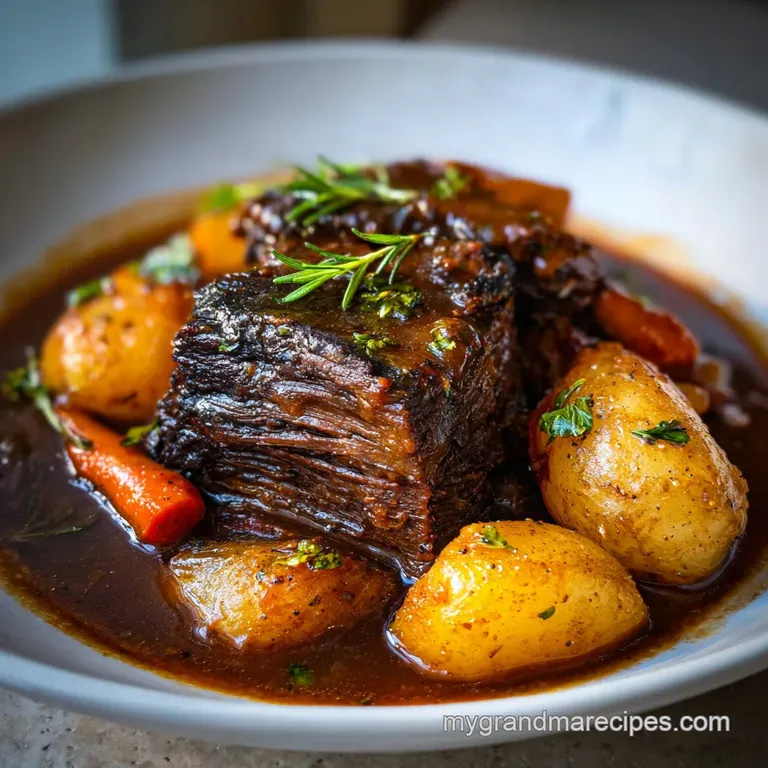
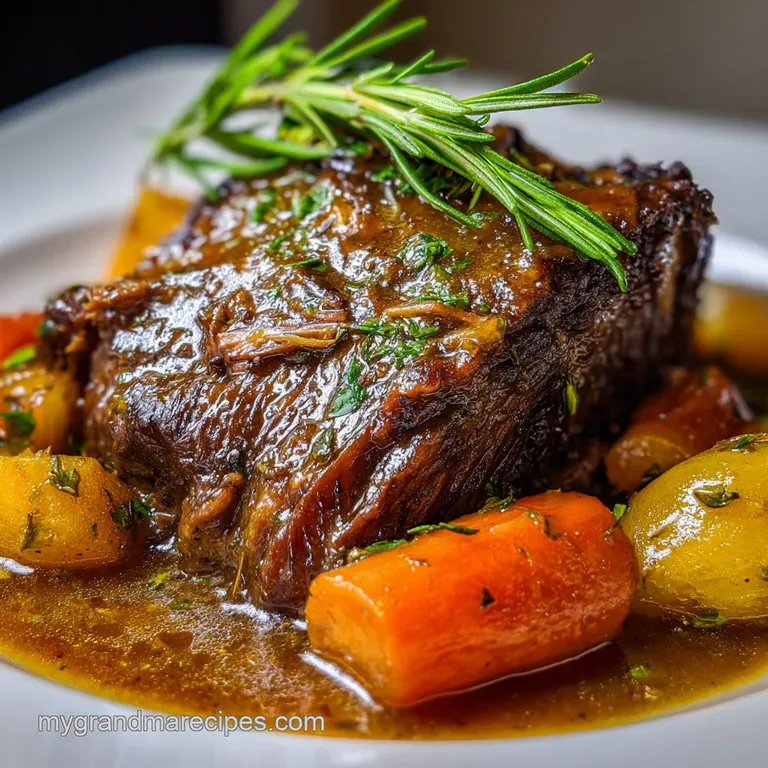
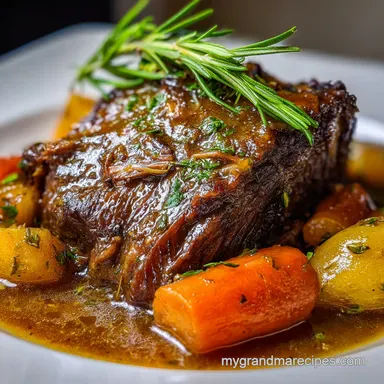
Plating Your Braised Beef with Artistic Flair
When you're ready to serve, don't just dump everything into a bowl. Place the large chunks of beef in the center of a wide, shallow platter. Arrange the potatoes and carrots around the perimeter, then generously ladle the warm, velvety gravy over the meat.
The Fresh Finish
Finish the dish with a handful of freshly chopped parsley or a sprinkle of lemon zest. That hit of brightness and "green" flavor cuts right through the heavy, savory notes of the beef and wine, making the whole dish feel balanced instead of just "heavy." It's a simple touch that makes a budget friendly meal look like it came from a high end bistro.
Just remember to serve it with some crusty bread to soak up every last drop of that liquid gold!

High in Sodium
845 mg mg of sodium per serving (37% of daily value)
The American Heart Association recommends limiting sodium intake to about 2,300mg per day for overall cardiovascular health.
Easy Tips to Reduce Sodium in Your Beef Chuck Roast
-
Low-Sodium Broth-30%
Use low-sodium or sodium free beef bone broth instead of regular broth. This simple swap can significantly reduce the sodium content of the dish. Choose a broth with less than 140mg sodium per serving.
-
Reduce Added Salt-25%
Cut the amount of kosher salt in half, using only 1 teaspoon instead of 2. You can always add more to taste after cooking, but it's easier to reduce than remove. Consider a sodium free salt substitute.
-
Fresh Herbs Power
Continue using the fresh rosemary and thyme, and consider adding other fresh herbs like parsley or oregano. These add flavor without adding any sodium! Ensure the herbs are thoroughly washed before use.
Pot Roast FAQs
What is the secret to a good pot roast?
Searing and slow cooking. A deep sear on the meat builds incredible flavor through the Maillard reaction, and slow, low-temperature cooking breaks down tough connective tissues into tender gelatin.
What is the best cut of meat for a pot roast?
Chuck roast. This cut, often labeled beef chuck shoulder or chuck eye roast, has excellent marbling and connective tissue, which melts down during slow cooking to create tender, moist meat.
How long are you supposed to cook pot roast?
Approximately 3 to 4 hours. The exact time depends on the size of the roast and the cooking method, but the goal is for the meat to be fork tender, which typically occurs after sustained low-temperature cooking.
What makes the most tender pot roast?
Moisture and time. Pot roast becomes tender through braising, where tough connective tissues (collagen) slowly break down into gelatin in the presence of moisture and low heat over an extended period.
Can I substitute chicken for beef in a pot roast recipe?
No, it's not recommended. Chicken is a lean meat that doesn't have the connective tissue or fat needed to become tender and flavorful through the long, slow braising process typically used for pot roast.
How do I prevent my pot roast from drying out?
Ensure sufficient liquid and a tight fitting lid. Braising in a flavorful liquid and keeping the pot tightly covered prevents moisture from escaping, allowing the meat to steam and become tender.
What is the best liquid for pot roast?
Beef broth and red wine. Beef broth provides a rich base, while a dry red wine adds acidity to tenderize the meat and contributes complex tannins and flavor that melds beautifully with the beef, much like the technique used in our Creamy Ground Beef Stroganoff Made in 30 Minutes: Velvety Sauce & Tender Beef.
Classic Pot Roast
Ingredients:
Instructions:
Nutrition Facts:
| Calories | 674 kcal |
|---|---|
| Protein | 48.6 g |
| Fat | 40.2 g |
| Carbs | 21.4 g |
| Fiber | 3.2 g |
| Sugar | 4.1 g |
| Sodium | 845 mg |
