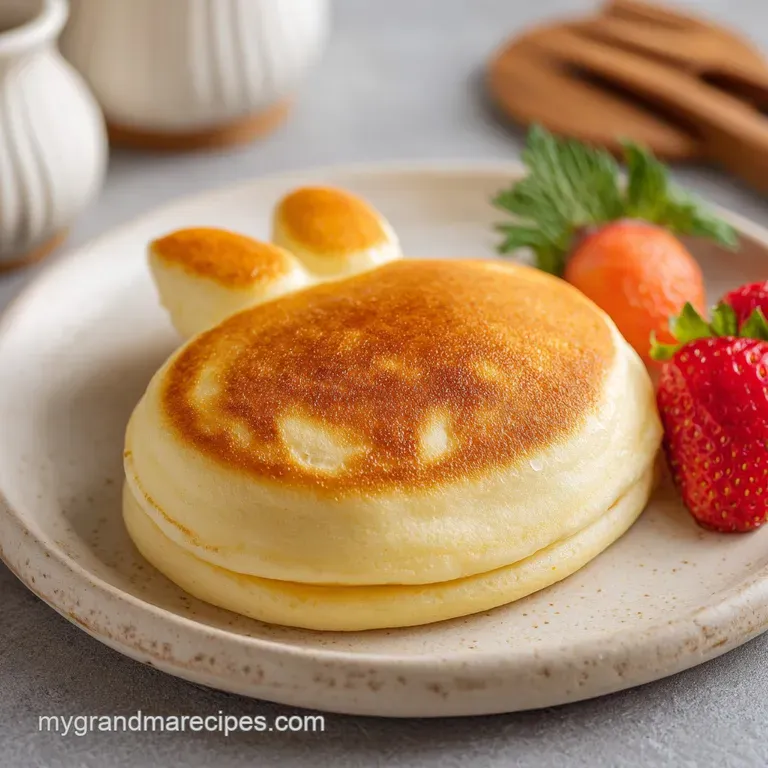
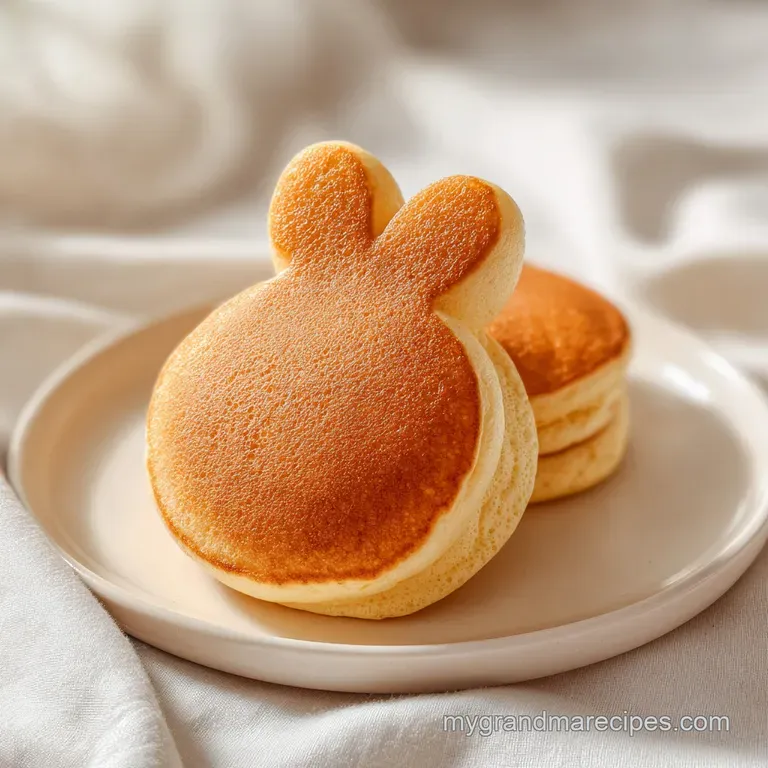
Bunny Butt Pancakes: Golden and Fluffy
- Time:10 minutes active + 10 minutes cooking = Total 20 minutes
- Flavor/Texture Hook: Golden brown, velvety whipped cream, and fluffy centers
- Perfect for: Easter breakfast ideas or a surprise weekend brunch
The smell of melted butter hitting a hot skillet is the only way I like to wake up on a Sunday. I remember the first time I tried making these for my nieces, and I totally panicked.
I thought I needed some professional piping bag or a stencil to get the shape right, but it turns out it's just about pouring three circles. The look on their faces when they saw a tiny "bunny bottom" on their plates was worth the early wake up call.
Honestly, most "themed" breakfasts are a nightmare to pull off. They usually involve way too many ingredients or techniques that leave your kitchen looking like a disaster zone. These Bunny Butt Pancakes are different. They use standard pantry staples and a bit of visual trickery.
You get a high impact result without needing to be a pastry chef.
We're going for a texture that's soft and airy, topped with a bit of fluffy cream for the tail. It's a simple setup, but the payoff is huge. Whether you're doing a full Easter themed breakfast or just want to make Tuesday more exciting, this approach works every time.
The Secret to Bunny Butt Pancakes
The magic here isn't in the ingredients, but in how they interact. I used to think whisking the batter until it was smooth was the goal, but that's actually where most people go wrong. If you over mix, you develop too much gluten, and your pancakes turn out like rubbery disks instead of fluffy clouds.
- The Lump Factor
- Leaving small lumps of flour means less gluten development, which keeps the interior light.
- The Bubbling Cue
- When bubbles pop and stay open on the surface, it means the baking powder has reacted and the structure is set.
- The Fat Balance
- Melted butter provides a velvety crumb and prevents the batter from sticking to the pan.
- The Air Pocket
- Whipping the heavy cream to stiff peaks creates a structural "tail" that won't collapse under the weight of a berry.
According to the experts at King Arthur Baking, the balance of leavening agents is what determines that signature vertical lift. In this recipe, the baking powder does the heavy lifting, creating carbon dioxide bubbles that expand when they hit the heat.
| Method | Time | Texture | Best For |
|---|---|---|---|
| Stovetop | 10 mins | Golden, crispy edges | Small batches, quick turns |
| Oven Baked | 15 mins | Uniform, cake like | Feeding a crowd, low stress |
Component Analysis
I like to think of a pancake as a tiny cake. Each part has a specific job to do to make sure you don't end up with a flat mess.
| Ingredient | Science Role | Pro Secret |
|---|---|---|
| All Purpose Flour | Provides the structural skeleton | Sift if you see clumps for a smoother pour |
| Baking Powder | Creates the rise and air pockets | Check the expiration date; old powder = flat cakes |
| Whole Milk | Hydrates the flour and adds richness | Room temperature milk prevents butter from seizing |
| Egg | Binds ingredients and adds stability | Beat the egg slightly before adding to the milk |
What You'll Need
For the batter, we're keeping it classic. I've found that using full fat milk and butter is non negotiable here. Don't even bother with low-fat alternatives if you want that velvety mouthfeel. If you're feeling fancy, you can use Butter in 15 Minutes recipe to add a more nuanced, creamy flavor to the mix.
For the Batter:
- 1.5 cups (190g) all purpose flourWhy this? Standard protein content for a stable lift
- 3 tbsp (35g) granulated sugarWhy this? Helps with the golden brown color
- 1 tbsp (12g) baking powderWhy this? The primary lift agent
- 0.5 tsp (3g) saltWhy this? Balances the sweetness
- 1 cup (240ml) whole milkWhy this? Adds fat for a tender crumb
- 1 large eggWhy this? Provides structure and "bounce"
- 3 tbsp (42g) unsalted butter, melted and cooledWhy this? Prevents sticking and adds flavor
- 1 tsp (5ml) vanilla extractWhy this? Adds aromatic depth
For the Bunny Details: - 0.5 cup (120ml) heavy whipping cream, whipped to stiff peaks Why this? Holds its shape as a "tail" - 4 fresh raspberries or blueberries Why this? Visual pop and tart contrast
| Original Ingredient | Substitute | Why It Works |
|---|---|---|
| Whole Milk | Buttermilk | More tang and extra fluff. Note: Add 1/2 tsp baking soda |
| All Purpose Flour | Almond Flour | Grain free. Note: Much denser and more fragile |
| Heavy Cream | Greek Yogurt | Thicker texture. Note: Less airy, more tangy |
| Fresh Berries | Sliced Banana | Natural sweetness. Note: Lacks the bright red/blue color |
Equipment Needed
You don't need a professional kitchen for this. I've made these using the most basic gear. The only real "must have" is a non stick surface. If you use a stainless steel pan without enough fat, these will cling for dear life, and you'll lose the bunny shape during the flip.
- Large mixing bowl (for dry ingredients)
- Measuring jug (for wet ingredients)
- Whisk (don't use an electric mixer here)
- Non stick skillet or griddle
- Spatula (thin and flexible)
- Small bowl (for whipping the cream)
How to Make It
Right then, let's get into the actual cooking. The key to homemade bunny butt pancakes is the pouring technique. Don't overthink it, just imagine you're drawing a big circle and two smaller ones.
Phase 1: The Rapid Mix
- Whisk the flour, sugar, baking powder, and salt in a large bowl. Note: Mixing dry ingredients first ensures the leavening is evenly spread.
- In a separate jug, combine the milk, egg, melted butter, and vanilla.
- Pour the wet ingredients into the dry ingredients and whisk until just combined. Note: Stop as soon as the flour disappears; leave a few small lumps to ensure fluffiness.
Phase 2: The Shape Shift Sizzle
- Heat a non stick skillet or griddle over medium heat. Note: Test with a drop of water; it should dance across the surface.
- Pour one large circle (approximately 4 inches) for the body and two smaller circles (approximately 2 inches) for the cheeks.
- Cook for about 2-3 mins until bubbles form on the surface and edges are set.
- Flip the pancakes and cook for another 1-2 mins until golden brown.
Phase 3: The Final Assembly
- Place the large pancake in the center of the plate.
- Position the two smaller pancakes slightly overlapping the bottom edge of the large one.
- Dollop a spoonful of whipped cream in the center of the two small pancakes and top with a single berry to create the bunny tail.
Avoiding Kitchen Disasters
Even with a simple recipe, things can go sideways. Usually, it's a temperature issue or a mixing mistake. I've spent enough time in the kitchen to know that "too much love" (over mixing) is the biggest enemy of the pancake.
Troubleshooting Common Issues
| Issue | Solution |
|---|---|
| Why Your Pancakes Stay Flat | If your cakes aren't rising, it's usually because the baking powder is dead or you over mixed the batter. When you over mix, you pop all those precious air bubbles before they even hit the pan. This l |
| Why the Edges Look Greasy | This happens when the pan is too hot or you've used too much butter. The butter burns and seeps into the batter instead of searing the outside. Keep your heat at a steady medium. |
| Why the Flip Fails | If you flip too early, the center is still liquid, and the pancake will collapse or tear. Wait for those bubbles to pop and stay open. |
Common Mistakes Checklist:
- ✓ Checked the baking powder expiration date
- ✓ Stopped whisking while lumps were still visible
- ✓ Waited for bubbles to set before flipping
- ✓ Let the melted butter cool slightly before adding to eggs
Scaling the Batch
If you're hosting a big family brunch, you might need to scale these easy bunny butt pancakes up. But be careful - you can't just multiply everything linearly and expect the same result.
Scaling Down (Half Batch): If you're just cooking for one or two, use a smaller pan. Since you can't easily use half an egg, beat one egg in a small bowl and measure out roughly 2 tablespoons. Reduce the total cooking time by about 20% since smaller batches heat up faster.
Scaling Up (2x-4x): When doubling the recipe, don't double the salt or vanilla exactly - go for 1.5x instead to avoid overpowering the flavor. I recommend working in batches. If you try to pour 20 bunnies on one griddle, the temperature will drop, and you'll lose that golden brown sizzle.
For oven baked versions, lower the temp by about 15°C and extend the time by 5 minutes to ensure the centers are cooked through.
| Variation | Change | Result |
|---|---|---|
| Cinnamon Sugar | Add 1 tsp cinnamon to dry mix | Warm, spiced flavor profile |
| Lemon Poppyseed | Add zest and 1 tbsp poppyseeds | Zesty, bright, and textured |
| dairy-free | Swap milk for oat milk, butter for oil | Lighter taste, allergy friendly |
Debunking Pancake Myths
There are a few things people tell you about pancakes that are just plain wrong. First, the idea that you should "rest" the batter for an hour. While resting helps with some breads, for these quick bunny pancakes, too much resting can actually make the baking powder lose its punch, leading to a flatter cake.
Another myth is that adding more sugar makes them fluffier. In reality, too much sugar can actually weigh down the structure and cause the pancakes to burn on the outside before the inside is done. Keep the sugar to the recommended 3 tbsp for the best balance of color and lift.
Storage Guidelines
If you have leftovers, don't toss them. These freeze surprisingly well. Let them cool completely, then stack them with parchment paper in between each layer so they don't stick together. Place them in a freezer safe bag for up to 2 months.
To reheat, just pop them in the toaster or a warm oven for 5 minutes. Avoid the microwave if you can, as it can make them a bit soggy. For the whipped cream, it's best to make it fresh, but you can store the leftover batter in the fridge for about 24 hours.
Just give it a very gentle stir before using it again.
As for zero waste, if you have a bit of batter left that isn't enough for a full bunny, make "bunny ears" - tiny little strips of pancake that you can scatter around the plate for extra cuteness.
Pairing Ideas
To make this a full Easter breakfast, you need a few sides to balance the sweetness. I love serving these with a side of crispy bacon or some sautéed spinach. The saltiness of the meat cuts right through the velvety whipped cream.
For a drink, a fresh mimosa or a cold glass of orange juice is a classic. If you're looking for another sweet treat to add to the table, you might try these Chocolate Peanut Butter No Bakes recipe as a side dessert. They add a chewy contrast to the fluffy pancakes that guests always love.
Trust me, once you see those Bunny Butt Pancakes on the table, you'll realize that a little bit of creativity goes a long way. It's not about being a pro; it's about making something that makes people smile. Right then, get your skillet hot and let's get cooking!
Recipe FAQs
How to shape the pancakes into a bunny?
Pour one large 4 inch circle for the body and two smaller 2 inch circles for the cheeks. Arrange the small pancakes to overlap the bottom edge of the large one before adding the whipped cream and berry tail.
Why are my pancakes staying flat?
You likely overmixed the batter or used expired baking powder. Overmixing pops the air bubbles before they hit the pan, which prevents the pancakes from rising.
Can I store leftover batter in the fridge?
Yes, it keeps for about 24 hours. Give it a very gentle stir before using; for another meal prep option, try our high protein oats.
How to reheat frozen pancakes?
Pop them in a toaster or warm oven for 5 minutes. Avoid using the microwave, as it can make the texture soggy.
Is it true the batter must be whisked until completely smooth?
No, this is a common misconception. Leave a few small lumps in the batter to ensure the finished pancakes are fluffy.
Why do the edges look greasy?
The pan is likely too hot or contains too much butter. This causes the butter to burn and seep into the batter instead of searing the outside.
Can I freeze these pancakes for later?
Yes, they freeze well for up to 2 months. Stack them with parchment paper between each layer in a freezer safe bag to prevent them from sticking together.
Bunny Butt Pancakes

