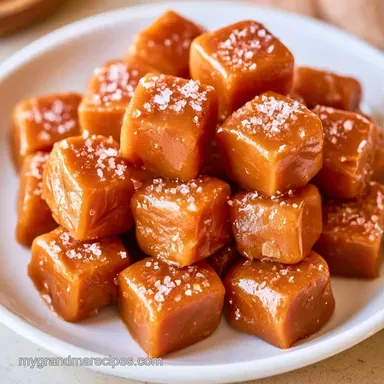
Failure-Proof Sea Salt Caramels
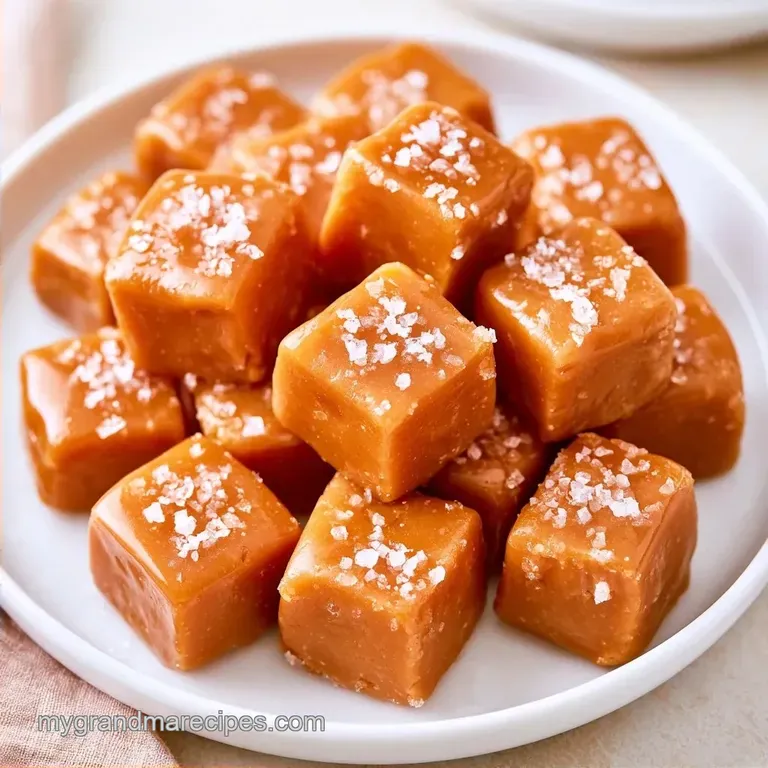
- Time: 15 min active + 2 hours chilling
- Flavor/Texture Hook: Rich mahogany color with a buttery, velvety chew
- Perfect for: Homemade holiday gifts or a cozy winter treat
Homemade Sea Salt Caramels for Comfort
There is nothing quite like the scent of sugar transforming from white crystals into a rich, golden syrup. It fills the entire kitchen with a cozy, toasted aroma. I remember watching my grandmother at the stove, her gaze fixed on the pot, knowing instinctively when to remove it from the heat without ever glancing at a clock.
You don't need a professional confectionery lab or a degree in chemistry to achieve that perfect pull and snap. Many assume that avoiding "grainy" caramel is only for experts, but it really just requires patience and a few basic habits. You don't need fancy gear just a heavy bottomed pot and some focus.
Crafting Sea Salt Caramels at home is all about embracing a slower pace. We aren't in a rush here. By hitting a few key checkpoints, we'll create a treat that far surpasses anything you'd find in a store-bought box.
What Makes the Chew
The texture of these candies comes down to how much water we evaporate from the mixture.
- The Temperature: Reaching 245°F ensures the sugar concentration is high enough to set firmly but low enough to stay chewy.
- Fat Content: The butter and cream stop the sugar from turning into a hard, brittle candy.
For those wondering about different styles, here is how this traditional method stacks up against the quicker versions.
| Method | Process | Result |
|---|---|---|
| Fast Boil | Cream and sugar boiled together | Lighter color, milder flavor |
| Classic | Sugar melted first (this recipe) | Deep mahogany color, rich taste |
- For a firmer set
- chill 3 hours instead of 2.
- For a softer chew
- pull the pot at 240°F.
- For a deeper color
- cook the sugar a minute longer before adding butter.
The Right Ingredients
I like to keep it simple. Using room temperature cream and butter prevents the sugar from seizing up when they hit the pot.
| Component | Purpose | Substitute Notes |
|---|---|---|
| Granulated Sugar | Base structure | Brown sugar: adds molasses notes but changes set |
| Unsalted Butter | Richness and shine | Salted butter: reduce added sea salt by half |
| Heavy Cream | Texture and stability | Coconut cream: similar fat, but adds tropical flavor |
| Flaky Sea Salt | Flavor contrast | Kosher salt: less crunch, more uniform saltiness |
The trick here is using a high fat heavy cream. Lower fat versions can cause the caramel to separate or feel thin.
| Original Ingredient | Substitute | Why It Works |
|---|---|---|
| Heavy Cream (1 cup) | Full fat Coconut Milk (1 cup) | Similar fat content. Note: Adds coconut flavor |
| Pure Vanilla Extract | Maple Extract (1 tsp) | Similar aromatic profile. Note: Adds woody sweetness |
Essential Kitchen Gear
While you don't need a professional setup, a few key tools will make this process much smoother. A heavy bottomed saucepan is vital for distributing heat evenly and preventing the sugar from scorching.
I rely on a digital candy thermometer to eliminate any guesswork, even though the traditional cold water test is an option. You'll also want a sturdy spatula silicone works best to keep the mixture stirring. Lastly, line your 8x8 pan with parchment paper so the finished candy pops out effortlessly.
Making the Caramels
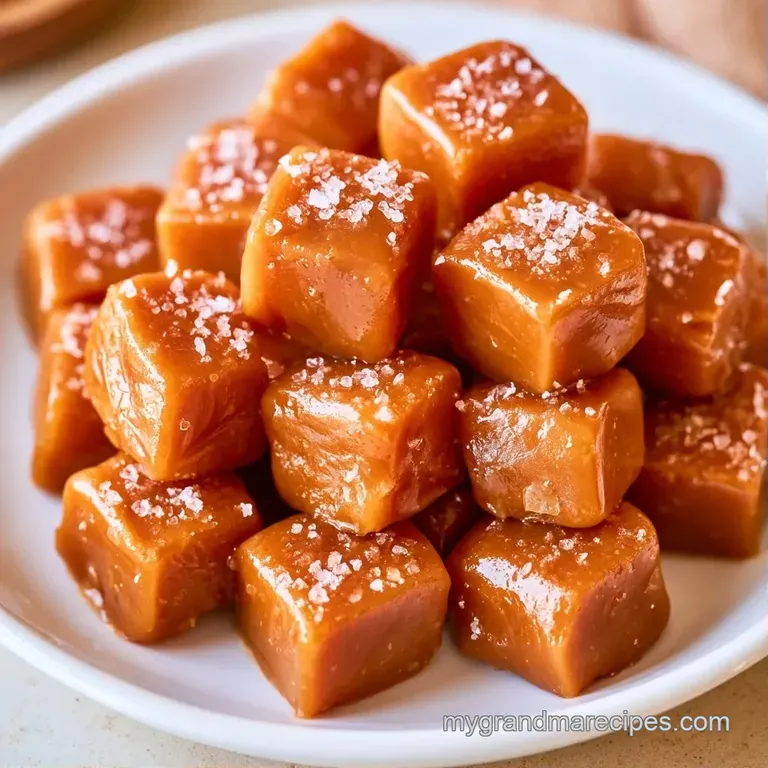
Let's get started. Set your butter and cream aside to take the chill off before they are added to the hot sugar.
- Fit an 8x8 inch baking pan with parchment paper, making sure the edges extend past the rim.
- Heat granulated sugar in a heavy bottomed saucepan over medium heat. Stir constantly with a spatula until the sugar melts into a deep, golden mahogany syrup.
- Lower the heat. Gradually stir in the cubed butter one piece at a time Note: the mixture will bubble, so proceed slowly.
- Gradually pour in the heavy cream and stir until the caramel is smooth and glossy.
- Return the heat to medium. Use a thermometer to boil the mixture, stirring occasionally, until it hits exactly 245°F (118°C).
- Remove from the heat immediately and mix in the vanilla extract.
- Pour the finished caramel into the lined baking pan.
- Dust the top evenly with flaky sea salt.
- Refrigerate for 2 hours until the candy has fully set and hardened.
- Using a chef's knife, cut the set caramel into 20 uniform pieces.
Fixing Common Problems
Even the pros occasionally run into issues. Most often, it comes down to temperature or a few stray crystals.
Avoiding graininess
Grainy Sea Salt Caramels occur when sugar crystals form on the pot's interior and slip back into the syrup, triggering a chain reaction. I typically use a damp pastry brush to wipe down the sides of the pan while the mixture is boiling.
Stopping separation
If the butter separates, it's typically because the cream was too cold, which shocks the fat and breaks the emulsion. Should this happen, continue stirring over low heat until the mixture reunites.
Fixing soft sets
If your candies remain too runny to slice, they likely didn't reach the 245°F threshold. You can simply return them to the pot, reheat them to the correct temperature, and pour them again.
| Problem | Root Cause | Solution |
|---|---|---|
| Grainy Texture | Undissolved sugar crystals | Wash pot sides with a wet brush |
| Too Soft | Temperature too low | Re boil to 245°F (118°C) |
| Burnt Taste | Sugar overheated | Start over; burnt sugar can't be fixed |
| Separated Fat | Cold cream addition | Stir over low heat to re emulsify |
Different Flavor Ideas
Feel free to customize the recipe with your own additions. For a truly indulgent treat, try dipping these Sea Salt Caramels in melted dark chocolate; the resulting blend of salty, sweet, and bitter is fantastic.
To add a nutty element, stir in some toasted pecans right before pouring the mixture into the pan. Because these candies have such a cozy, classic feel, they pair perfectly with other autumn flavors. For instance, they are a wonderful accompaniment to this Applesauce in 35 Minutes recipe.
You can also substitute the vanilla with a splash of bourbon. Be sure to add it at the end to prevent the flavor from boiling away. For another delicious use of maple, check out my maple cinnamon applesauce.
Storing Your Treats
To keep Sea Salt Caramels from sticking together, wrap each piece individually in wax paper or parchment squares. This is the old-fashioned way, and it's the only way that actually works.
Keep the wrapped candies in a sealed jar in a cool, dry spot for up to two weeks. You can also keep them chilled in the cold box for about four days, though they'll be a bit firmer. I don't recommend freezing them, as the texture can change and become slightly grainy upon thawing.
As for zero waste, if you have a little bit of caramel left in the pot, don't scrub it out. Add a splash of milk or cream, heat it gently, and you've got a quick caramel sauce for ice cream.
Serving and Gifting
These are wonderful for gifting, particularly during the holidays. I enjoy packaging them in a small tin tied with a ribbon. Their rich, intense flavor means they don't need much else to accompany them.
For a special indulgence, pair them with a cup of bold black coffee or a chilled glass of milk. The coffee's bitterness beautifully offsets the buttery sweetness of the candy. If you're presenting these Sea Salt Caramels at a gathering, arrange them on a tray with tart green apples or fresh berries to contrast the richness.
Believe me, once you begin crafting these from scratch, store-bought versions won't compare. There is a certain home cooked, Southern style comfort that simply can't be bought in a box.
Recipe FAQs
What is the difference between regular and sea salt caramel?
Sea salt caramel adds a savory contrast to the sweetness of the sugar and cream.
Tip: Use flaky salt instead of table salt for a better crunch.
Is it true that table salt is a good substitute for flaky sea salt?
No, and here's why. Table salt is too fine and tastes overly sharp compared to the balanced flavor of sea salt.
Tip: Sprinkle the salt immediately after pouring the caramel into the pan.
How to avoid burning the sugar during the melting process?
Stir the granulated sugar constantly with a spatula over medium heat.
Tip: Remove from heat the moment the syrup reaches a golden amber mahogany color.
Why did my caramels fail to set firmly?
The mixture likely did not reach the precise boiling point of 245°F (118°C).
Tip: Use a digital candy thermometer to ensure accuracy.
Which pan works best for preparing this recipe?
A heavy bottomed saucepan provides the most even heat distribution to prevent scorching.
Tip: Use an 8x8 inch baking pan lined with parchment paper for easy lifting.
Does sea salt caramel count as a healthy snack?
False. This confection is high in sugar and saturated fats.
Tip: If you prefer a lighter treat, try our healthy zucchini cake.
Best way to stop these from sticking together?
Wrap each piece individually in wax paper or parchment squares.
Tip: Keep the wrapped pieces in a sealed jar in a cool, dry spot.
Sea Salt Caramels