Homemade Chocolate Spoons for Hot Chocolate
- Time: Active 10 minutes, Passive 5 minutes, Total 15 minutes
- Flavor/Texture Hook: Silky smooth dark chocolate with a satisfying peppermint crunch
- Perfect for: Holiday gifting, snowy Tennessee afternoons, or a simple budget-friendly treat
- Making Rich Chocolate Spoons for Hot Chocolate
- Component Analysis for Perfect Melting
- Essential Ingredients and Smart Swaps
- Tools for the Perfect Melt
- Step-by-Step for Silky Spoons
- Fixes for Common Chocolate Mistakes
- Customizing for Every Special Diet
- Keeping Your Treats Fresh Longer
- How to Serve These Treats
- Homemade Quality Beats Store Bought
- Debunking Common Kitchen Chocolate Myths
- Recipe FAQs
- 📝 Recipe Card
Imagine the smell of dark, melting cacao wafting through a drafty kitchen while the kettle starts to whistle. Growing up in Tennessee, Grandma always had a trick for making things feel special without spending a fortune, and these chocolate spoons for hot chocolate were her secret weapon.
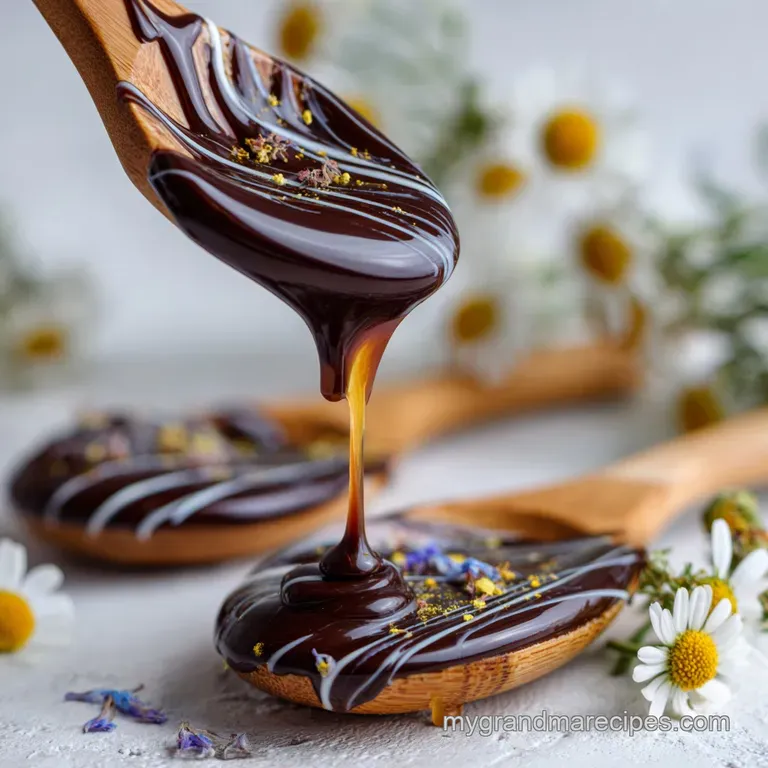
There is something truly tactile and nostalgic about watching a thick coat of chocolate slowly surrender to hot milk, swirling into dark ribbons.
Most folks buy those overpriced versions at the boutique shops, but they usually taste like flavored wax. When you make them yourself, you control the quality of the "snap" and the richness of the stir. We aren't just making a treat here; we are making a delivery system for pure comfort.
If you have ten minutes and a handful of pantry staples, you can skip the store-bought packets forever.
I have spent years figuring out why some spoons come out chalky while others look like they belong in a professional chocolatier’s window. It usually comes down to heat control and one or two "secret" additions that bridge the gap between a snack and an indulgence.
This recipe is the one I give to friends every December because it actually works every single time, even if you are working with a tight grocery budget.
Making Rich Chocolate Spoons for Hot Chocolate
Mechanism: Fat Integration. The refined coconut oil acts as a thinning agent, breaking down the heavy cocoa butter bonds to create a dip that coats the spoon smoothly rather than clumping.
Mechanism: Flavor Bridging. Small amounts of espresso powder contain aromatic compounds that align with the bitter notes in dark chocolate, making the cacao taste more intense without adding a coffee flavor.
Mechanism: Crystallization Control. Rapidly cooling the chocolate after it reaches a specific fluid state helps the fats snap back into a stable structure, preventing that dull, grey "bloom" look.
Component Analysis for Perfect Melting
| Ingredient | Science Role | Pro Secret |
|---|---|---|
| Ghirardelli 60% Cacao | Provides the structural base | Chop it into tiny, uniform shards for even melting |
| Refined Coconut Oil | Lowers the melting point | Use refined to avoid any unwanted tropical coconut scent |
| Espresso Powder | Enhances the darker notes | Sift it in to prevent tiny clumps of bitterness |
Essential Ingredients and Smart Swaps
Getting the right ingredients is half the battle. You want 8 oz high-quality semi sweet or dark chocolate (at least 60% cacao) for that true, deep flavor. Cheap chocolate chips often have stabilizers that prevent them from melting into a silky pool, so go for the bars if you can.
- 1 tsp refined coconut oil: This is non negotiable for a glossy finish. Why this? It provides a professional sheen and a smoother mouthfeel than butter.
- 1/4 tsp espresso powder: Just a pinch makes the chocolate "pop." Why this? It deepens the cacao flavor profile without making the drink taste like coffee.
- 2 tbsp mini marshmallows: These are the classic topping for any hot chocolate.
- 1 tbsp crushed peppermint candies: Adds a bright, festive crunch.
- 1 tsp coarse sea salt: A few grains on top balance the sugar beautifully.
- 1 tbsp white chocolate chips: Use these for a decorative drizzle.
| Original Ingredient | Substitute | Why It Works |
|---|---|---|
| Dark Chocolate (8 oz) | Semi sweet chips (8 oz) | Chips hold their shape better but may be slightly grainier |
| Refined Coconut Oil | Cocoa Butter (1 tsp) | Same fat structure. Note: Harder to find and more expensive |
| Peppermint Candies | Toffee Bits (1 tbsp) | Adds a buttery crunch instead of minty freshness |
Tools for the Perfect Melt
You don't need a fancy laboratory to get these right, but a few specific items from your Tennessee kitchen will make it easier. I always reach for my Lodge Cast Iron Skillet to act as a heavy base for a makeshift double boiler if I'm feeling rustic, but a standard glass bowl over a saucepan is usually safer for temperature control.
- Glass or Stainless Steel Bowl: Avoid plastic, as it can retain odors or melt.
- Small Saucepan: For the simmering water bath.
- Silicone Spatula: A Rubbermaid over High heat Spatula is great for scraping every drop of chocolate.
- Wooden Spoons: Use 12 sturdy spoons (bamboo or classic birch) that can stand up in a heavy mug.
- Parchment Paper: Essential for a non stick drying surface.
step-by-step for Silky Spoons
Chef's Note: Never let a single drop of water touch your chocolate. It will "seize" into a gritty, hard mess that is nearly impossible to fix. Keep your workspace bone dry!
Step 1: Precision Chopping
Take your 8 oz of dark chocolate and chop it into pieces no larger than a pea. Note: Small pieces melt at the same rate, preventing the edges from burning while the center is still solid.
Step 2: Set the Boiler
Fill a saucepan with 1 inch of water and bring it to a bare simmer. Place your glass bowl on top, ensuring the bottom doesn't touch the water. Wait until you see light steam.
Step 3: Gentle Melting
Add the chocolate and 1 tsp refined coconut oil to the bowl. Stir constantly with your silicone spatula until the mixture is 90% liquid.
Step 4: Add Flavor Boosters
Whisk in the 1/4 tsp espresso powder. Remove the bowl from the heat and let the residual warmth melt the remaining 10% of the chocolate until it looks like dark silk.
Step 5: Dip and Coat
Hold a wooden spoon by the handle and submerge the head into the chocolate. Rotate it until the coating is thick and even.
Step 6: The First Set
Lay the spoons on parchment paper and let them sit for 2 minutes. Watch for the gloss to slightly dull before adding toppings so they don't just sink to the bottom.
Step 7: Decorative Flourishes
Sprinkle on the mini marshmallows, crushed peppermint, and coarse sea salt. If you're feeling fancy, melt the 1 tbsp white chocolate chips and drizzle them over the top using a fork.
Step 8: Final Curing
Let the spoons sit at room temperature for at least 1 hour. They should feel hard to the touch and shatter slightly when tapped against the side of a mug.
Fixes for Common Chocolate Mistakes
Sometimes things go south, even with the best intentions. If your spoons for hot chocolate look a bit wonky, don't panic. Most issues happen because of temperature spikes or humidity.
Why Your Chocolate Seized
If your smooth liquid suddenly turns into a thick, grainy paste, a tiny bit of moisture likely got in. This happens if steam from the pot curls up into the bowl.
| Problem | Cause | Fix | Pro Tip |
|---|---|---|---|
| Grainy Texture | Water contamination | Stir in 1 tsp vegetable oil | Never use a lid on the melting bowl |
| Dull/Grey Film | Fat bloom from heat | Re melt and add fresh chocolate | Keep the temperature under 110°F |
| Toppings Falling Off | Dipping too early | Wait 2 mins before decorating | Chill the toppings in the fridge first |
Customizing for Every Special Diet
The beauty of making these at home is that you can adjust for anyone sitting at your table. For a vegan indulgence, ensure your 60% cacao is dairy-free and swap the marshmallows for a gelatin free version. The coconut oil is already plant based, so you are halfway there!
If you are looking for a lower carb option, use a stevia sweetened chocolate bar and skip the marshmallows entirely. A dusting of cinnamon or nutmeg provides that holiday warmth without the extra sugar hit. This is the same logic we use in our Chocolate Peanut Clusters recipe, where the balance of fat and flavor is more important than the sugar content.
Keeping Your Treats Fresh Longer
Once these are set, they are surprisingly hardy. I usually tuck them into individual cellophane bags tied with a bit of kitchen twine.
- Room Temp: Store in a cool, dry pantry for up to 2 weeks.
- Fridge: Not recommended, as the chocolate can "sweat" when you take it out, ruining the texture.
- Freezer: You can freeze these for 3 months, but the marshmallows might get a bit chewy. Wrap them tightly in plastic wrap first.
Zero Waste Tip: If you have leftover melted chocolate in the bowl, don't wash it away! Scrape it onto a piece of parchment, top with any leftover peppermint, and let it harden into a "chef's snack" bark.
How to Serve These Treats
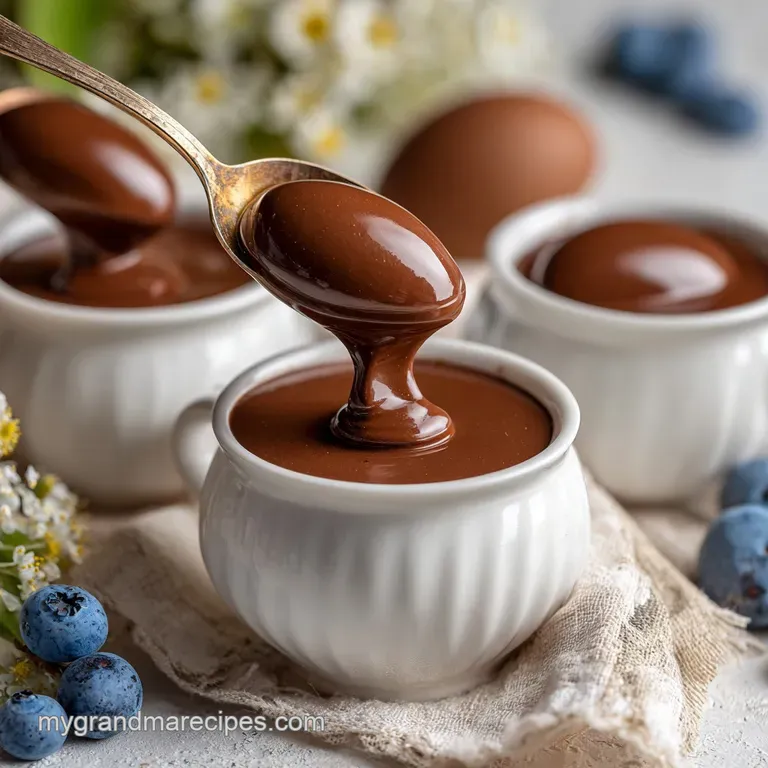
These are intended to be stirred into 8 oz of very hot milk or even a standard cup of coffee. As you stir, the chocolate melts from the outside in, creating a gradient of flavor. If you want the ultimate experience, pair one of these with a mug made from my Dark Chocolate Hot Chocolate recipe for a double chocolate punch that is strictly for true cacao lovers.
Decision Shortcut: If you want a creamy finish, stir the spoon into whole milk or oat milk. If you want a mocha vibe, stir it into your morning dark roast coffee. If you want a kid friendly treat, use milk chocolate and extra marshmallows.
Homemade Quality Beats store-bought
There is a massive difference between a mass produced stirrer and one made with real cocoa butter and sea salt. Shortcut versions often use "compound chocolate," which replaces cocoa butter with cheaper palm oils. It tastes flat and leaves a coating on the roof of your mouth.
| Feature | Fresh Homemade Spoon | store-bought Shortcut |
|---|---|---|
| Melting Point | Melts instantly in hot liquid | Often requires vigorous stirring |
| Flavor Depth | Complex, bitter sweet, and rich | Mostly sugar and artificial vanilla |
| Texture | Smooth and velvety | Can feel waxy or oily |
Debunking Common Kitchen Chocolate Myths
Myth: You must use a thermometer to temper chocolate. While pros use them, for these spoons, the "seeding" method works fine. By leaving 10% of the chocolate unmelted and letting residual heat finish the job, you naturally bring the temperature down into a stable range. This is the same instinctual cooking I talk about in my Chocolate Chip Cookies Recipe, where the feel of the dough matters more than the timer.
Myth: Adding more oil makes it thinner. To a point, yes, but too much oil prevents the chocolate from ever fully hardening. Stick to the 1 tsp per 8 oz ratio. If you go overboard, your spoons for hot chocolate will stay tacky and messy at room temperature, which is a nightmare for gifting.
- 1. Water Temp
- Keep the simmering water at exactly 180°F (just below a boil) to avoid scorching.
- 2. Chocolate Weight
- Use exactly 8 oz (226g) to ensure the oil ratio is correct.
- 3. Setting Time
- Allow a minimum of 60 minutes for the cacao fats to fully re align.
Whether you're making these for a school bake sale or just to have something sweet for a Tuesday night, remember that the best recipes are the ones that bring people to the table. These little spoons are just a vehicle for that. Happy stirring!

Recipe FAQs
What is a hot chocolate spoon?
It is a solid block of high-quality chocolate on a handle. This block is designed to be fully submerged into a mug of very hot milk or water, melting slowly to create instant, rich hot chocolate.
How to use a hot chocolate dunking spoon?
Stir the spoon directly into a mug of steaming liquid until fully dissolved. Ensure your milk or water is hot enough to quickly melt the coating without burning the cacao. This stirring motion mimics the technique required for a perfect roux when thickening sauces, like in a Homemade Gravy Recipe: Velvety Finish.
How to make a hot chocolate spoon?
Melt high-quality chopped chocolate with a small amount of fat, like coconut oil, then dip a handle into the mixture. Pouring the melted chocolate onto a spoon handle and allowing it to cool completely on parchment paper sets the structure.
How many tablespoons for hot chocolate?
Use one full chocolate spoon per 8-ounce serving of milk or water. The chocolate itself acts as the primary dry ingredient, so no measuring spoons are needed for the chocolate component.
Can I use baking chocolate instead of candy melts?
Yes, baking chocolate creates a superior flavor profile. Candy melts contain stabilizers that prevent true melting; use 60% or higher cacao bars mixed with coconut oil for a silky texture.
Why do my homemade spoons look dull or grey?
This is likely fat bloom caused by fluctuating or excessive heat during the melting process. Keep the heat extremely low and ensure no water ever hits the chocolate to maintain a high gloss.
What flavorings pair well with dark chocolate spoons?
A touch of espresso powder enhances the cacao’s depth, while a pinch of sea salt balances the sweetness. If you enjoy balancing sharp flavors against a sweet base, review the acid-to-sugar balancing principles we use when crafting a Margarita Drink Recipe Pitcher: Zesty & Silky Smooth.
Chocolate Spoons For Hot Chocolate
Ingredients:
Instructions:
Nutrition Facts:
| Calories | 121 kcal |
|---|---|
| Protein | 1.0 g |
| Fat | 6.6 g |
| Carbs | 14.3 g |
| Fiber | 1.3 g |
| Sugar | 11.1 g |
| Sodium | 158 mg |
