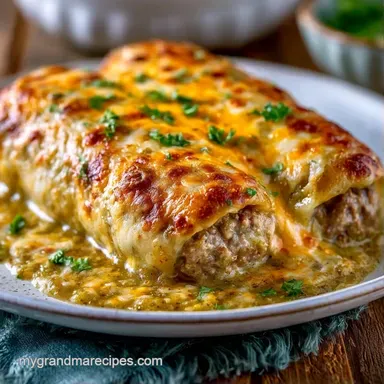
Smoky Beef Hatch Enchiladas
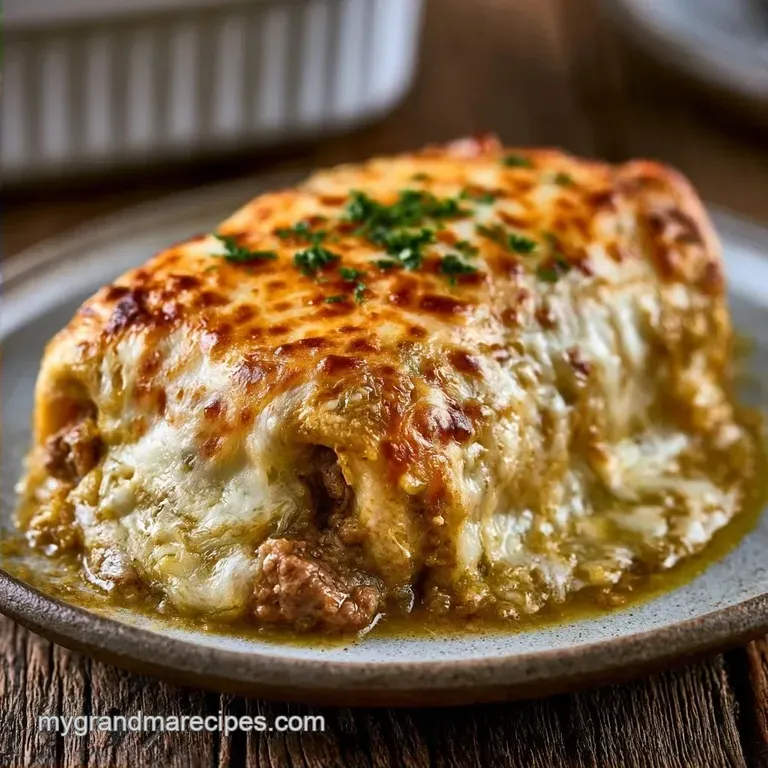
- Time: 30 min active + 45 min cook
- Flavor/Texture Hook: Smoky, cheesy with a sturdy corn shell
- Perfect for: Family dinner or weekend comfort food
That smell of roasting chiles hitting the air is everything. It's that specific, charred aroma that tells you something real is happening in the kitchen. Whenever I get my hands on fresh Hatch chiles, I can't help but think of the warmth of my Abuela's kitchen, where the air always felt heavy with cumin and toasted peppers.
For a long time, I struggled with the texture of home cooked enchiladas. They always ended up either too dry or completely disintegrated into a pile of corn porridge. I spent way too much time wondering why the restaurant versions stayed intact while mine collapsed.
It turns out the answer is all in how you treat the corn tortilla. Once I stopped dipping them in sauce and started flash warming them in oil, everything changed. Now, these Beef Hatch Enchiladas are my go to when I want that specific Texas Mexican fusion that feels like a hug on a plate.
Making Real Beef Hatch Enchiladas
The objective is to develop flavor in layers. While many simply brown the meat, we want a rich, mahogany crust on the beef to create a savory depth that balances the chiles' acidity.
The Beef Crust: Allowing the meat to remain undisturbed for 4 minutes ensures a proper sear, preventing the filling from tasting like boiled beef.
The Moisture Barrier: Flash warming the tortillas in oil seals the surface, which stops the sauce from soaking through the corn too quickly.
You might also enjoy using these chiles in my Roasted Hatch Chile Sauce for other meals. But for this dish, the roux-based sauce offers the structural support required for baking.
Essential Recipe Specs
Before we get started, let's look at the timing. This isn't a 15 minute meal, but it's efficient. You'll spend 30 minutes on prep and 45 minutes cooking.
The total time is 75 minutes. Since we're using ground beef, it's much faster than slow cooking a shoulder, but we keep the flavor intense by toasting the spices.
| Method | Prep Time | Texture | Flavor Profile |
|---|---|---|---|
| Fast (Ground) | 30 minutes | Sturdy/Cheesy | Zesty & Smoky |
| Classic (Shredded) | 4 hours | Soft/Tender | Deep & Earthy |
The Essential Ingredients List
I prefer using a mix of Monterey Jack for the melt and Pepper Jack for an extra kick. Don't use the pre shredded bags if you can avoid it. The cornstarch they add to prevent clumping stops the cheese from melting into that smooth, glossy pool we want.
For the Beef Hatch Enchiladas, you'll need these specific items:
- 1 lb lean ground beef (85/15) Why this? Less grease prevents soggy tortillas
- 1 cup yellow onion, finely diced
- 3 cloves garlic, minced
- 1 tsp ground cumin
- 1 tsp smoked paprika
- ½ tsp salt
- ¼ tsp black pepper
- 2 tbsp olive oil
- 1 cup roasted Hatch green chiles, chopped Why this? The heart of the smoky flavor
- 2 cups low sodium chicken broth
- 2 tbsp unsalted butter
- 2 tbsp all purpose flour
- 1 tsp onion powder
- ½ cup sour cream Why this? Adds tang and a velvety finish
- 10 (6 inch) corn tortillas
- 2 cups Monterey Jack cheese, freshly grated
- 1 cup Pepper Jack cheese, freshly grated
- ¼ cup fresh cilantro, chopped
- 2 tbsp vegetable oil
| Component | Purpose | Substitute Notes |
|---|---|---|
| Hatch Chiles | Primary heat/smoke | Anaheim chiles: Milder, less smoky |
| Monterey Jack | Melty base | Mild Provolone: Similar melt, less buttery |
| Sour Cream | Sauce thickness | Greek Yogurt: Tangier, slightly thicker |
| Ground Beef | Protein heart | Ground Turkey: Leaner, needs more salt |
I've found that if you can't find roasted Hatch chiles, canned versions work, but you lose that charred edge. If you're feeling adventurous, try swapping the green sauce for an Authentic Red Chile Sauce to see which style you prefer.
Tools You'll Actually Use
Standard kitchen equipment is all you need. I prefer using a heavy skillet for the beef to ensure better heat retention, which results in a superior crust.
You'll need: Large skillet (stainless steel or cast iron) Blender or food processor Small saucepan 9x13 inch baking dish Whisk Small frying pan (for tortillas)
Step by step Cooking
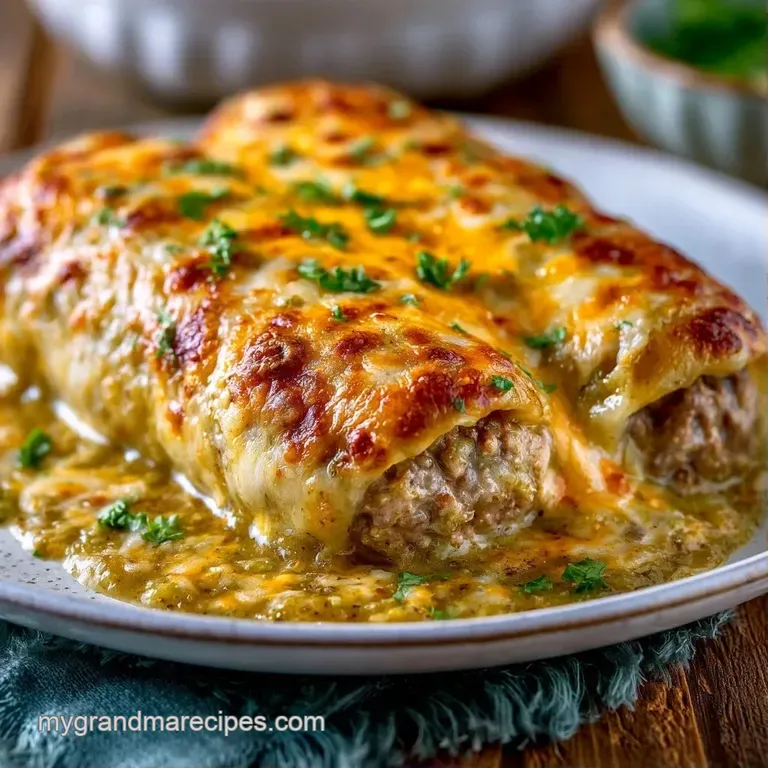
Let's dive in. Patience during the browning stage is essential.
Phase 1: Crafting the Beef Filling
- Set a skillet over medium-high heat and add 2 tbsp olive oil until it shimmers.
- Add the ground beef, breaking it up only slightly. Leave it undisturbed for 3-4 minutes to develop a mahogany crust. Note: This step maximizes the flavor.
- Stir in the garlic and diced onion, sautéing until the onion turns translucent.
- Mix in the salt, pepper, smoked paprika, and cumin. Cook for another 2 minutes until the aroma of toasted spices is released. Take off the heat and set aside.
Phase 2: Blending the Green Gold Sauce
- Combine the chicken broth and chopped roasted Hatch chiles in a blender. Pulse until the mixture is smooth yet retains some texture.
- Melt butter in a small saucepan over medium heat. Stir in flour and cook for 1-2 minutes to make a blond roux.
- Gradually whisk in the blended chile mixture, stirring continuously to keep it lump-free.
- Let it simmer for 8-10 minutes until the sauce has thickened.
- Stir in the sour cream for a creamy finish and remove from the heat.
Phase 3: The "Anti Soggy" Assembly
- In a small pan, heat vegetable oil and quickly warm each corn tortilla for a few seconds per side to create a moisture seal.
- To prevent the Beef Hatch Enchiladas from sticking, spread a thin layer of sauce across the bottom of a 9x13 inch baking pan.
- Stuff each warmed tortilla with the beef filling and a pinch of cheese; roll tightly and place seam-down in the dish.
- Smother the Beef Hatch Enchiladas with the rest of the green sauce and top with the remaining Pepper Jack and Monterey Jack cheeses.
Phase 4: The Final Bake
- Bake at 375°F until the cheese is bubbling and fully melted.
- Top with fresh chopped cilantro before serving.
Chef's Note: If your tortillas crack, they are likely too cold. To make them flexible, wrap them in a damp paper towel and microwave for 20 seconds before dipping in oil.
Solving Common Baking Issues
Even when you're careful, things happen. The most common complaint with Beef Hatch Enchiladas is the "mush factor." This usually happens because the tortillas weren't oiled or the sauce was too thin.
If the sauce feels watery, you likely didn't cook the roux long enough or didn't simmer it for the full 10 minutes. The sauce should coat the back of a spoon without running off instantly.
Another issue is the beef filling being too greasy. Using 85/15 beef helps, but if you see a pool of oil in the skillet after browning, just tilt the pan and spoon some out before adding the onions.
| Problem | Root Cause | Solution |
|---|---|---|
| Tortillas are mushy | No oil barrier / over baked | Flash fry tortillas and bake only until bubbly |
| Bland beef filling | Lacked sear / under salted | Let meat brown undisturbed for 4 mins |
| Sauce is lumpy | Added liquid too fast | Whisk constantly and add broth in slow streams |
| Tortillas cracking | Too dry or cold | Microwave in damp towel before oiling |
The beef filling should be moist but not swimming in liquid. If it's too wet, the Beef Hatch Enchiladas will slide apart when you try to serve them.
Easy Dietary Swaps
You can tweak this recipe to fit different needs without losing the soul of the dish. For a gluten-free version, simply swap the all purpose flour in the roux for a 1:1 gluten-free flour blend or use a cornstarch slurry (mix 1 tbsp cornstarch with 1 tbsp cold water).
If you want to lower the carbs, you can use low carb flour tortillas, but be warned: they don't have the same structural integrity as corn. Alternatively, you can make this as a "casserole" by layering the Beef Hatch Enchiladas ingredients like a lasagna.
For a dairy-free version, use a vegan butter substitute for the roux and a cashew based cream instead of sour cream. Replace the Monterey Jack with a high-quality vegan mozzarella blend.
| Goal | What to change |
|---|---|
| gluten-free | Use cornstarch slurry instead of flour |
| Lower Carb | Use low carb tortillas or layer as a casserole |
| dairy-free | Swap butter/cheese for plant based alternatives |
I've also tried using shredded brisket instead of ground beef. It takes longer to prep but adds a rich, smoky layer that pairs beautifully with the Hatch chiles.
Keeping Leftovers Fresh
Beef Hatch Enchiladas keep quite well, provided they aren't overcooked during the first bake. Keep any remaining portions in a glass container in the refrigerator for 3 to 4 days.
To prevent the corn tortillas from turning rubbery, steer clear of the microwave when reheating. Instead, heat them in a 325°F oven for about 15 minutes. Adding a small splash of chicken broth to the pan will stop the sauce from drying out.
When freezing, it's best to store the sauce and beef filling in separate bags and assemble them fresh. If you prefer to freeze them already assembled, underbake the first batch by 10 minutes. This allows them to finish cooking during the reheat without the tortillas becoming mushy.
Reduce waste by using leftover diced garlic or onion to start a sauté or soup for tomorrow's meal. Extra roasted chiles can be frozen in ice cube trays with a bit of oil.
The Best Side Dishes
Because Beef Hatch Enchiladas are so rich and creamy, you need something bright and acidic to cut through the fat. I always start with a side of cilantro lime rice. The lime juice cleanses the palate between bites of cheesy beef.
Another great option is a crisp slaw with a vinegar based dressing. Avoid creamy coleslaws here, as you already have sour cream and cheese in the main dish. A simple mix of shredded cabbage, carrots, and apple cider vinegar is spot on.
If you're hosting a crowd, a platter of sliced avocado and radishes adds a fresh, peppery crunch. The coolness of the avocado balances the heat of the Hatch chiles.
I also love serving these with a side of black beans simmered with a pinch of cumin and a squeeze of lime. It completes the meal and makes the Beef Hatch Enchiladas feel like a full feast.
A Few Common Myths
You may be told that every tortilla must be dipped in sauce before rolling, but this is a myth that often leads to soggy results. For better structure, the oil dip method is far more successful.
Some claim that searing beef "locks in the juices," but that isn't what is actually happening. While browning creates deep flavor compounds, it doesn't stop moisture from escaping. The goal is taste, not moisture retention.
Also, ignore the idea that you must source "authentic" corn tortillas from a specific region. Any high-quality corn tortilla works great, as long as you use the oil flash method.
You are now all set. These Beef Hatch Enchiladas are defined by their smoky, salty, and creamy layers. Just remember to brown the beef well and never skip the oil dip for the tortillas. Trust me, it's the secret to avoiding a soggy mess and making a meal you'll want to repeat every week. Happy cooking!
Recipe FAQs
How to prevent corn tortillas from cracking?
Flash-warm them in vegetable oil for a few seconds per side. This creates a moisture barrier and makes the tortillas pliable enough to roll tightly.
Is it true that I can skip the roux in the sauce?
This one's false: The butter and flour roux is essential for thickening the sauce and achieving a smooth, velvety consistency.
Can I use flour tortillas instead of corn?
Yes, though corn provides a more authentic flavor. If you prefer a softer wrap, you can use homemade flour tortillas for a different texture.
What is the best way to brown the beef?
Let the meat sit undisturbed for 3-4 minutes. This allows a mahogany-colored crust to form, which adds significant depth to the filling.
Do I need to peel the roasted Hatch chiles?
Yes, remove any charred skin before blending. This ensures the green sauce remains smooth and free of bitter burnt bits.
Should I use pre-shredded cheese for the topping?
No, grate the Monterey Jack and Pepper Jack by hand. Pre-shredded options contain cellulose that prevents the cheese from melting into a cohesive, bubbling layer.
Will baking these at 425°F make the cheese crispier?
No, and here's why. Baking at 375°F ensures the filling heats through and the cheese melts evenly without scorching the edges of the tortillas.
Smoky Beef Hatch Enchiladas