Easy Fudge Recipe: Silky and Chocolatey
- Time: Active 10 minutes, Passive 120 minutes, Total 130 minutes
- Flavor/Texture Hook: Intensely chocolatey with a silky, melt on-the tongue finish
- Perfect for: Holiday gifting, last minute party platters, or beginner bakers
- Discover Why This Easy Fudge Recipe Always Stays Velvety
- Mastering the Texture for a Perfectly Smooth Chocolate Melt
- Planning Your Prep with Realistic Timing and Results
- Choosing the Best Components for Your Homemade Fudge
- Simple Tools That Make the Process Completely Stress Free
- Walking Through the Steps for a Flawless Finish
- Solving Common Problems for First Time Candy Makers
- Customizing Your Treat with Different Flavors and Mix Ins
- Keeping Your Sweets Fresh and Ready for Gifting
- Dressing Up Your Squares for the Perfect Dessert Board
- Recipe FAQs
- 📝 Recipe Card
Discover Why This Easy Fudge Recipe Always Stays Velvety
The first time I stood over a stove trying to make candy, I ended up with a pot of grainy, brown sand. It was heartbreaking. I could smell the burnt sugar long after the pan was in the sink, and I almost swore off homemade treats forever. But then I discovered the magic of this specific method.
The aroma of semi sweet chocolate melting into a pool of buttery, sweetened milk is one of those kitchen scents that immediately makes everything feel cozy. When you stir that last bit of vanilla in, the mixture goes from a matte brown to a glossy, dark mahogany that looks like liquid silk.
We've all been there, staring at a recipe that requires a candy thermometer and nerves of steel. This isn't that. This easy fudge recipe is about removing the stress so you can actually enjoy the process of creating something indulgent.
You don't need to worry about "soft ball stages" or humidity levels in your kitchen. Instead, you get to watch a simple emulsion come together into a slab of pure joy. It’s the kind of recipe you’ll find yourself making on a Tuesday night because it only takes ten minutes of real work.
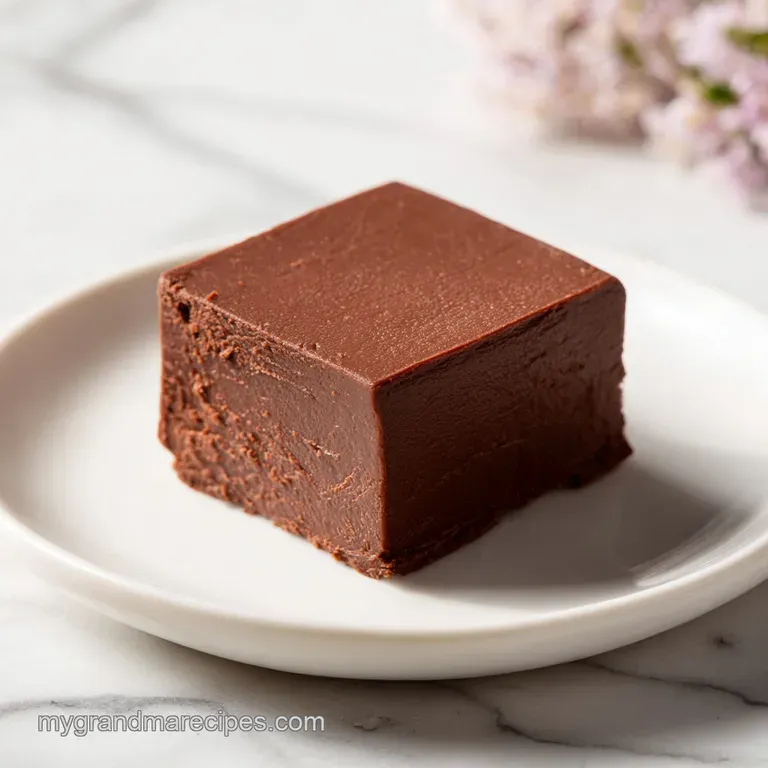
The result is a square that has a definitive "snap" when you bite into it, but immediately gives way to a fudgy, rich center. It isn't cloyingly sweet like some versions because we use semi sweet chips and a hit of sea salt to balance the sugar.
Trust me, once you see how easily this pulls away from the parchment paper in one perfect, heavy block, you’ll never go back to the store-bought stuff.
Mastering the Texture for a Perfectly Smooth Chocolate Melt
The magic here isn't just luck; it's the way the ingredients interact to prevent sugar from crystallizing. In traditional recipes, you have to boil sugar and water to a specific temperature, and one stray crystal can ruin the whole batch.
Here, the sweetened condensed milk has already done the hard work of stabilizing the sugar.
- Lipid Suspension: The milk fat and added butter create a barrier around the sugar molecules, which keeps them from bonding together into gritty crystals.
- Controlled Viscosity: Using semi sweet chips with 60% cacao ensures the fudge has enough structure to stay firm at room temperature without becoming rock hard.
- Emulsion Stability: The slow, gentle heat prevents the cocoa butter from separating, which is what usually causes that oily film on top of bad fudge.
- Hygroscopic Balance: The salt and vanilla act as flavor conductors while helping the proteins in the milk set into a dense, chewable matrix.
| Method | Total Time | Final Texture | Best For |
|---|---|---|---|
| Stovetop | 130 minutes | Ultra glossy, consistent | Maximum control and smooth finish |
| Microwave | 125 minutes | Soft, slightly matte | When you need it done in a hurry |
| Slow Cooker | 180 minutes | Very dense, deep color | Large batches for holiday gifting |
If you find yourself craving a different texture, maybe something lighter, you could try a Baked Fudge recipe which uses cocoa powder for a more brownie like consistency. However, for that classic, heavy truffle feel, this condensed milk method is king. It’s the most reliable way I’ve found to get professional results in a home kitchen without any fancy gear.
Planning Your Prep with Realistic Timing and Results
When I talk about an easy fudge recipe, I really mean it. The active "work" is basically over before you've even finished a single song on the radio. However, the most important ingredient is actually patience. You need to give the proteins and fats time to "bond" in the fridge.
If you cut it too early, you'll end up with a delicious chocolate sauce rather than firm squares.
| Component | Scientific Role | Pro Secret |
|---|---|---|
| Chocolate Chips | Provides structure and "snap" | Use 60% cacao for the best flavor balance |
| Condensed Milk | Prevents sugar crystallization | Warm the can in hot water for easier pouring |
| Unsalted Butter | Creates a velvety mouthfeel | Cut into 1/2 inch cubes for even melting |
| Sea Salt | Enhances chocolate perception | Use fine grain for the base, flaky for the top |
Understanding the "why" behind the ingredients makes you a better cook. For instance, the butter isn't just for flavor; it's a lubricant for the chocolate particles. Without it, the fudge can feel a bit "tacky" or stick to your teeth. The salt is even more crucial.
It suppresses the bitter notes in the cacao and amplifies the sweetness of the milk, making the whole thing taste "expensive" rather than just sugary.
Choosing the Best Components for Your Homemade Fudge
Selecting the right ingredients is the difference between "okay" fudge and the kind people beg you for the recipe. I always reach for high-quality semi sweet chips. Look for brands that list cocoa butter, not palm oil, as the primary fat.
- 18 oz semi sweet chocolate chips: Why this? Provides the structural foundation and deep cocoa flavor needed for a firm set.
- Substitute: 18 oz dark chocolate chips (70%) for a more bitter, adult flavor.
- 14 oz sweetened condensed milk: Why this? Acts as a pre stabilized sugar base that prevents graininess without boiling.
- Substitute: 14 oz coconut based sweetened condensed milk for a dairy-free alternative.
- 2 tbsp unsalted butter: Why this? Adds a rich, creamy finish and helps the fudge slice cleanly.
- Substitute: 2 tbsp refined coconut oil for a similar fat content and texture.
- 1 tsp pure vanilla extract: Why this? Rounds out the flavor and bridges the gap between the milk and chocolate.
- Substitute: 1 tsp almond extract for a cherry like flavor profile.
- 1/4 tsp fine sea salt: Why this? Essential for cutting through the richness and highlighting the cocoa notes.
- Substitute: 1/2 tsp kosher salt if you prefer larger, occasional salt pops.
It’s tempting to use milk chocolate chips, but be careful. Milk chocolate has a higher sugar and dairy solids content, which can make the fudge too soft to hold its shape at room temperature. If you must use milk chocolate, I'd suggest reducing the butter by half to keep things stable.
Simple Tools That Make the Process Completely Stress Free
You don't need a candy thermometer, and you definitely don't need a heavy duty mixer. This is a minimal tool recipe designed for busy people. I usually use a simple glass bowl and a sturdy silicone spatula. The spatula is key because it lets you scrape every single drop of that liquid gold into the pan.
The Melting Vessel
A heat proof glass or stainless steel bowl is best. If you're using the double boiler method, ensure the bowl fits snugly over your saucepan without the bottom touching the water. This prevents the chocolate from "seizing" due to direct heat.
The Preparation Pan
An 8x8-inch square baking pan is the gold standard here. It gives you the perfect thickness about an inch deep. If you use a 9x13 pan, your fudge will be very thin, more like a chocolate bark.
The Lining Strategy
Parchment paper is non negotiable. I've tried greasing the pan with butter, and it’s a nightmare to get the squares out cleanly. Creating a "sling" by letting the paper hang over two sides allows you to lift the entire block out once it’s set. It makes slicing a breeze.
Walking Through the Steps for a Flawless Finish
Let's get into the actual process. It’s fast, so make sure you have everything measured out before you start. There’s nothing worse than trying to open a can of condensed milk while your chocolate is starting to firm up in the bowl.
- Line an 8x8-inch square baking pan with parchment paper, ensuring an overhang on two sides for easy removal. Note: This "sling" is the secret to professional looking squares later.
- Combine the ingredients. In a heat proof glass bowl, add 18 oz semi sweet chocolate chips, 14 oz sweetened condensed milk, and 2 tbsp cubed butter.
- Prepare the heat. Place the bowl over a saucepan with 1 inch of simmering water, or place in the microwave.
- Melt gently. If using a microwave, heat in 30 second intervals. Stop when you see only a few small lumps left.
- Stir vigorously. Use your spatula to stir until the remaining heat melts the last of the chips. The mixture should look glossy and smooth.
- Add the aromatics. Stir in 1 tsp pure vanilla extract and 1/4 tsp fine sea salt until fully incorporated and fragrant.
- Transfer to pan. Pour the mixture into your prepared 8x8 pan, using the spatula to level the surface.
- Smooth the top. Gently tap the pan on the counter until any air bubbles rise to the surface.
- Set the structure. Refrigerate for at least 2 hours. The center should feel firm and cold to the touch.
- The precision cut. Lift the fudge out using the parchment. Using a sharp knife, slice into 36 1 inch squares.
Chef's Note: To get those perfectly sharp, clean edges you see in candy shops, dip your knife in hot water and wipe it dry between every single cut. The heat from the blade will glide through the fats like a hot wire through wax.
Solving Common Problems for First Time Candy Makers
Even the easiest recipes can have a hiccup. The most common issue I hear about is "oily" fudge. This usually happens if the mixture gets too hot too fast, causing the fat in the butter and chocolate to separate from the solids.
Why Your Easy Homemade Fudge Turn Out Soft?
If your fudge stays "gooey" even after 2 hours in the fridge, the emulsion likely didn't form correctly, or the ratio of liquid to chocolate was slightly off. This can happen if you use a smaller bag of chips (some are 10 or 12 oz) instead of the full 18 oz.
| Problem | Root Cause | Solution |
|---|---|---|
| Grainy Texture | Sugar crystallized or mixture boiled | Avoid boiling; stir gently and use low heat |
| Separated / Oily | Mixture was overheated | Add 1 tsp of warm milk and stir vigorously to re emulsify |
| Stuck to Pan | No parchment or poor greasing | Briefly dip the bottom of the pan in warm water to loosen |
Common Mistakes Checklist
- ✓ Avoid Boiling: Never let the fudge mixture reach a rolling boil; it should only melt.
- ✓ Use Real Butter: Don't use margarine or "spreads" the water content is too high and will make the fudge soft.
- ✓ Check Bag Size: Double check your chocolate chips; you need exactly 18 oz for this ratio.
- ✓ Total Chill Time: Don't rush the 2 hours of refrigeration; the fats need to crystallize fully to hold their shape.
- ✓ Dry Tools: Ensure your bowl and spatula are bone dry; a single drop of water can cause chocolate to "seize" into a clump.
Customizing Your Treat with Different Flavors and Mix Ins
Once you've mastered the base, the possibilities are endless. I love adding a crunch to contrast the velvety chocolate. A handful of toasted walnuts or pecans is classic, but you can get much more creative.
- The Crunch Factor: Fold in 1/2 cup of crushed pretzels or salted peanuts after the vanilla step.
- The Swirl: Drop spoonfuls of peanut butter onto the top before it sets and use a toothpick to create a marbled effect.
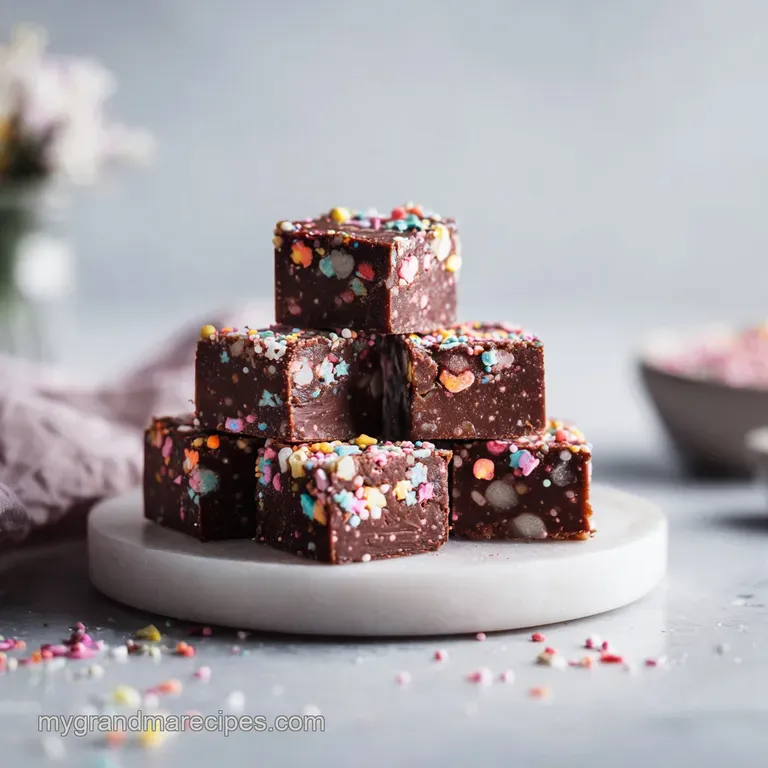
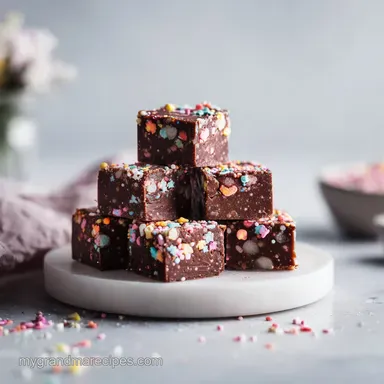
- The Festive Twist: Top with crushed candy canes or dried cranberries for a holiday feel.
- The Adult Version: Add a teaspoon of instant espresso powder to the chocolate chips before melting to deepen the cocoa flavor.
If you find you have leftovers or want to try something different with your chocolate stash, you might enjoy this Gingersnap Cranberry Cheesecake which uses similar creamy textures but with a tart fruit twist. It’s a great way to use up any extra white chocolate or nuts you might have in the pantry.
Keeping Your Sweets Fresh and Ready for Gifting
This easy fudge recipe is incredibly hardy. It’s one of the few desserts that actually travels well and doesn't melt the second it hits room temperature. In the fridge, it will stay fresh for up to 3 weeks if kept in an airtight container.
For longer storage, you can freeze it for up to 3 months. I recommend wrapping the whole block (or individual squares) in plastic wrap and then placing them in a heavy duty freezer bag. When you're ready to eat, let it thaw in the fridge overnight.
Don't thaw it on the counter, or you might get condensation on the surface, which makes the fudge sticky.
Zero Waste Tip: If you end up with "scraps" from trimming the edges to make perfect squares, don't throw them away! Chop them into tiny pieces and store them in a jar in the freezer. They make the absolute best topping for vanilla ice cream or can be folded into pancake batter for a weekend treat.
Dressing Up Your Squares for the Perfect Dessert Board
Presentation is everything when you're gifting an easy fudge recipe. I like to place each square in a small paper truffle liner (the kind you use for mini muffins). It prevents them from sticking to each other and makes them look like they came from a high end chocolatier.
If you're serving this on a dessert board, pair the fudge with acidic fruits like raspberries or tart green apples. The acidity cuts through the heavy fat of the fudge and cleanses the palate between bites.
I also love adding a small bowl of sea salt flakes nearby so guests can add an extra pinch if they like that salty sweet combo.
Finally, think about the height. Don't just lay the squares flat. Stack them into a pyramid or lean them against each other to create visual interest. A light dusting of cocoa powder or a few edible gold flakes can take these from "homemade snack" to "party centerpiece" in about five seconds.
Enjoy your kitchen success you've earned it!

Recipe FAQs
How to make really easy fudge?
Combine 18 oz semi sweet chocolate chips, 14 oz sweetened condensed milk, and 2 tbsp cubed unsalted butter in a heat proof bowl. Melt using a double boiler or microwave in 30-second intervals until smooth, then stir in 1 tsp vanilla extract and 1/4 tsp sea salt before chilling for 2 hours in an 8x8-inch pan.
What is the secret to making good fudge?
Use patience and dry tools. Keeping your spatula bone dry prevents the chocolate from seizing, and respecting the full 2-hour refrigeration time ensures the fats crystallize properly for a firm, professional texture. If you enjoyed perfecting this temperature controlled melt, see how similar thermal precision creates a perfectly molten dessert.
What ingredients do you need for fudge?
You only need four main components. Gather 18 oz of semi sweet chocolate chips, 14 oz of sweetened condensed milk, 2 tbsp of unsalted butter, and 1 tsp of pure vanilla extract, plus a pinch of fine sea salt.
How do you make vanilla fudge 3 ingredients?
Whisk together high-quality white chocolate chips, sweetened condensed milk, and a touch of butter over gentle heat until fully emulsified. Once the texture is glossy and smooth, pour it into a parchment lined 8x8-inch pan and refrigerate for 2 hours to set.
Is it true I must boil the mixture to get it to set?
No, this is a common misconception. Boiling will actually ruin the emulsion and potentially scorch the chocolate; the mixture should only be melted until smooth to maintain the correct fat-to-sugar ratio.
Can I use margarine instead of butter?
No, stick with real butter. Margarine contains too much water and not enough fat, which will prevent your fudge from setting into solid 1 inch squares.
How to ensure the fudge is easy to remove from the pan?
Line your 8x8-inch square pan with parchment paper, making sure to leave an overhang on two opposite sides. This creates a handle you can use to lift the entire chilled block out of the pan before slicing.
Easy Homemade Fudge Recipe
Ingredients:
Instructions:
Nutrition Facts:
| Calories | 109 kcal |
|---|---|
| Protein | 1.6 g |
| Fat | 5.8 g |
| Carbs | 14.7 g |
| Fiber | 1.0 g |
| Sugar | 12.8 g |
| Sodium | 30 mg |
